1
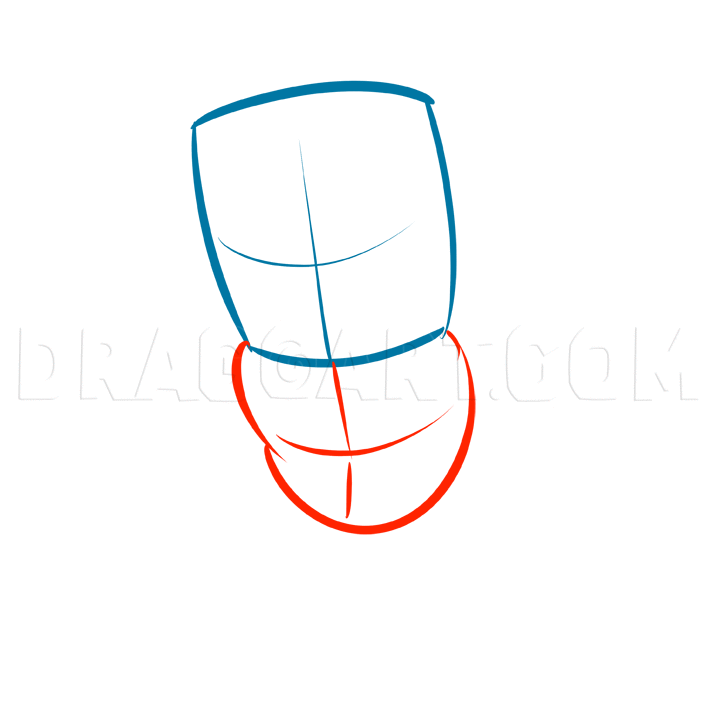
Let's begin the base drawing with the large shape of the head. Draw a rounded square shape and draw a cross for the center line and eye line of the face.
2
For the body, draw a soft pillow or peanut shape. We'll use another cross shape to separate the parts of the torso.
3
Here we'll block in the shapes of the left arm. Draw a square for the hand, and a horizontal line for the knuckles. From there, add the foreshortened shape of the forearm, and then a simple tube for the upper arm.
4
The opposite arm recedes away from us. First draw the shoulder. Then the upper arm, lower arm, and the hand. The upper edge of all these shapes makes a nice curve.
5
The Armored Titan is in a sort of squatting or jumping pose with his legs bent. We see more of the upper legs than the lower legs. Use round shapes to draw the thighs. Then the lower legs, and finally add the feet.
6
Lighten your guide lines, and start the final line art by drawing the eyes. Use strong lines with hard angles for the eyes and eyebrows. His skin is like armor plates, so there will be lots of square edges.
7
Draw the outline of his hair, which is spiky like Naruto's -- just shorter. Then outline the eye sockets and add a simple V for the nose.
8
Use straight lines and hard angles to outline the face and jaw. Draw a zigzag for the hairline, and then add the ears.
9
Draw the jagged line of his mouth, which is like a lightning bolt come inward from each cheek. A small triangle adds shape to the chin. Let's also add detail to the ears.
10
Draw the large shapes of the chest muscles. The points on the left and right are roughly where the muscle meets the armpit.
11
Draw four rows of chiseled abs. These are more than just squares. They have a little upward cut toward the center line.
13
Draw the bottom line of the body, and then add the shape of the thighs. The shape gets narrower at the bottom as we sculpt out the shape of the knees.
15
Now let's jump up the left hand. Use your own hand for reference if you need a guide. Use simple, rounded rectangle shapes to build the fingers and hand.
16
Start at the wrist and draw the forearm and elbow shapes. Then outline the front and back muscles of the upper arm. Then connect everything to the shoulder.
17
Draw the opposite arm in the reverse order. Start with the shoulder. Then build the overlapping shapes all the way to the hand.
18
Here we'll draw the separation between armor and muscle on the arms and legs. Let's also add some detail to the chest and shoulders.
19
Now we'll add detail to the whole figure. On the armor parts, we'll use 2 or 3 short dash marks in each area. For the exposed muscle, we'll use longer, curvier lines. Add some V lines for the cheeks, and a zigzag for some hair detail.
20
You can add some pieces of broken wall and some zap lines to add a little motion and excitement to the image.
Comments 0
Details
May 3, 2014
Description: Hey guys. For something different, I'm going to do some chibi drawings of Attack On Titan characters. I'll start it off with the Armored Titan from Episode 2. The design is pretty complex, so the chibi style makes it easier for us to get a handle on how to draw him. Let's get to work!


