


1
Start off by picking your pencils. I used a 4H pencil for light lines/shading, a B pencil for dark lines/details, and a 4B pencil for the darkest shading.
2
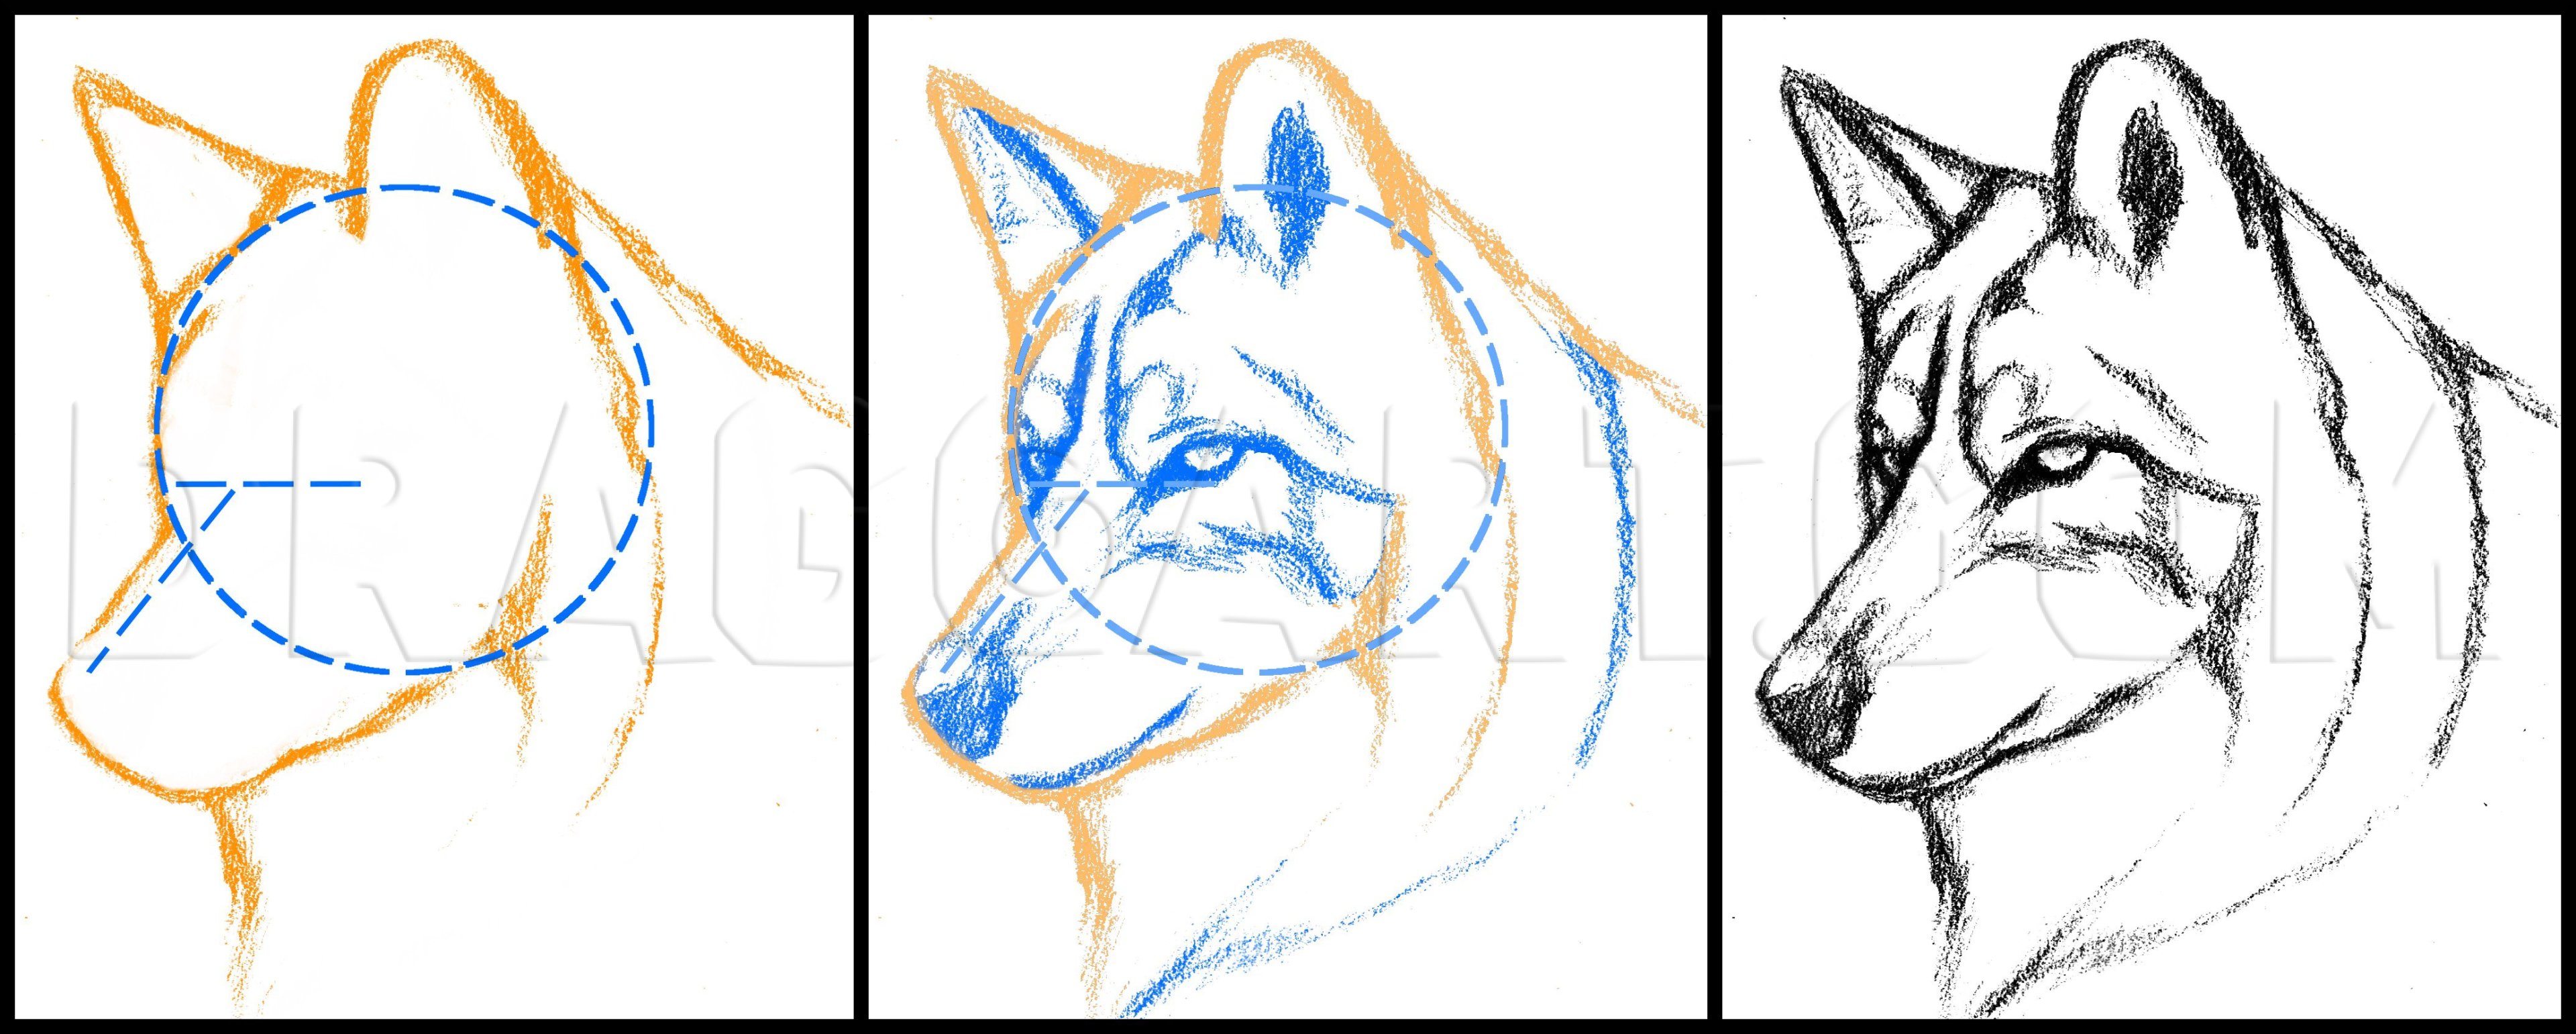
Start out with a basic sketch, use the guidelines if you need them.
3
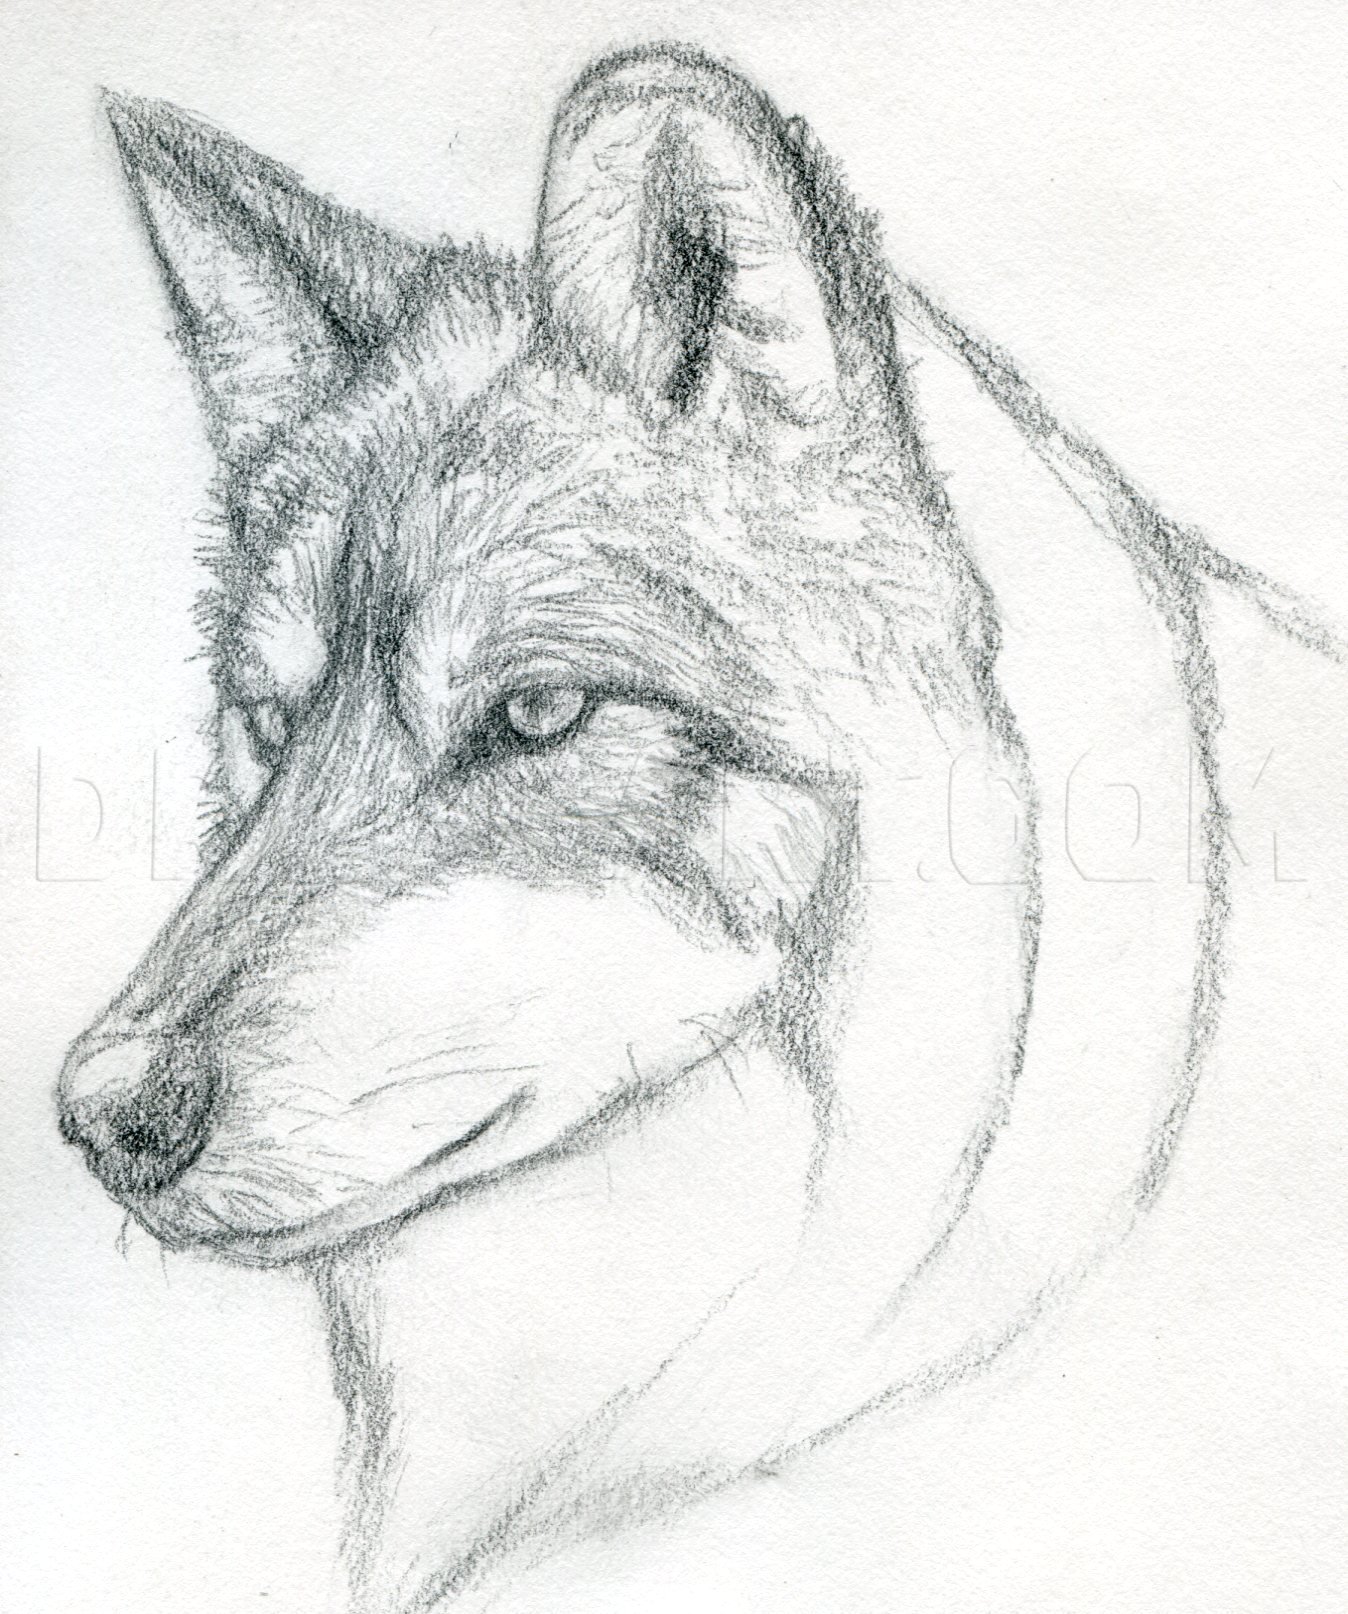
Your sketch should end up looking something like this. I used a 4H pencil to sketch but any pencil should work. Try to erase any lines that you don't need.
4
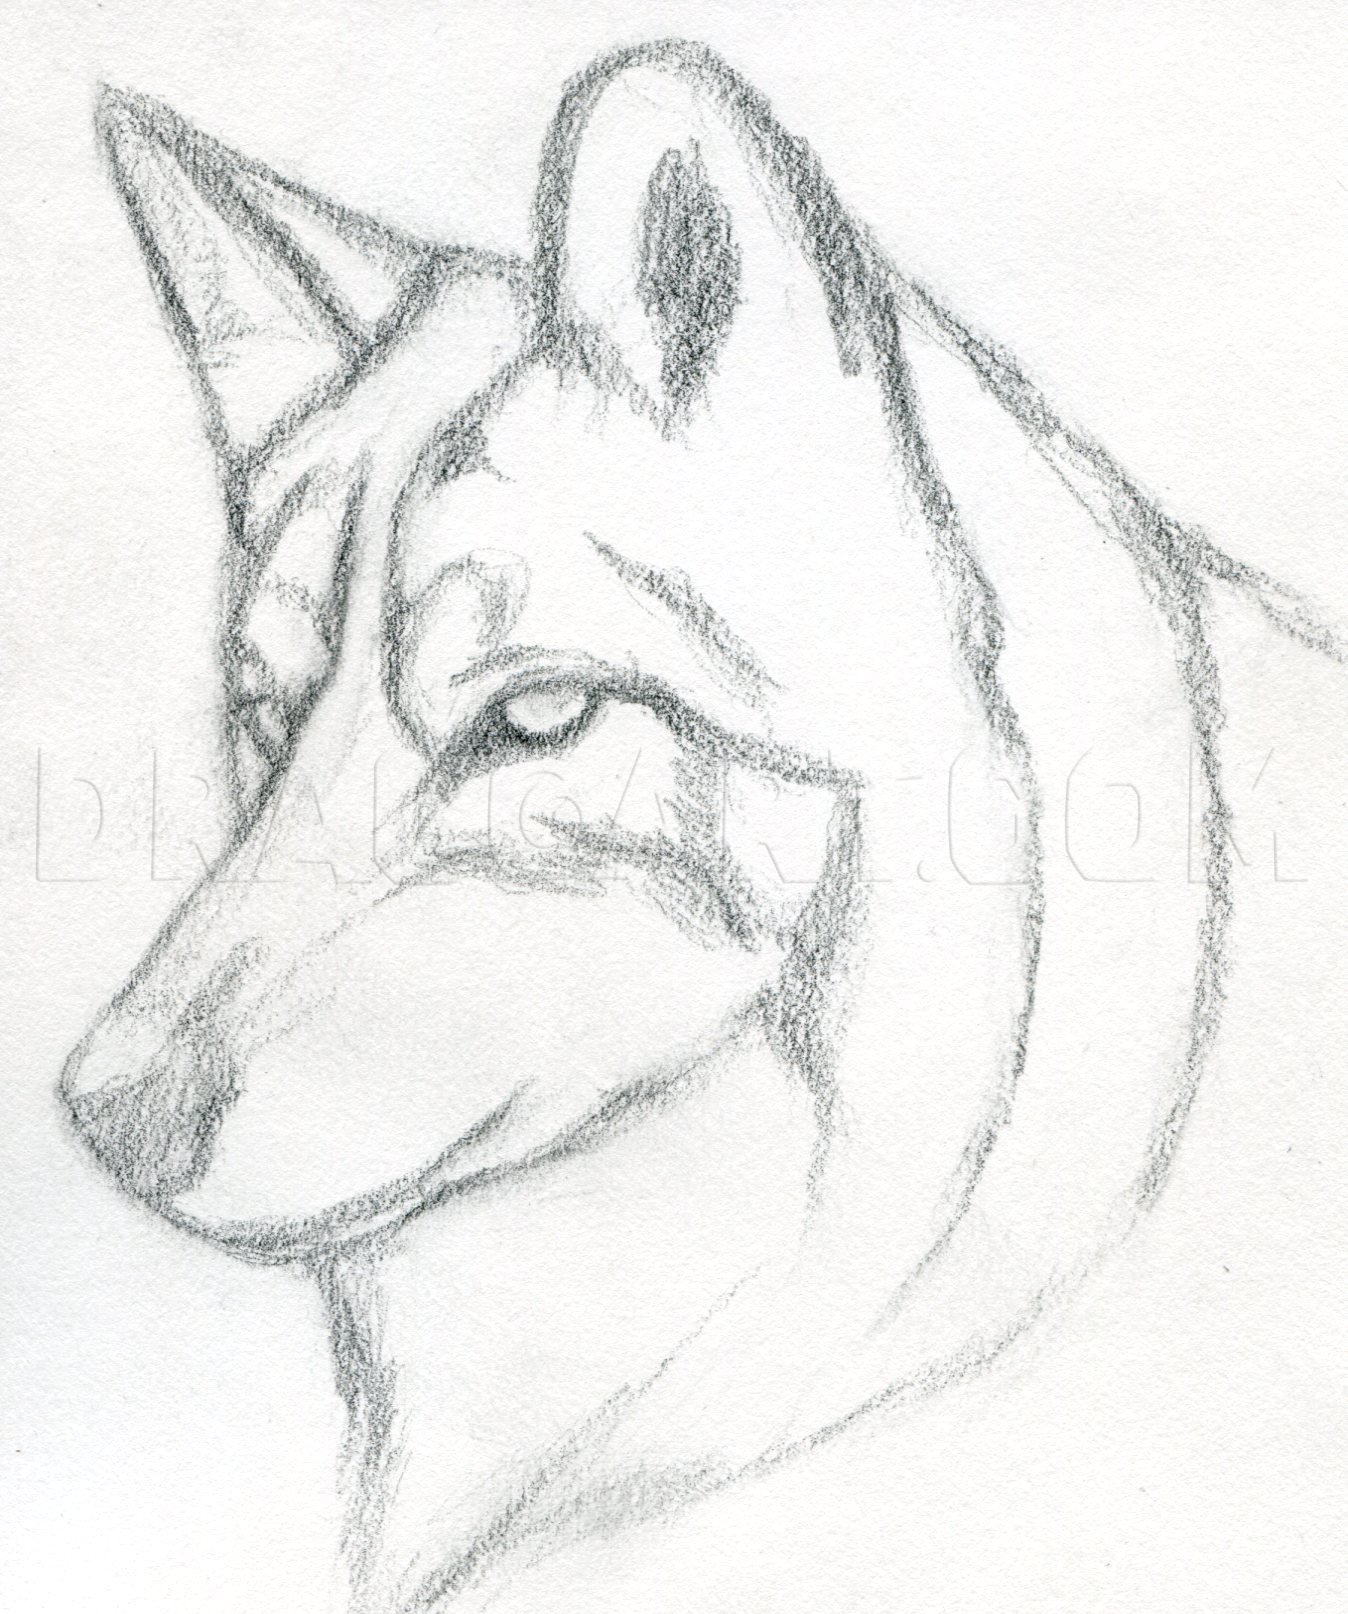
Using a B pencil, start devoloping the the lines and shading. Start at the eyes. Don't worry about getting a lot of different values/shades, just try to develope what you already have and hint at the direction that the fur flows.
5
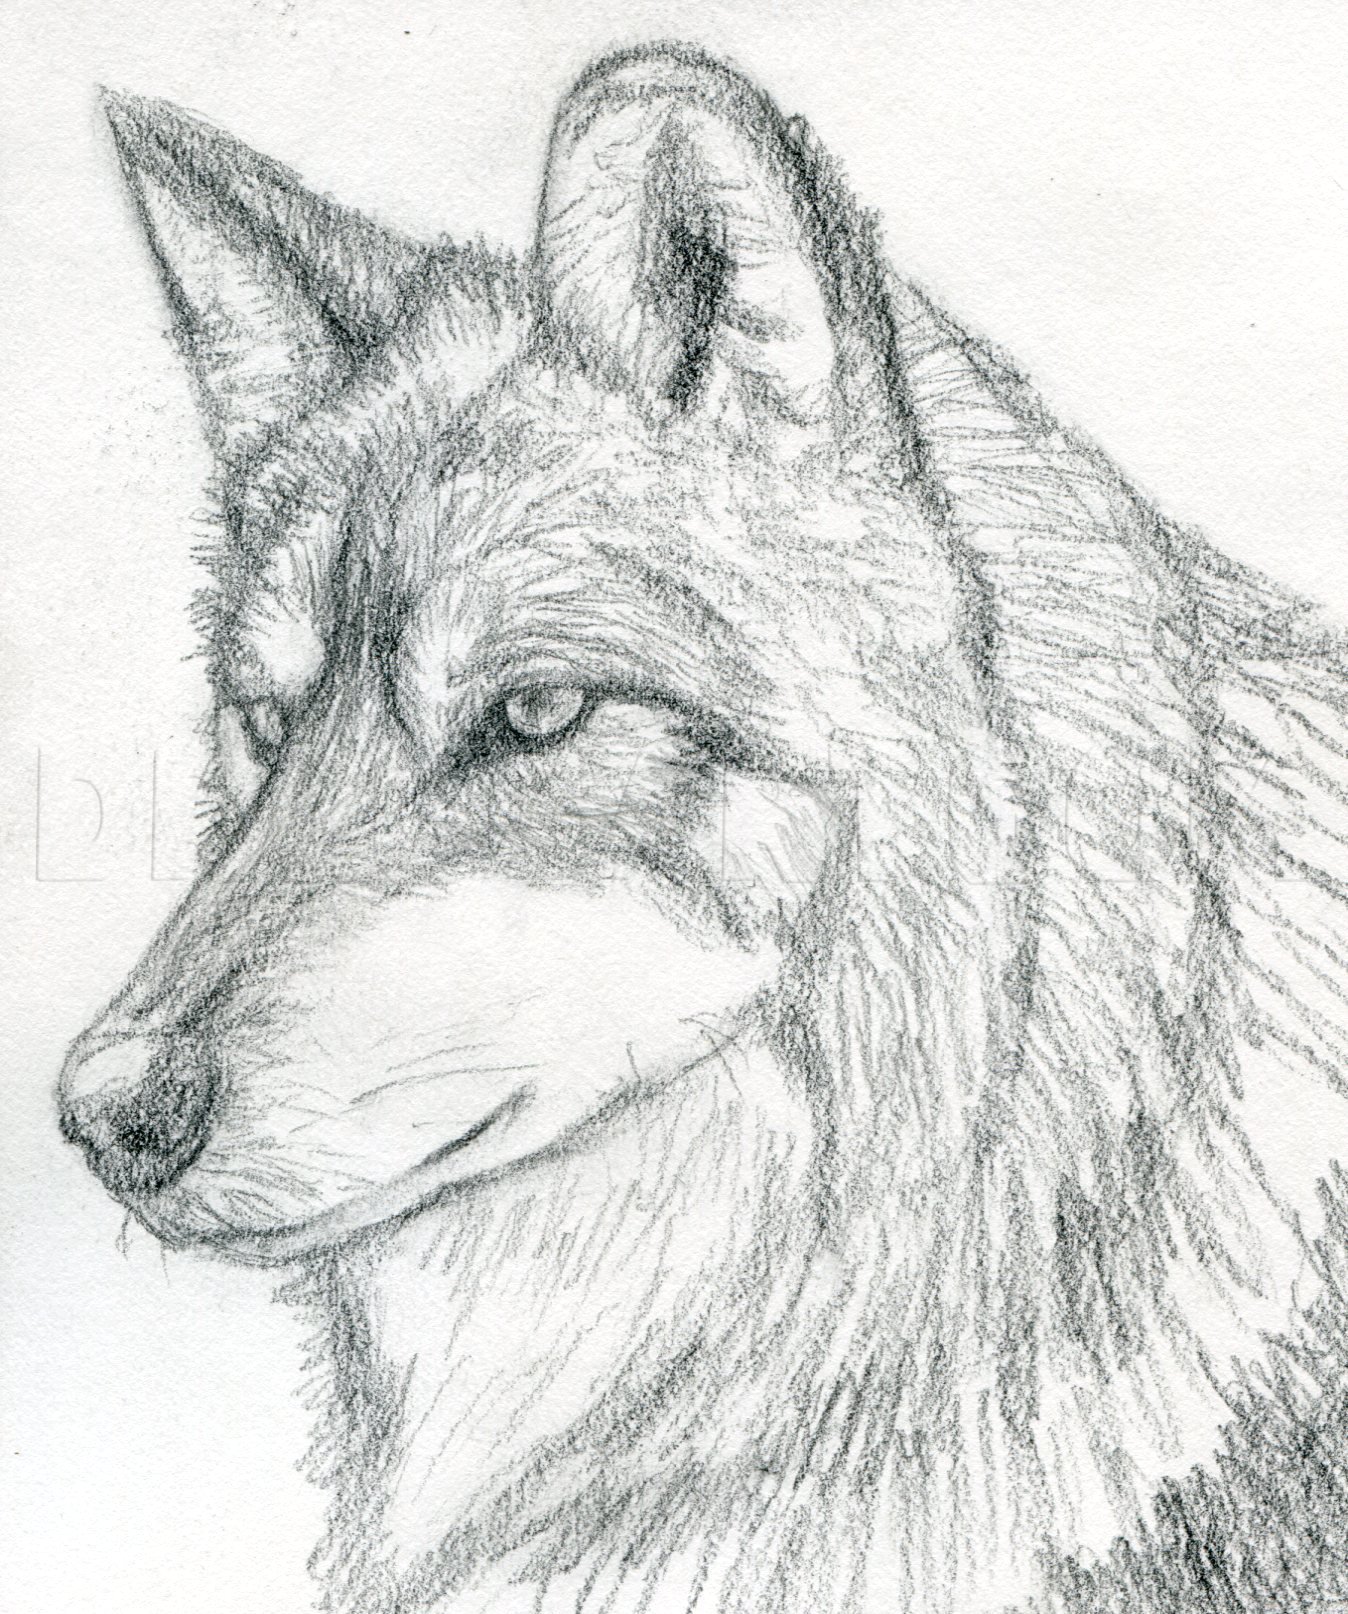
Work your way up to the ears. Again, pay attention to the direction in which the fur flows. Don't just scribble in random lines.
6
Now shade in the snout.

7
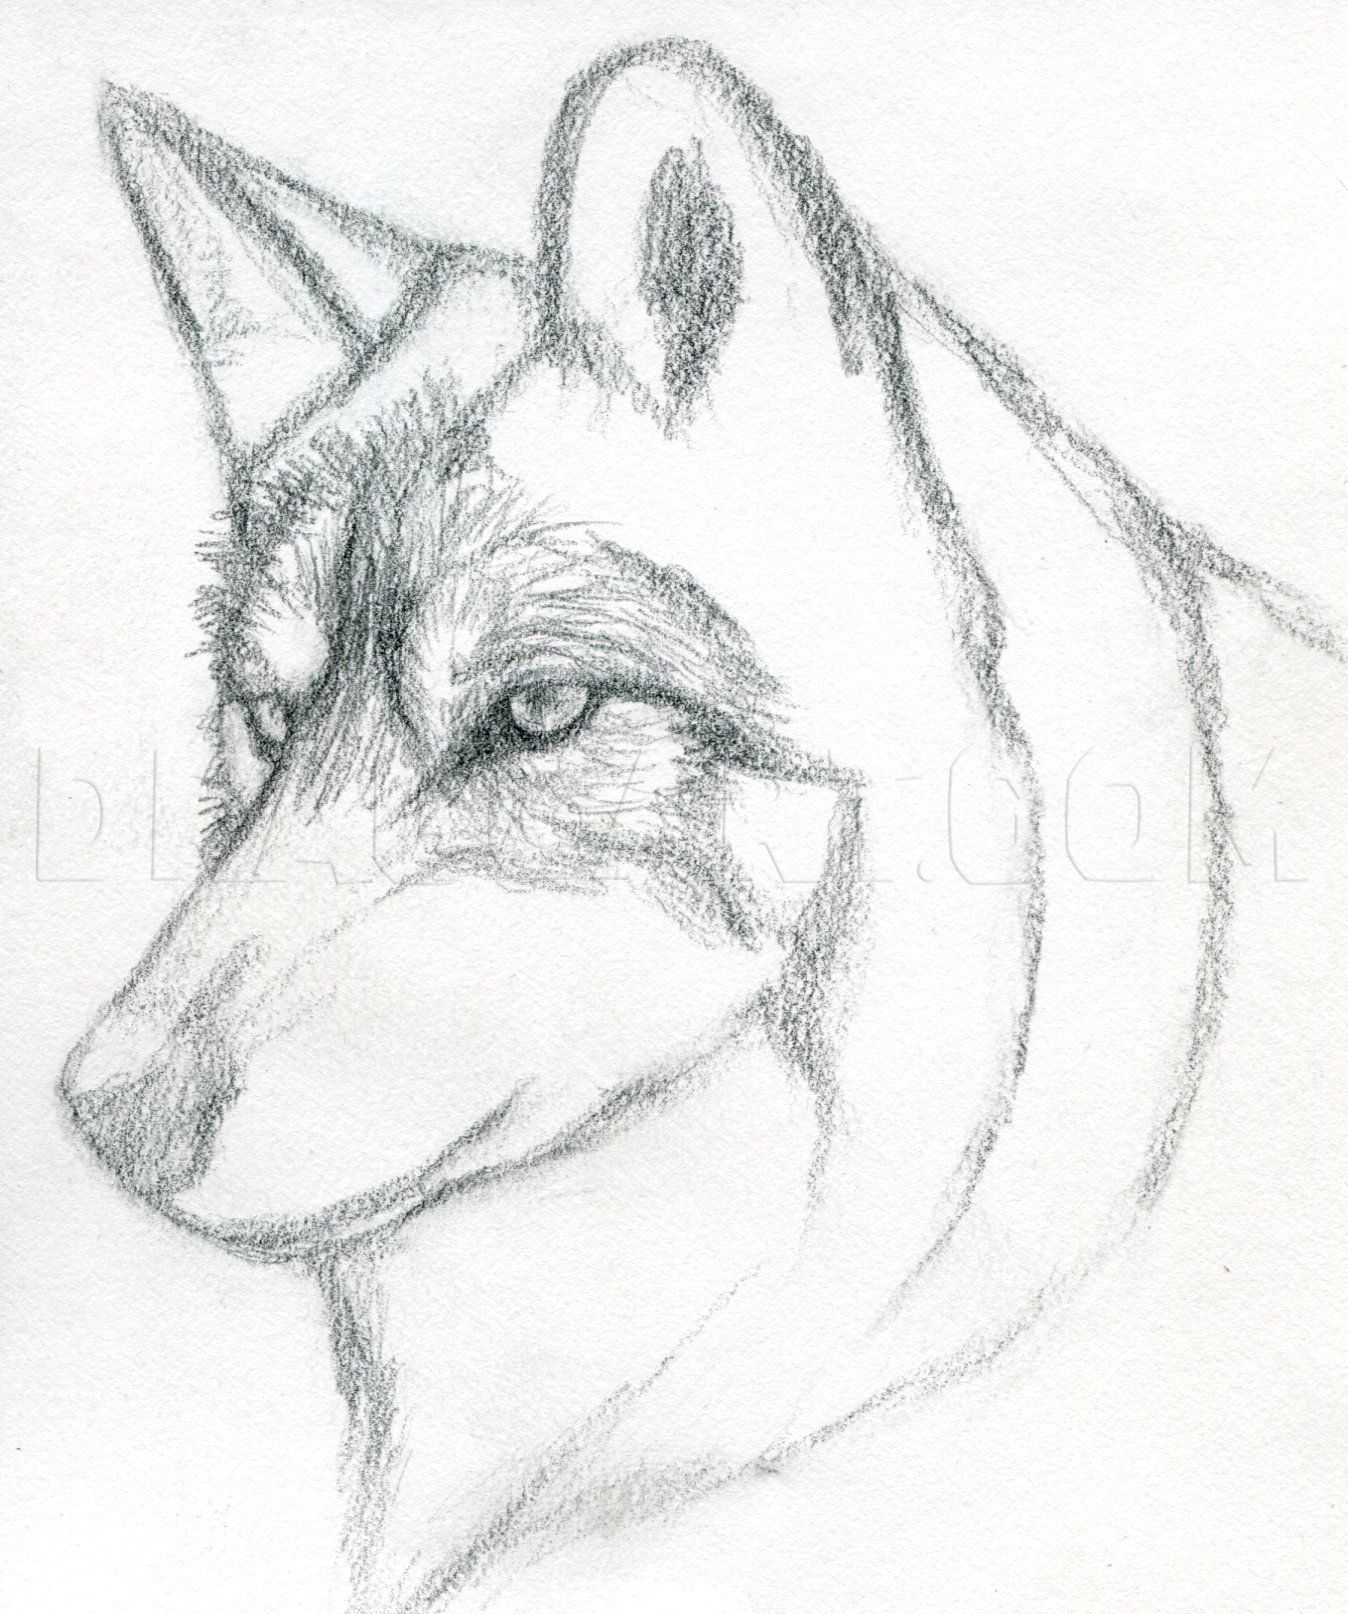
Now start shading the wolf's mane. Pay attention to how the fur is layered as you add in your lines.
8
Sketch in the rest of the fur.

9
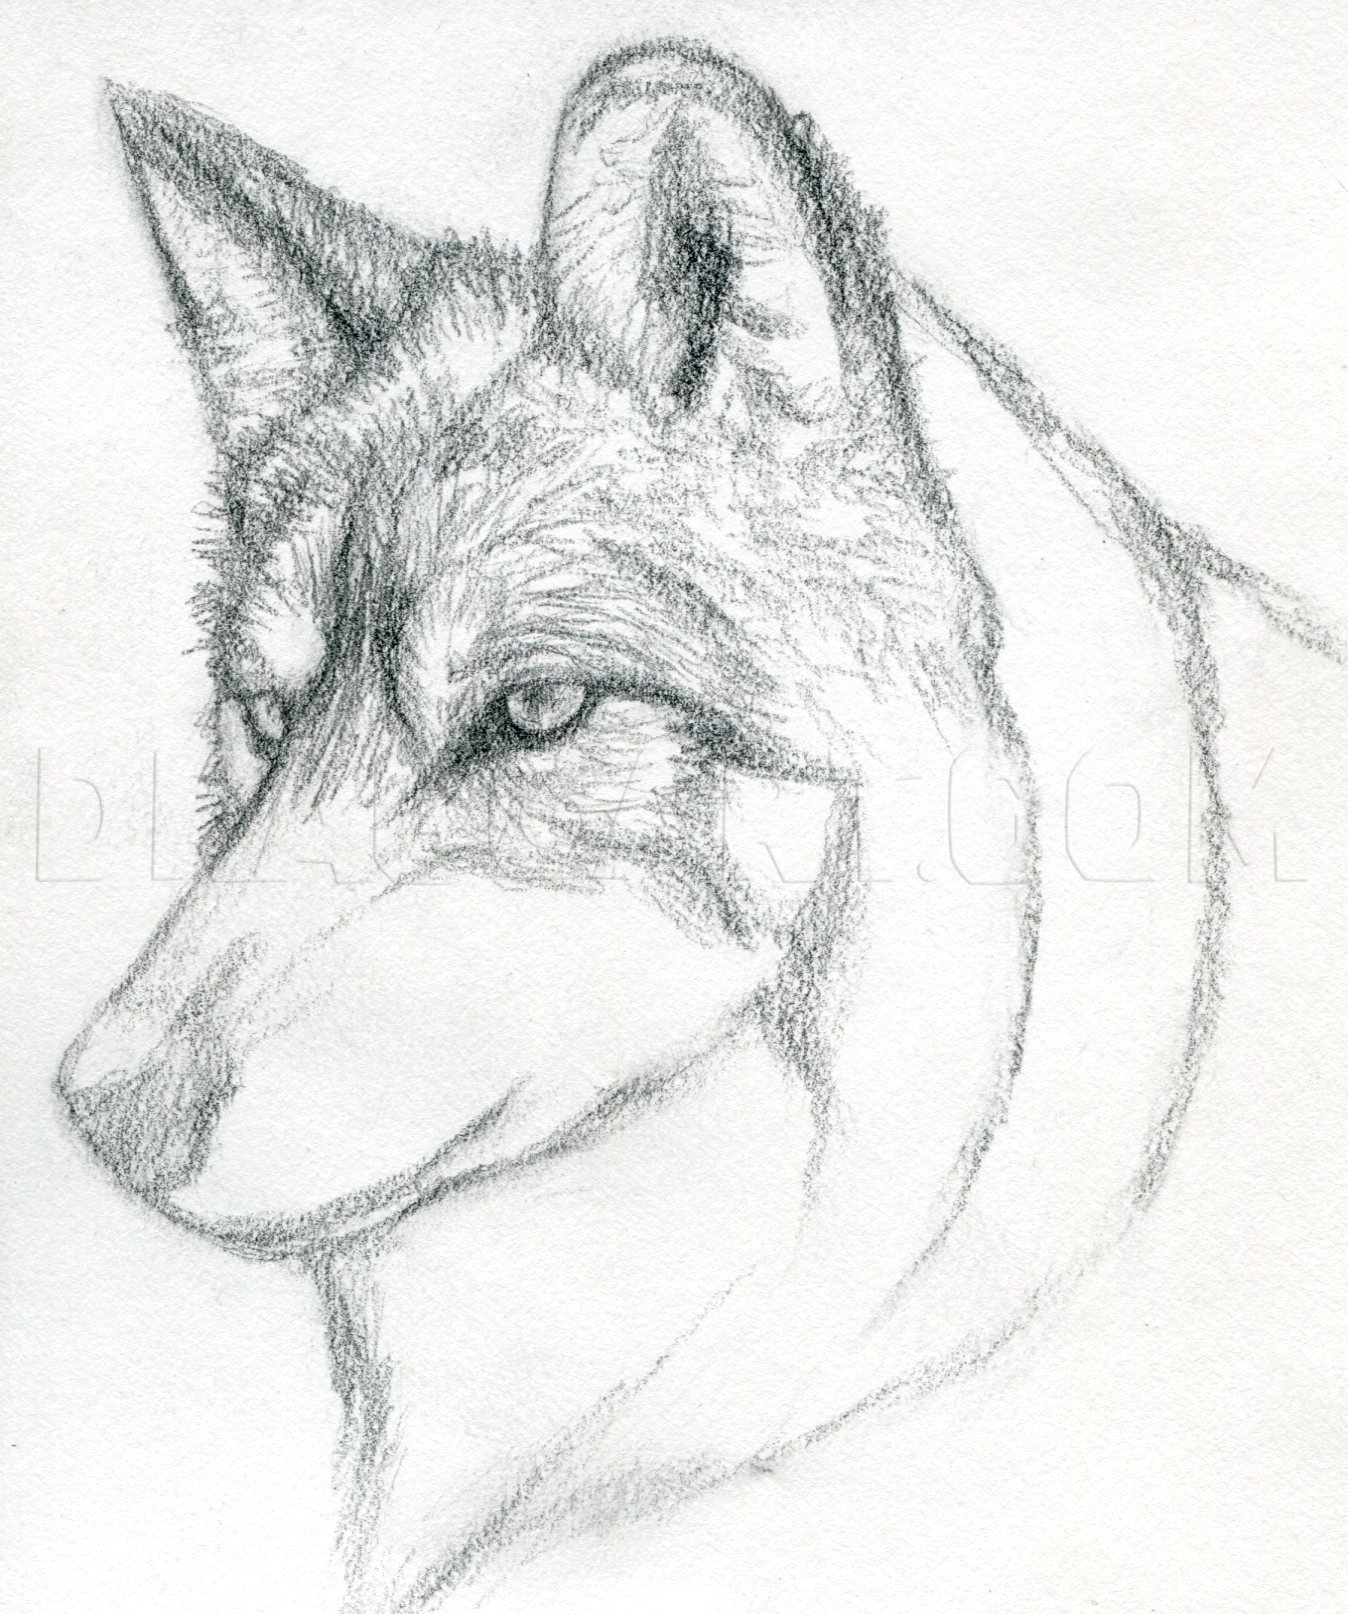
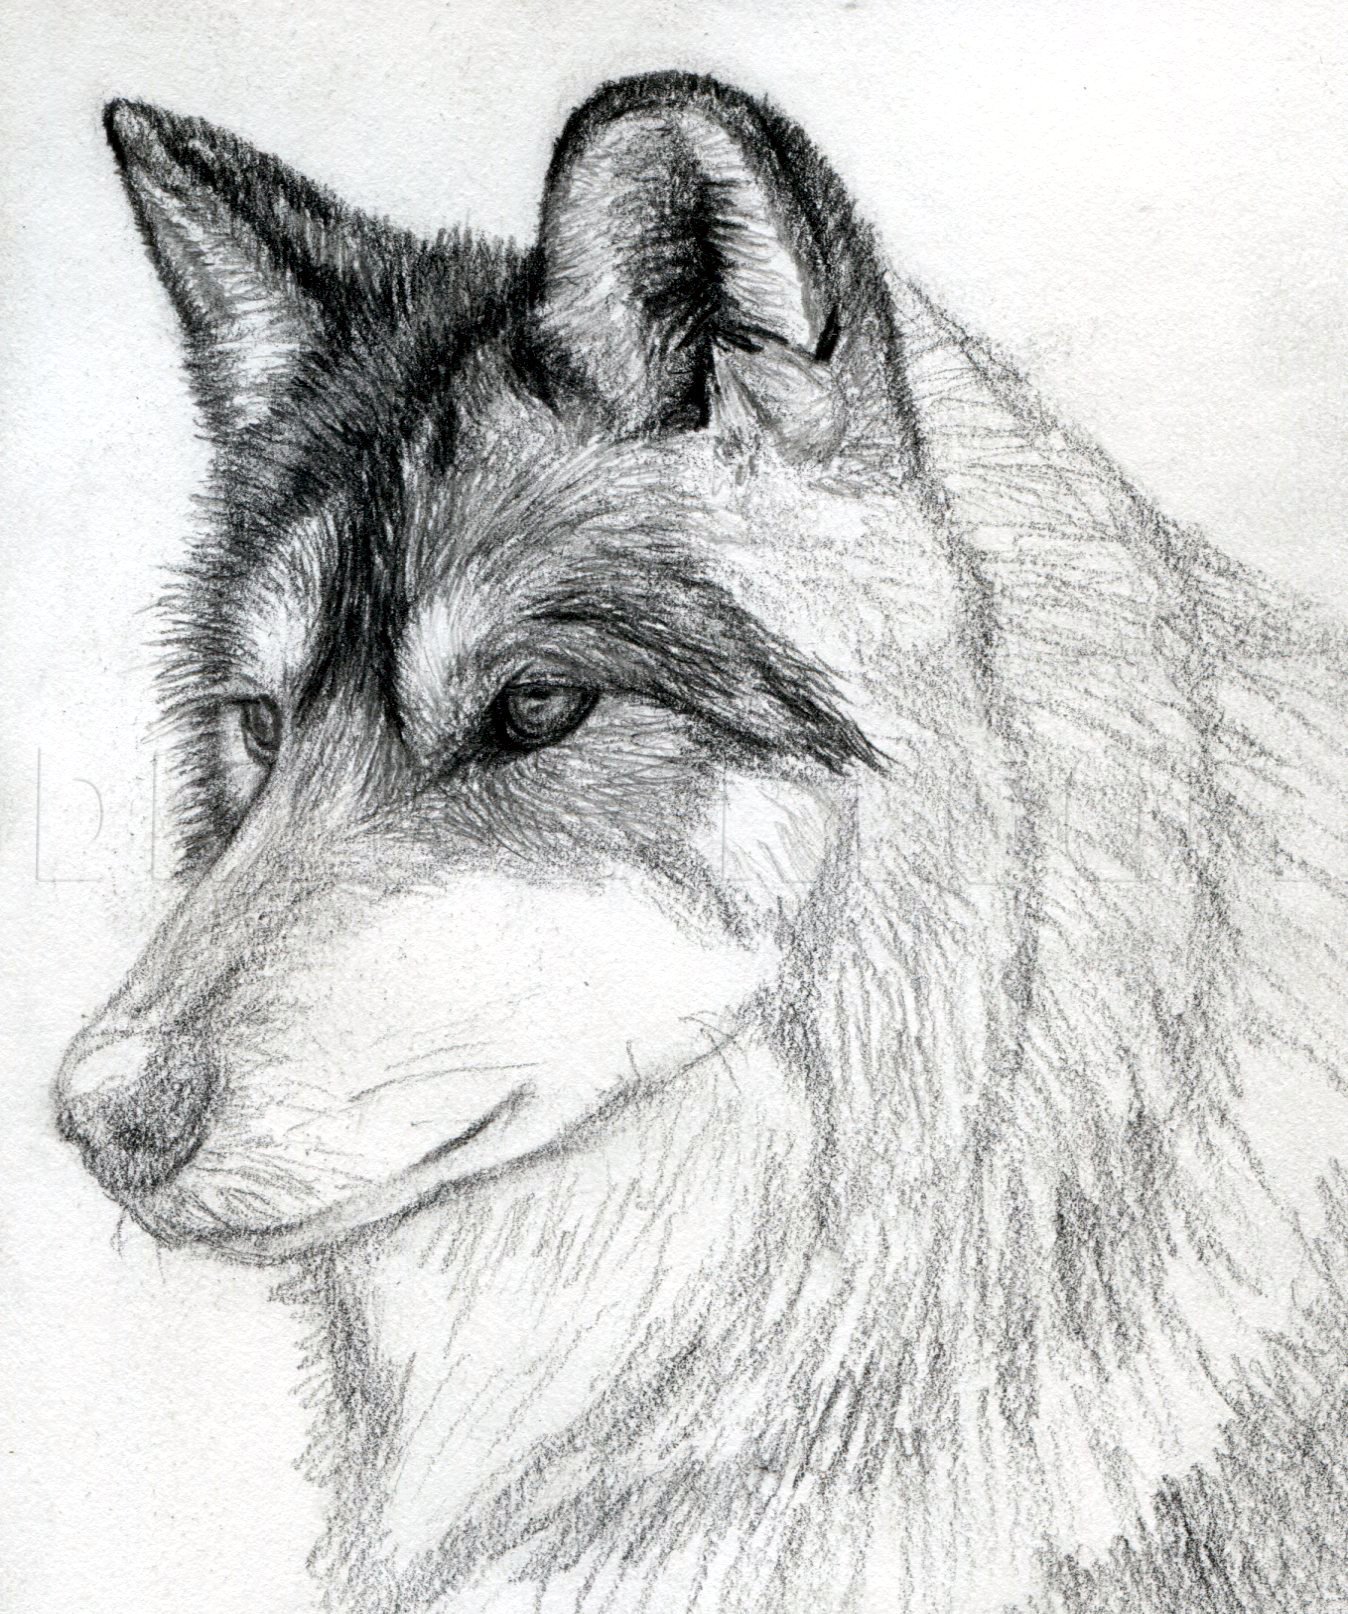
Now start adding a final layer of shading by starting with the eyes again. Use a 4B pencil for the darkest shading. Rely on 4H and B pencils to shade in the fur. Use 4H for light fur and B for dark fur/hairs.

10
Shade in the other eye and some of the fur on the forehead.

11
Work on the ears one at a time. I decided to start on the further one.
12
Now shade in the other ear.

13
Go ahead and shade in the snout. Use a B pencil to add in a few whiskers.
14
Start working on the topmost layer of the mane and the rest of the head fur. Use quick strokes with a 4H pencil to emulate fur. Try using a plending stump or kneadable eraser to smooth out your fur if you need to.

15
Move down to the next layer layer of fur and use the same techniques as before.
16
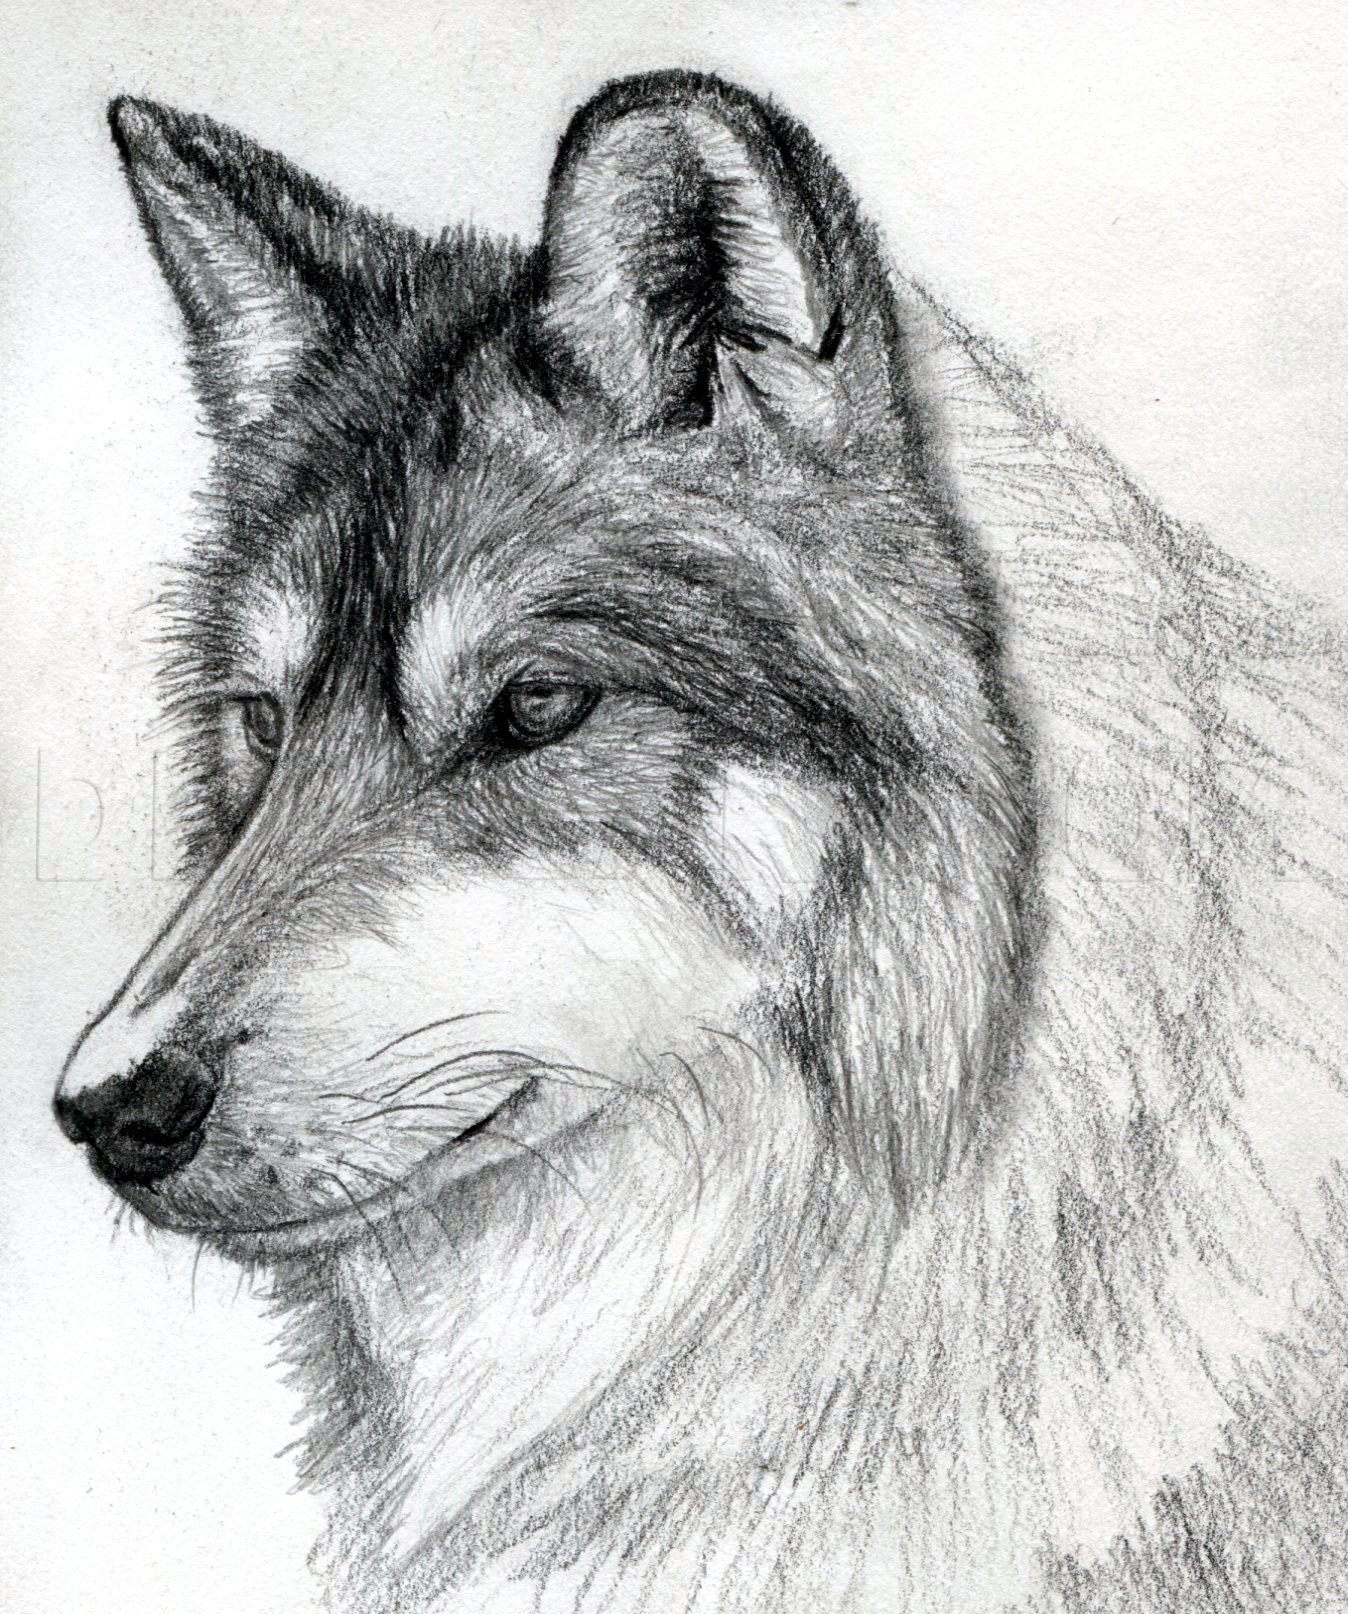
Ready the drawing for the final layers of fur. I used a blending stump to smooth out the area before going over in with 4H and B pencils. I also shaded in the darkest fur with a 4B pencil.

17
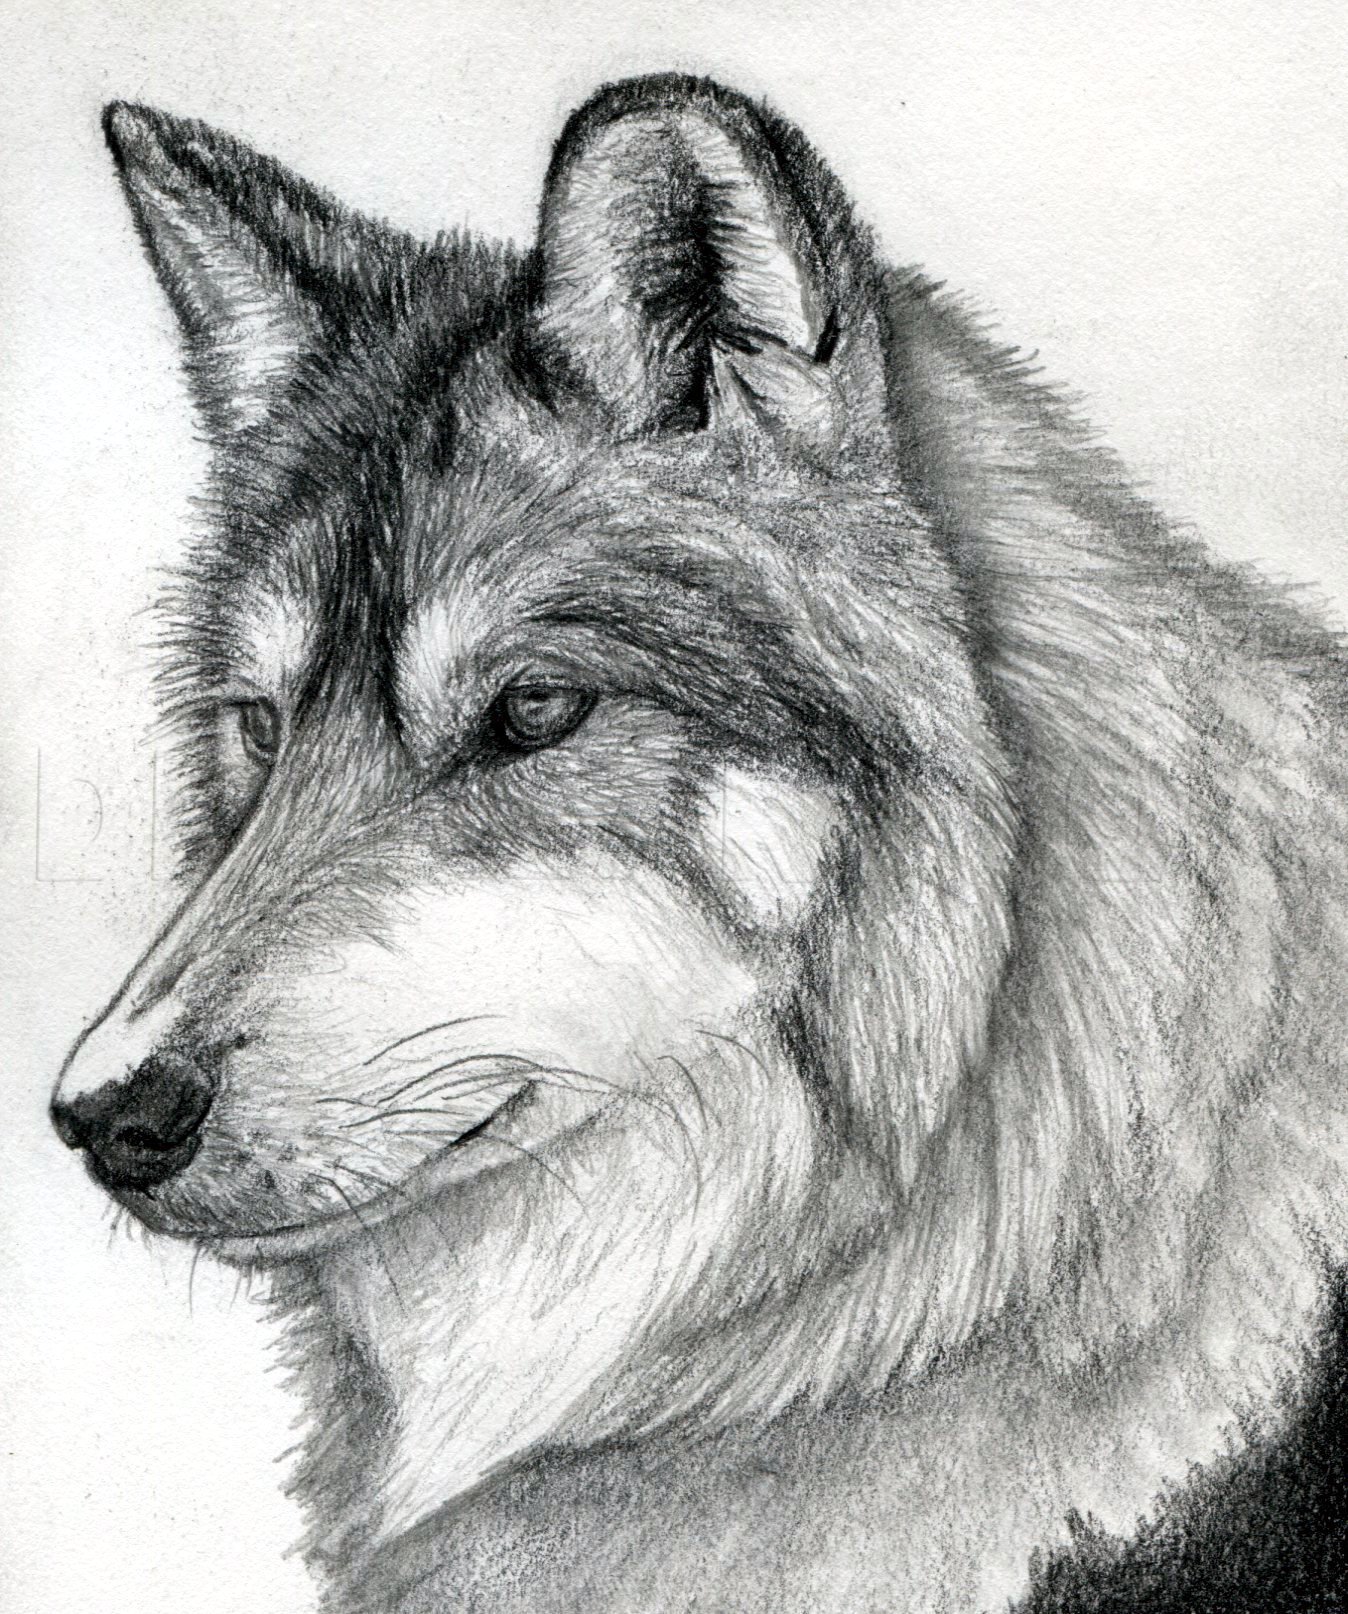
Finish up your drawing by shading in the rest of the fur. I decided to blend in the fur around the lower part of the drawing but you can leave it detailed if you want to. I also shaded in my background using a 4B pencil and a blending stump. I hope y
Comments 0
Details
December 31, 2016
Description: I know how much you all love wolves so I just had to make one of my first tutorials of the new year another wolf tutorial. This time I'll be showing you how to draw a majestic mexican wolf. Get your pencil and paper out and have at it!


