1
It is very important when drawing the Moon to have a basic idea of the major landmark. The dark areas of the Moon are called "maria" plural or "mare" singular. I've gone ahead an highlighted a few of the main ones in blue. The areas highlighted in or

2
Start out by picking your materials. I used a 9B pencil for my dark shading but any B pencil should work. An H pencil was used for light shading. I also used a compass to draw my initial circle. If you don't have a compass use something like a round

3
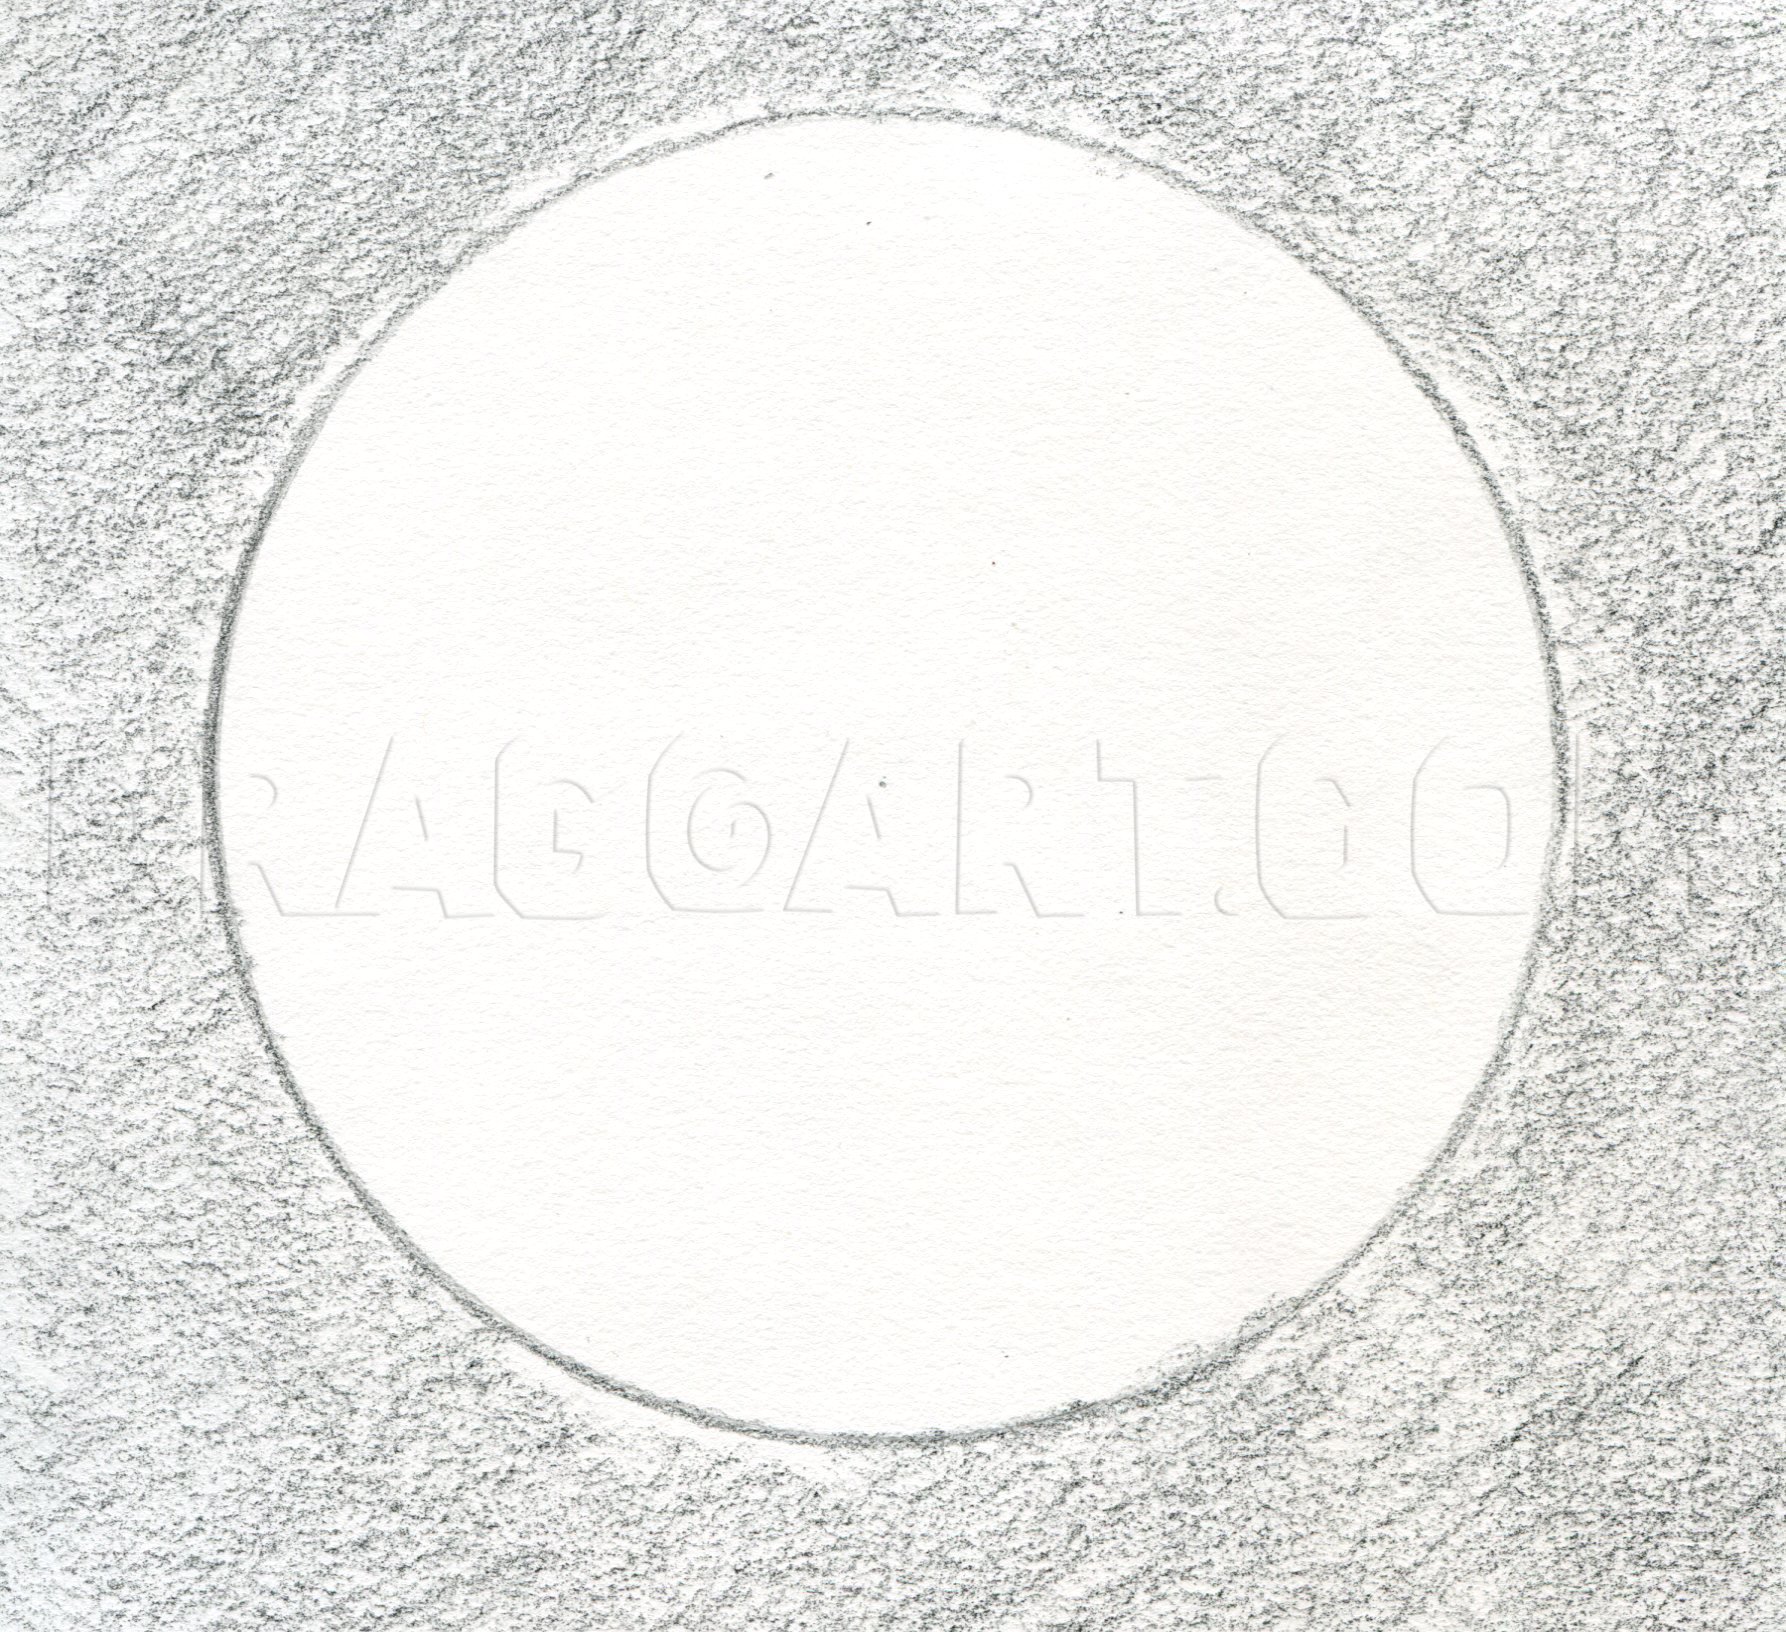
Start of by drawing a circle in the center of your paper. Draw it lightly.
4
Use a 9B pencil to roughly shade over the sky.

5
Blend in your shading using a paper towel or cloth.

6
Roughly shade another layer onto the sky using the same pencil.

7
Blend in your shading using a paper towel or cloth.

8
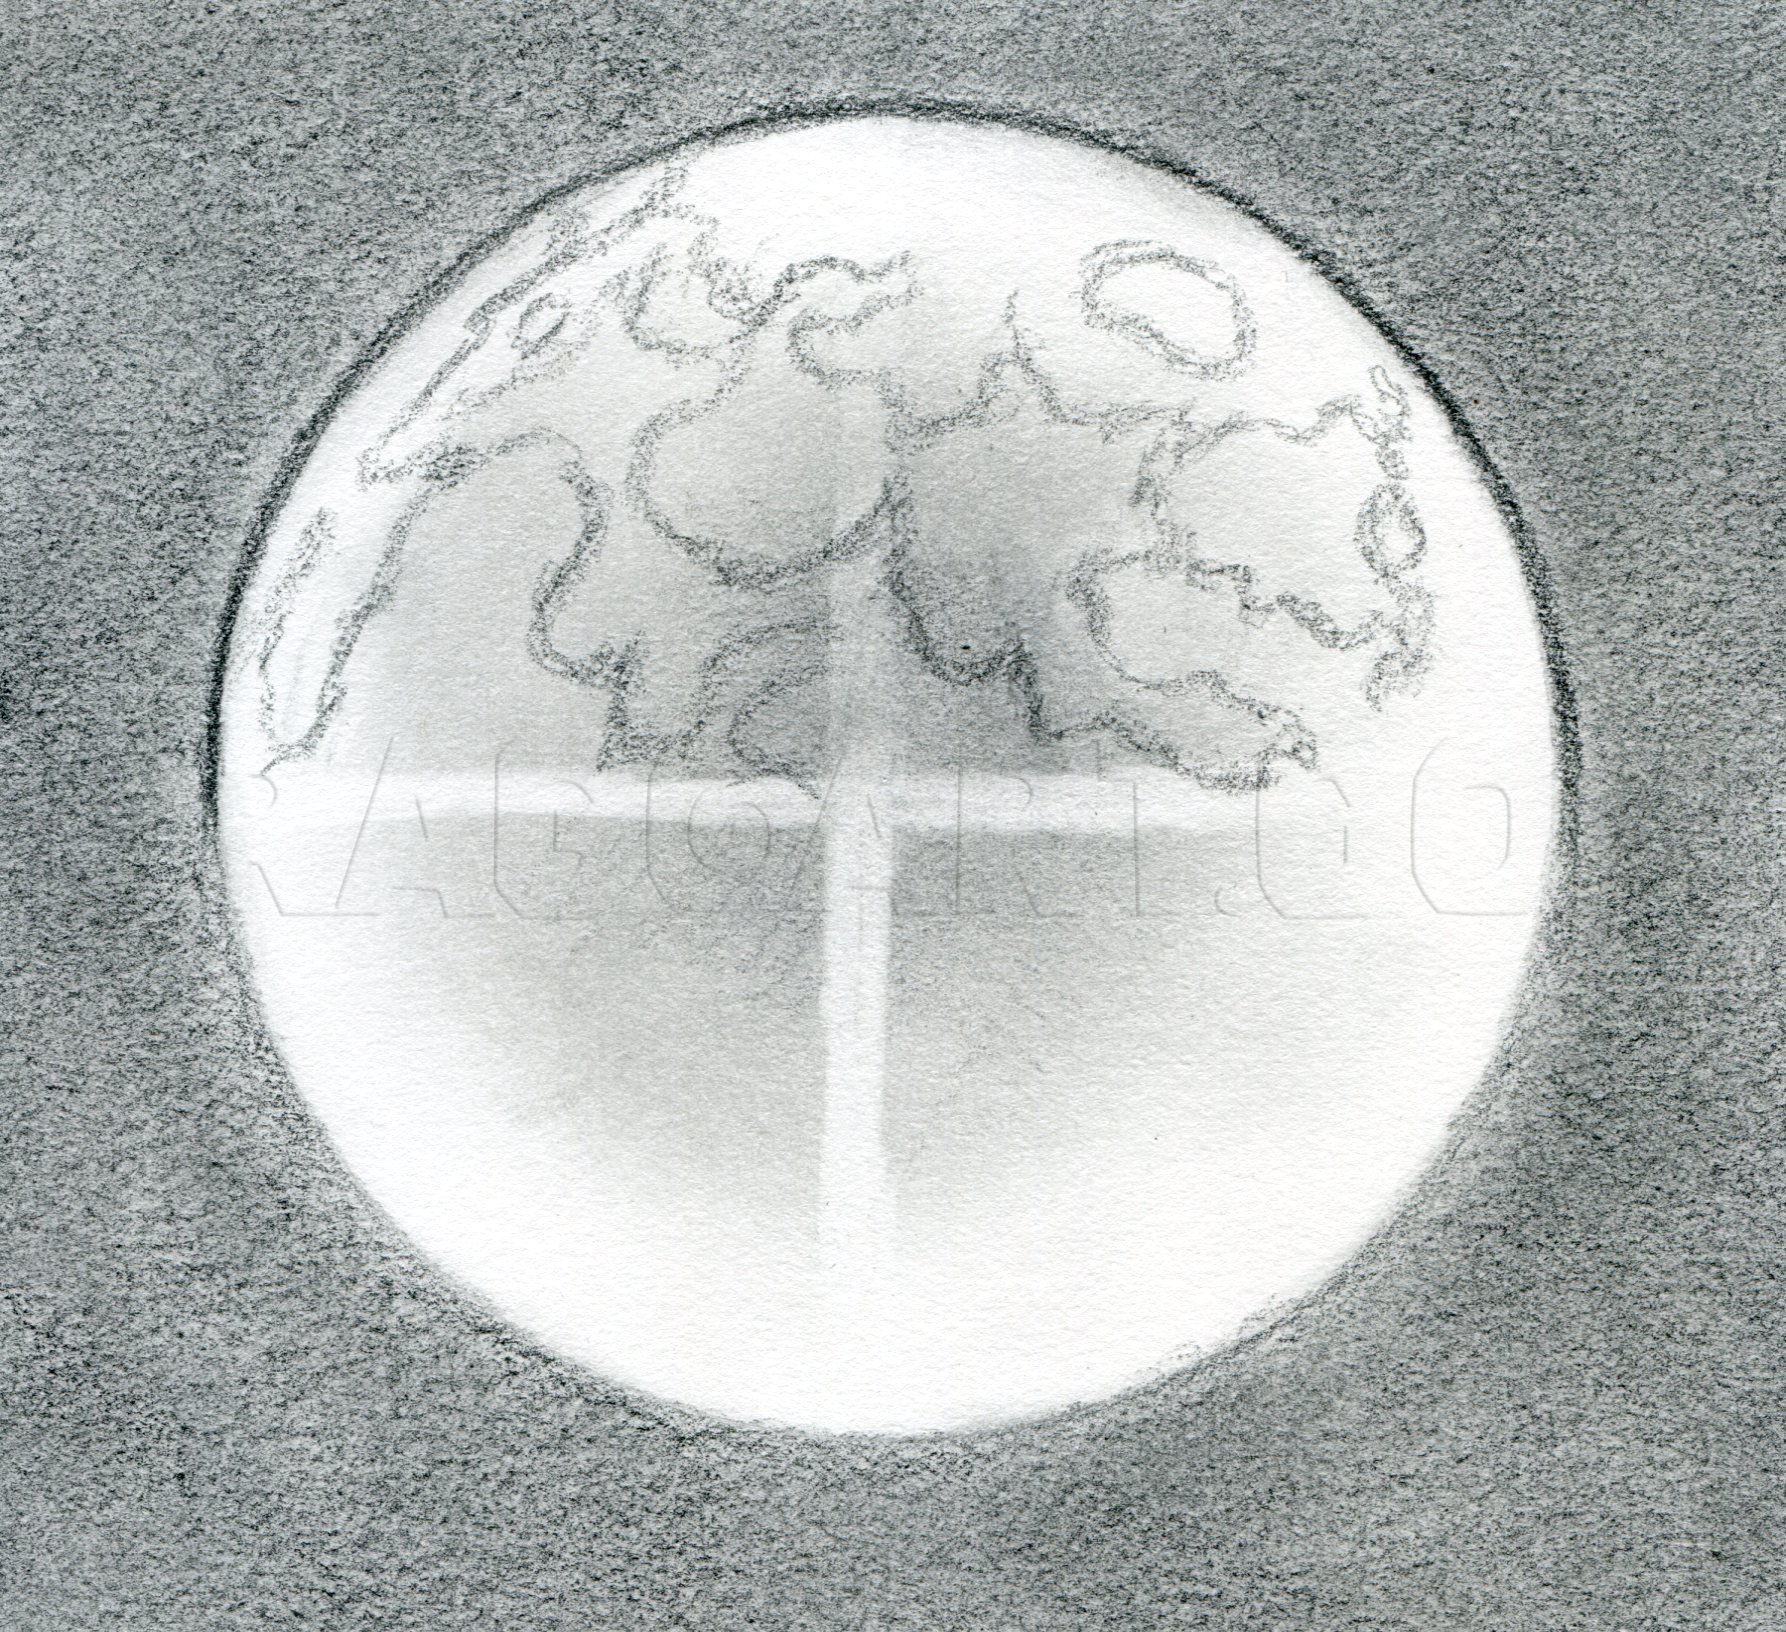
Use the same paper towel or cloth from the previous steps and blend the remaining graphite onto the Moon. Then take an eraser and roughly divide the Moon into quadrants.

9
Use the 9B pencil to start sketching the landmasses in quadrant by quadrant.
10
Continue sketching in. Build up your Moon's outline as you move along.

11
Sketch in the rest of the masses.
12
Lightly shade in the maria (dark spots) using a 9B again.

13
Build up the sky shading using a 9B pencil. Do not use a blending stump to smooth your shading anymore. Rely on crosshatching to make your shading even. Use an H pencil to outline the landmasses in more detail.

14
Smooth out your background sky shading with a 9B pencil. Make sure your outline is crisp and clean. Use an H pencil to shade in details on the Moon. Shade lightly on the light spots and with more pressure on the mares. Try to make your shading rough

15
Shade in the background for the next quadrant and define the landmasses.

16
Shade in the rest of the quadrant.

17
Start work on Tycho's quadrant. Erase in rays spreading out from the Tycho crater when you define the land masses.

18
Shade in this quadrant with an H pencil on the moon and a 9B pencil on the sky again.

19
Build up the shading on the final piece of sky and define the rest of the land masses.

20
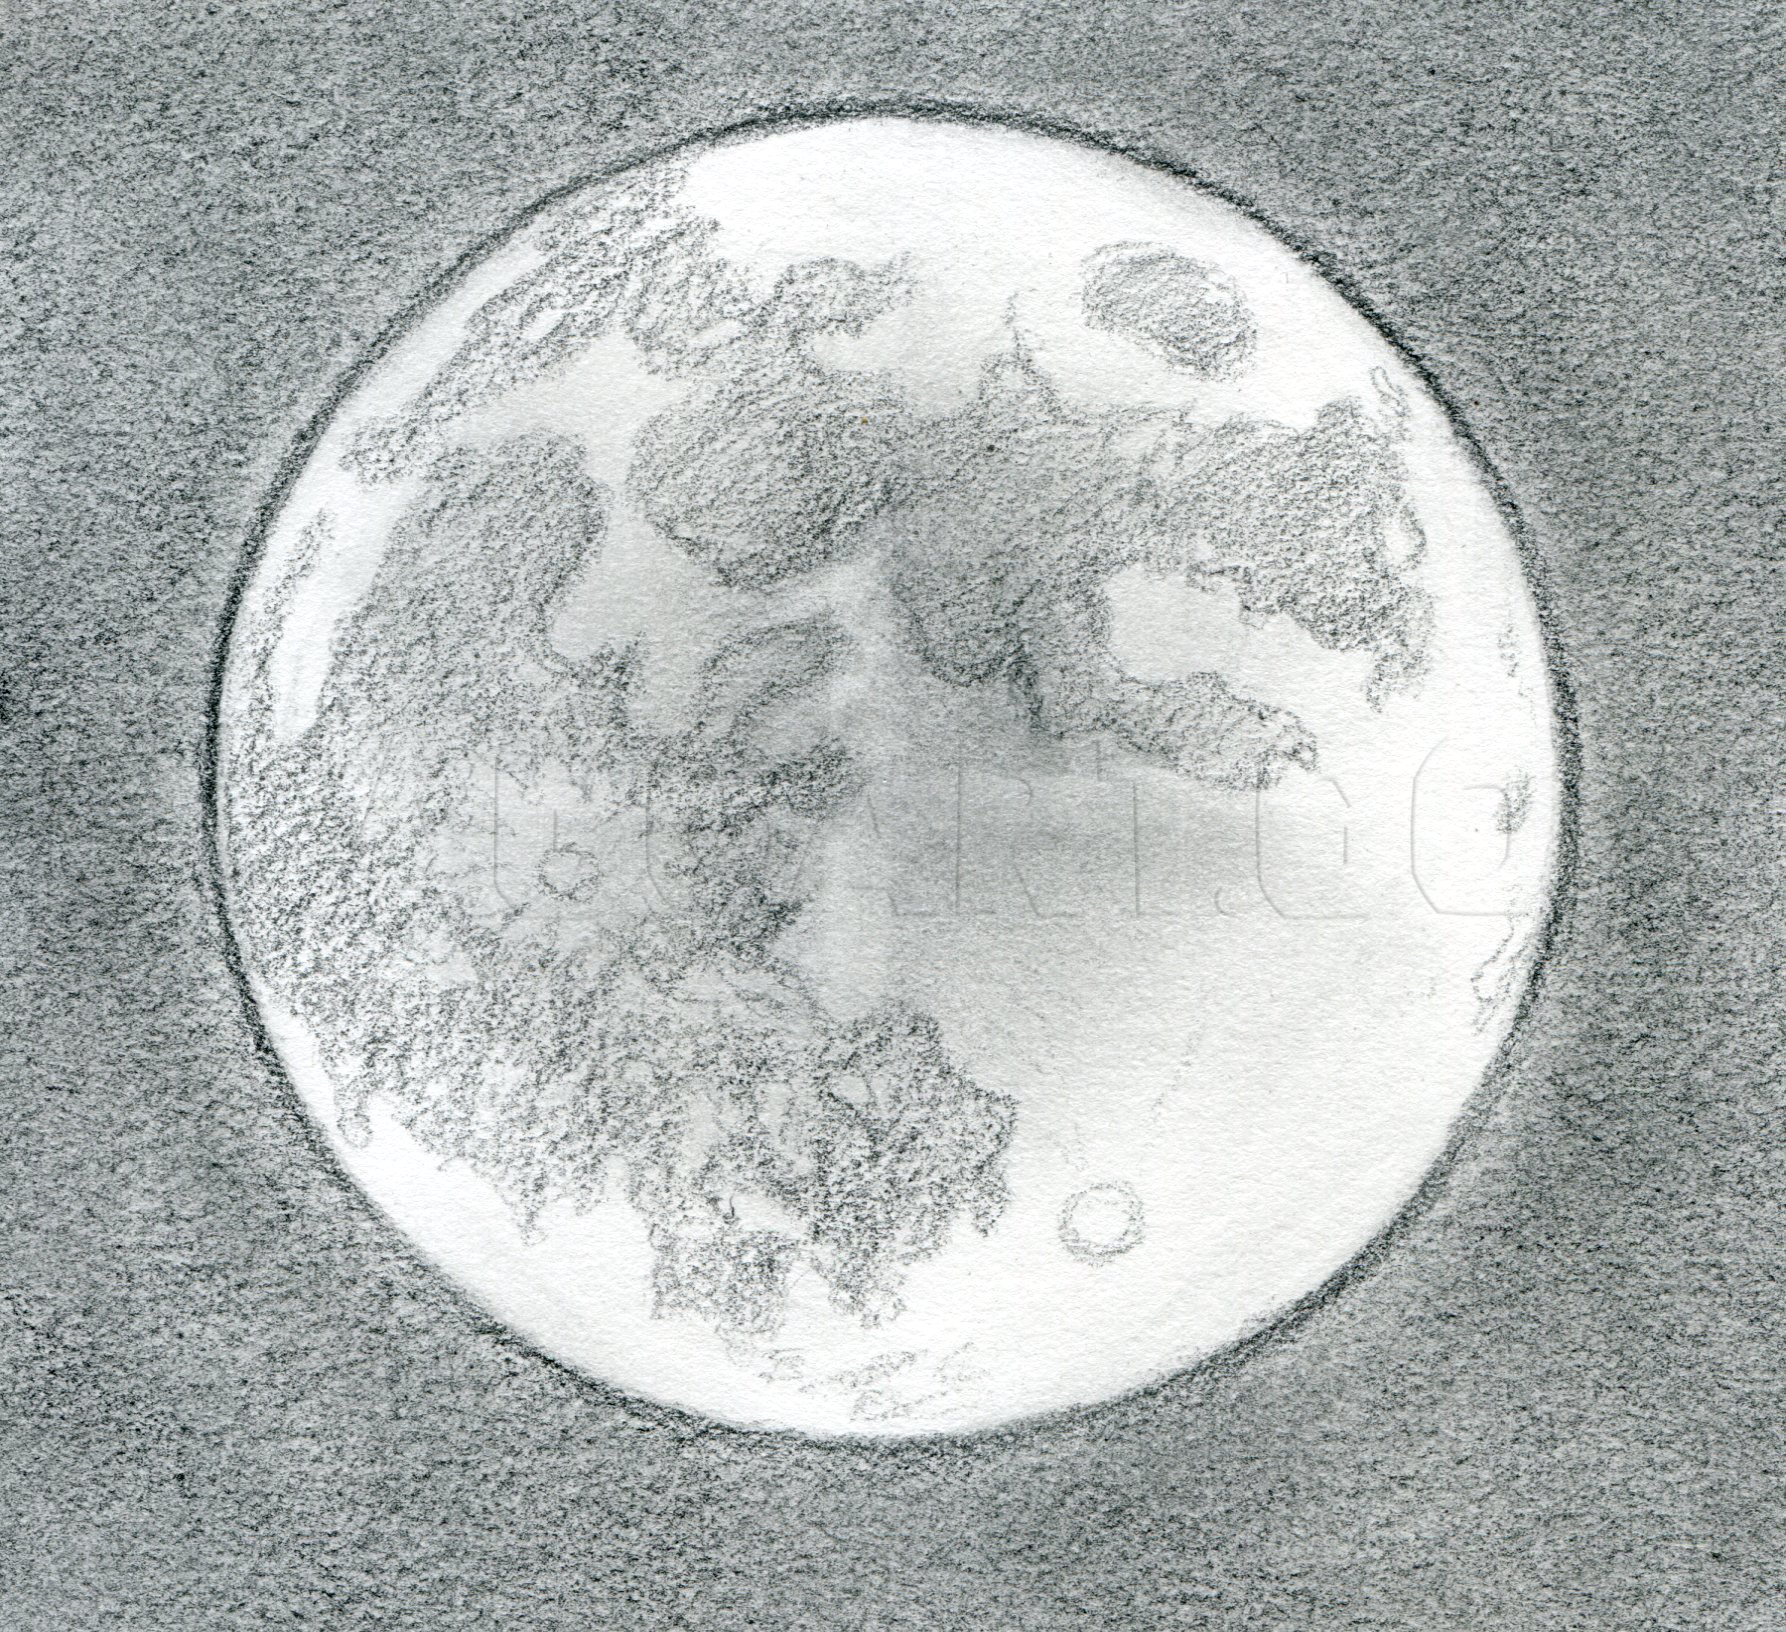
Finish up your Moon by shading the rest of the sky and adding final details to the Lunar surface. Compare your drawing with the first reference drawing to make sure that you have the main landmarks in about the right positions. Comments and questions
Comments 0
Details
April 13, 2012
Description: This is a tutorial on how to draw the Earth's moon, Luna. I've drawn the Moon in a couple of tutorials before but never in much detail. This tutorial should help you draw moons that are more than just white circles in the night sky.