

1
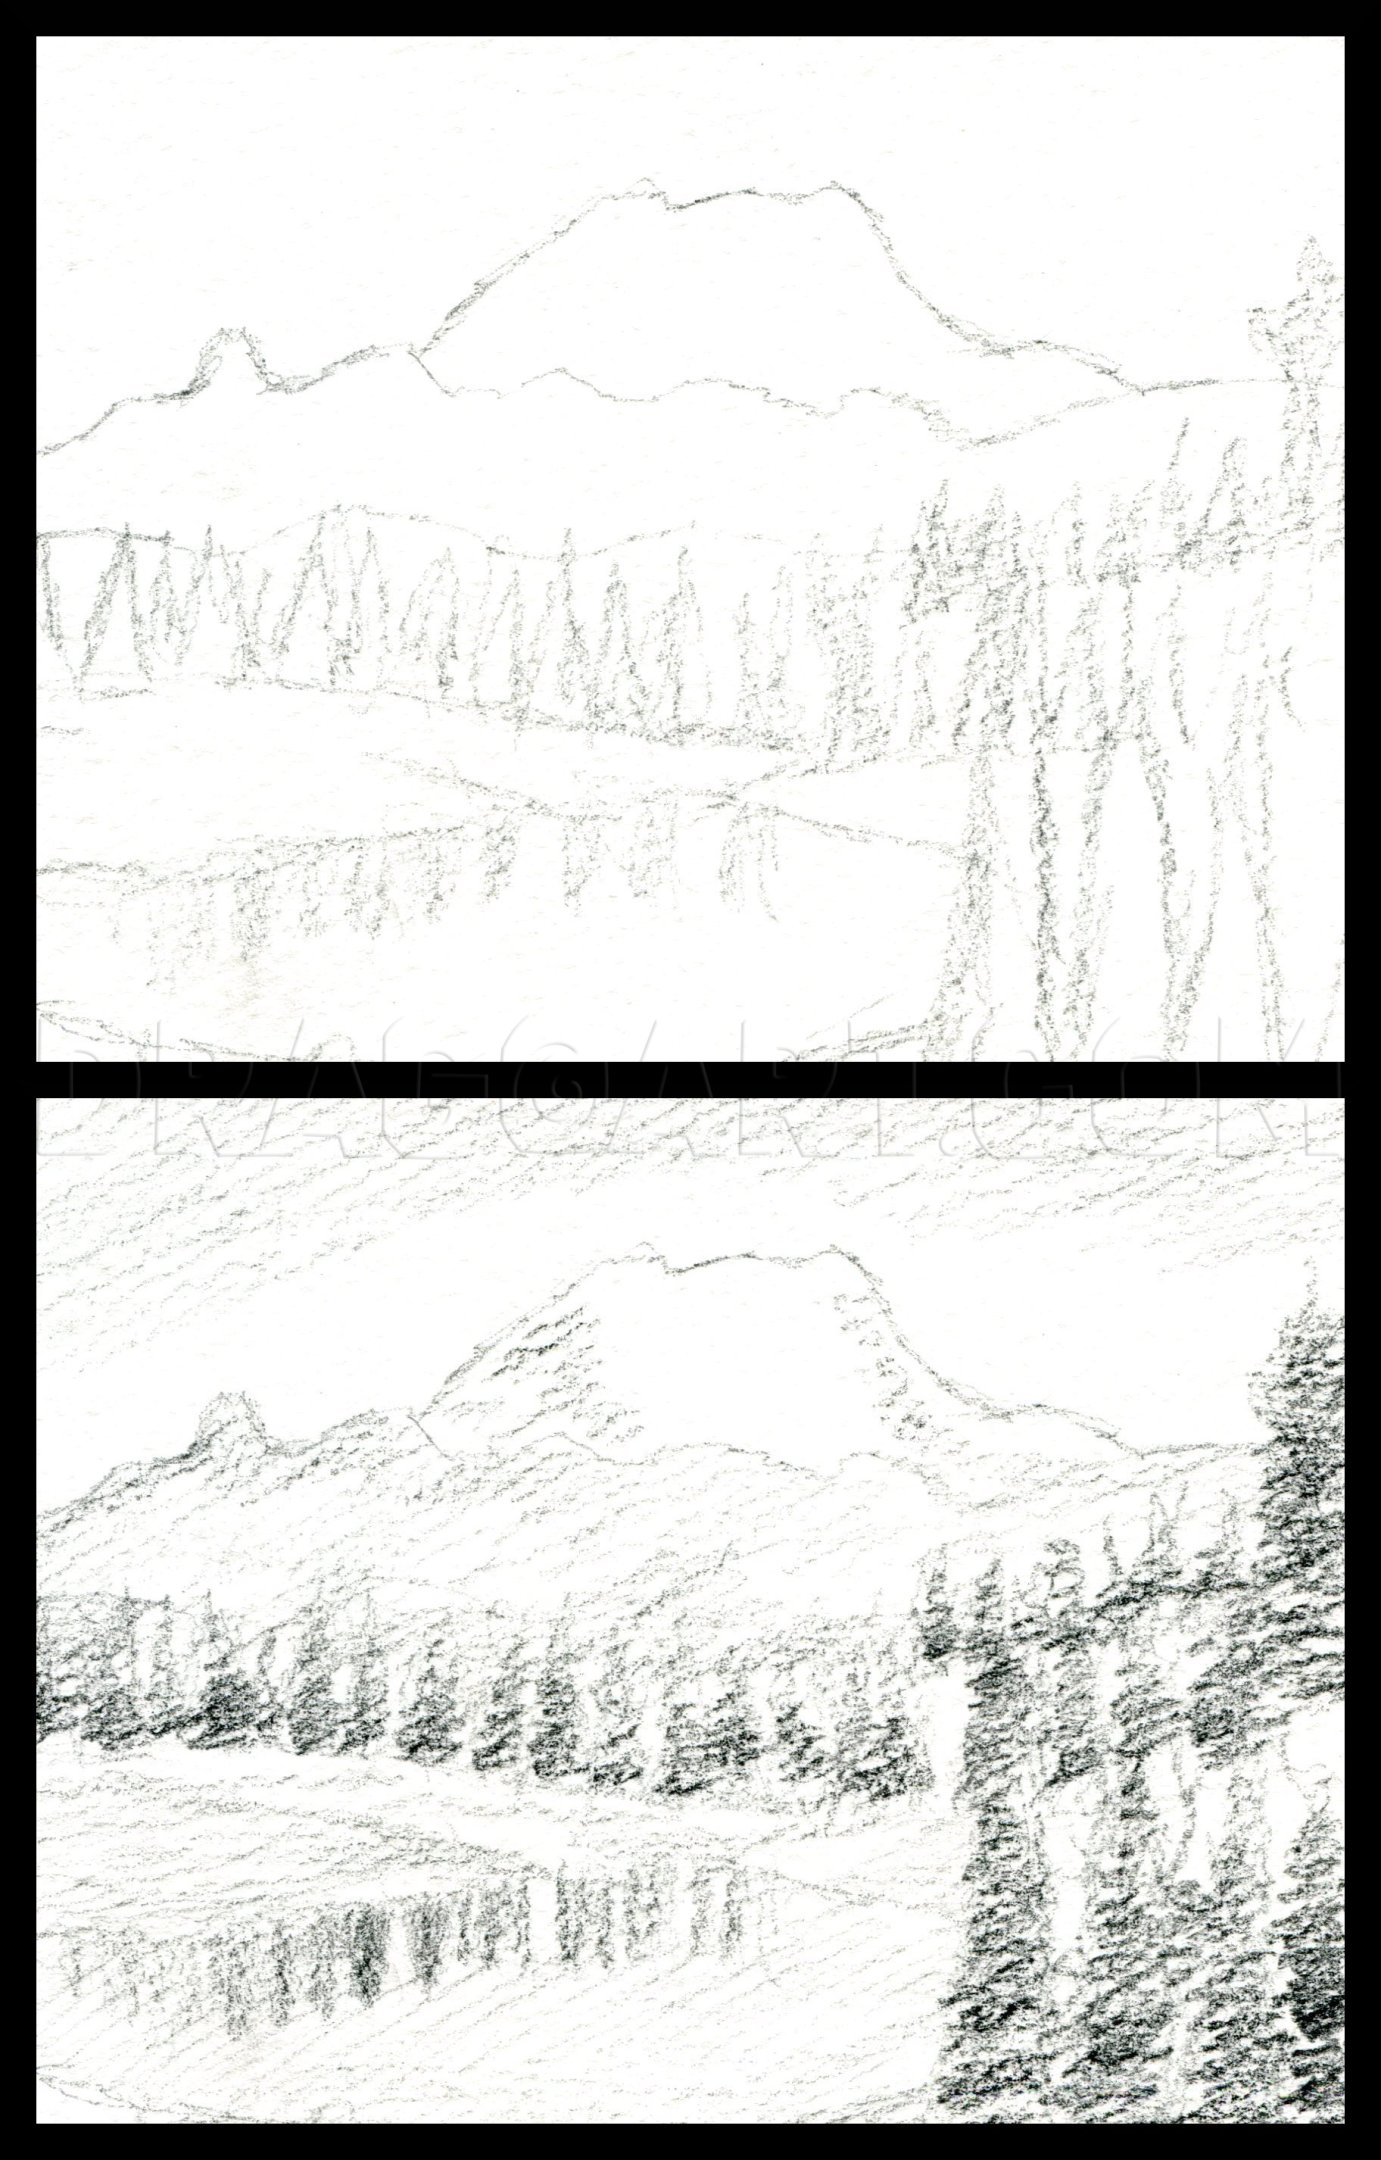
Before you try and draw anything, sketch it first! I used a water-soluble graphite pencils and Derwent Inktense pencils on watercolor paper for my sketches. You can more info about both of these at my website in the "Art Supplies" section. I started
2
I then used brushes and water along with my pencils to finish up my sketch. Just try to get a feel for the way the mountains and landscape flow. Don't aim for perfection.
3
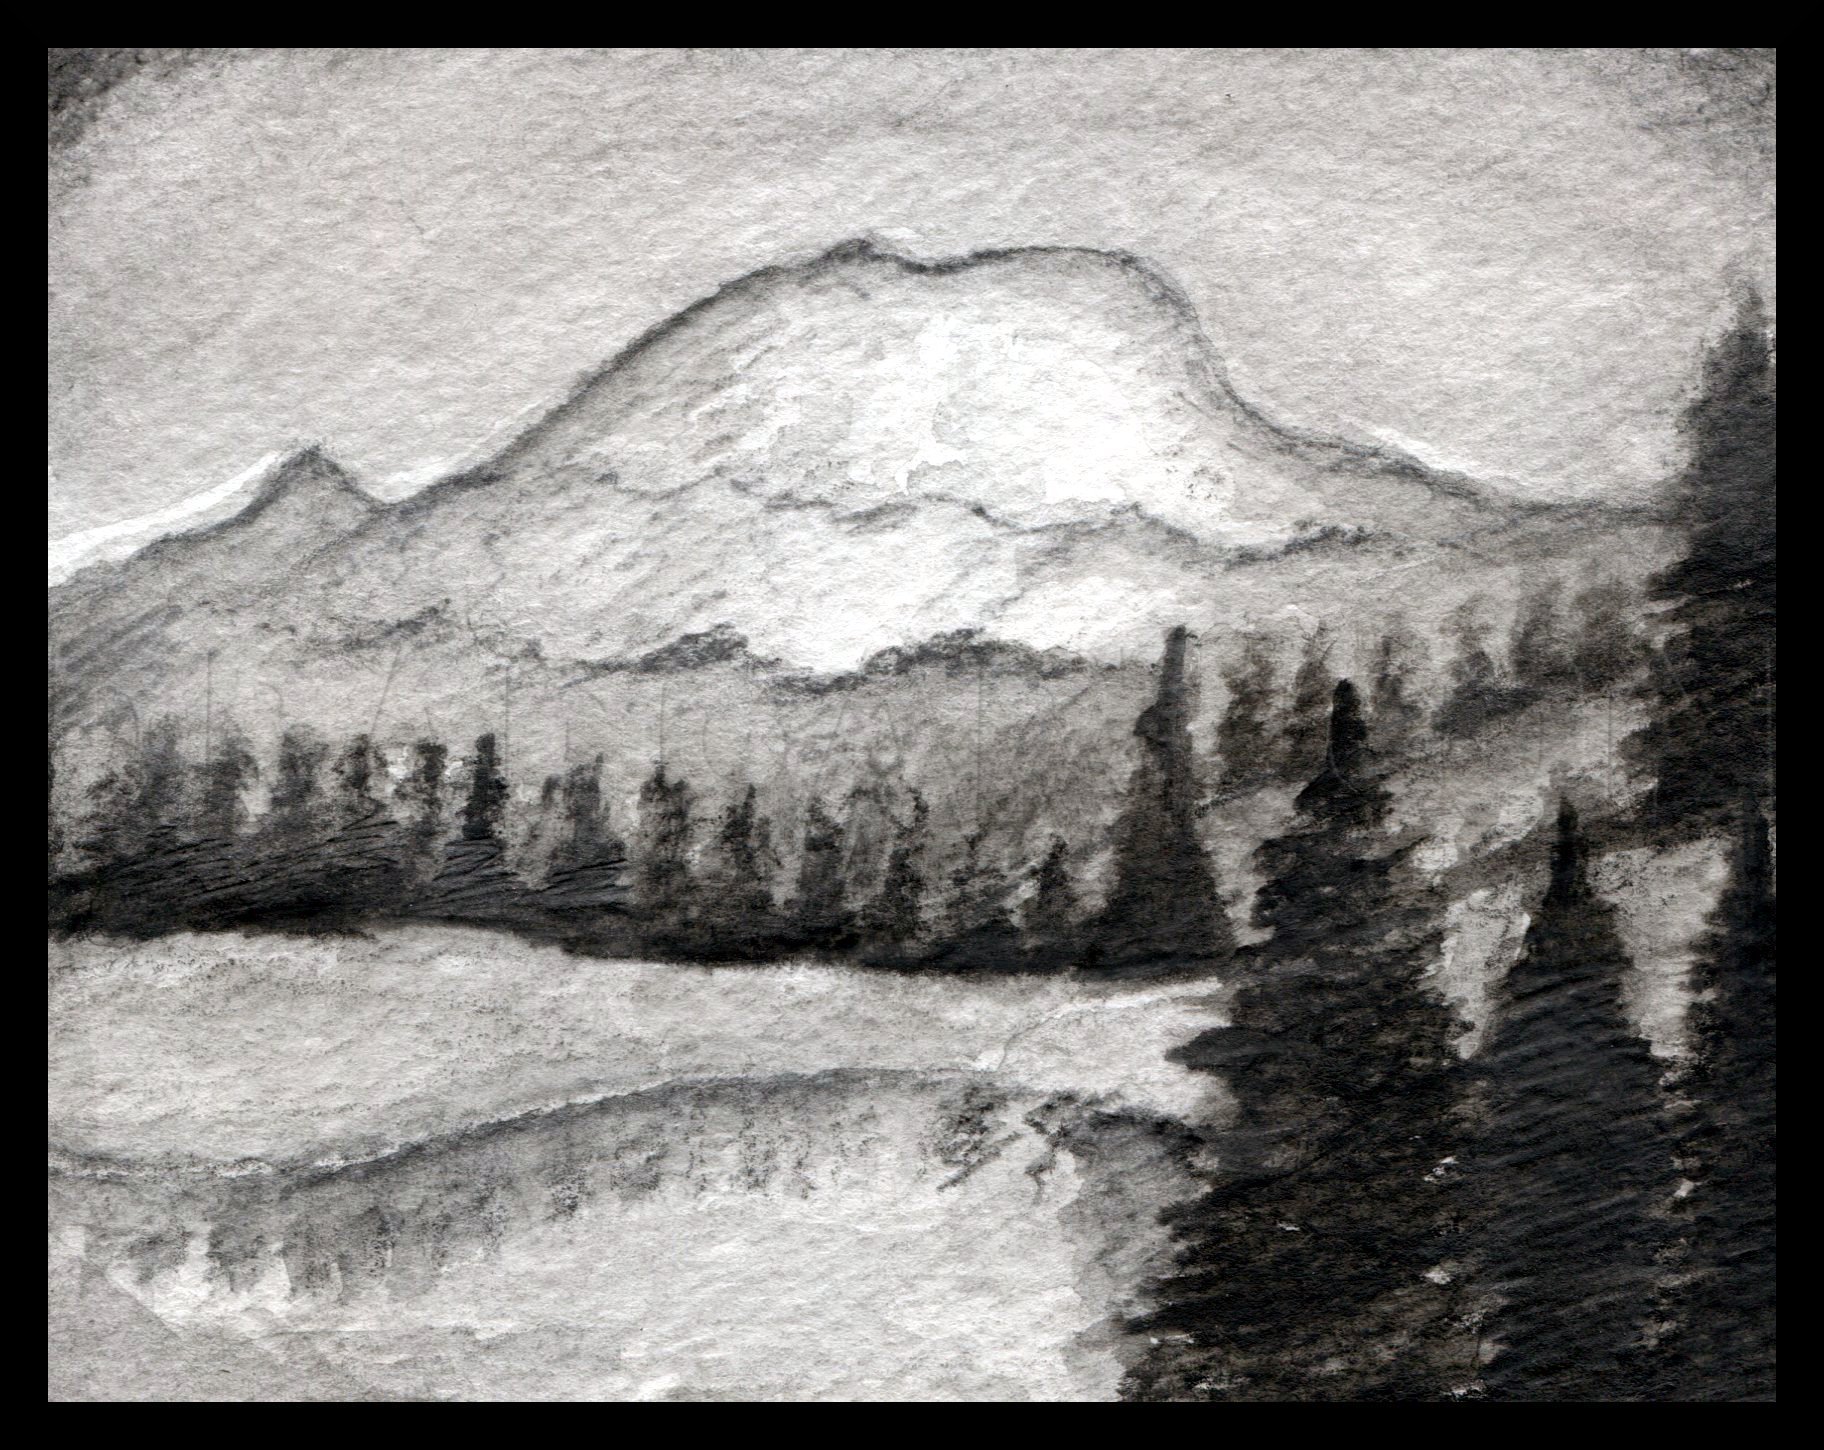
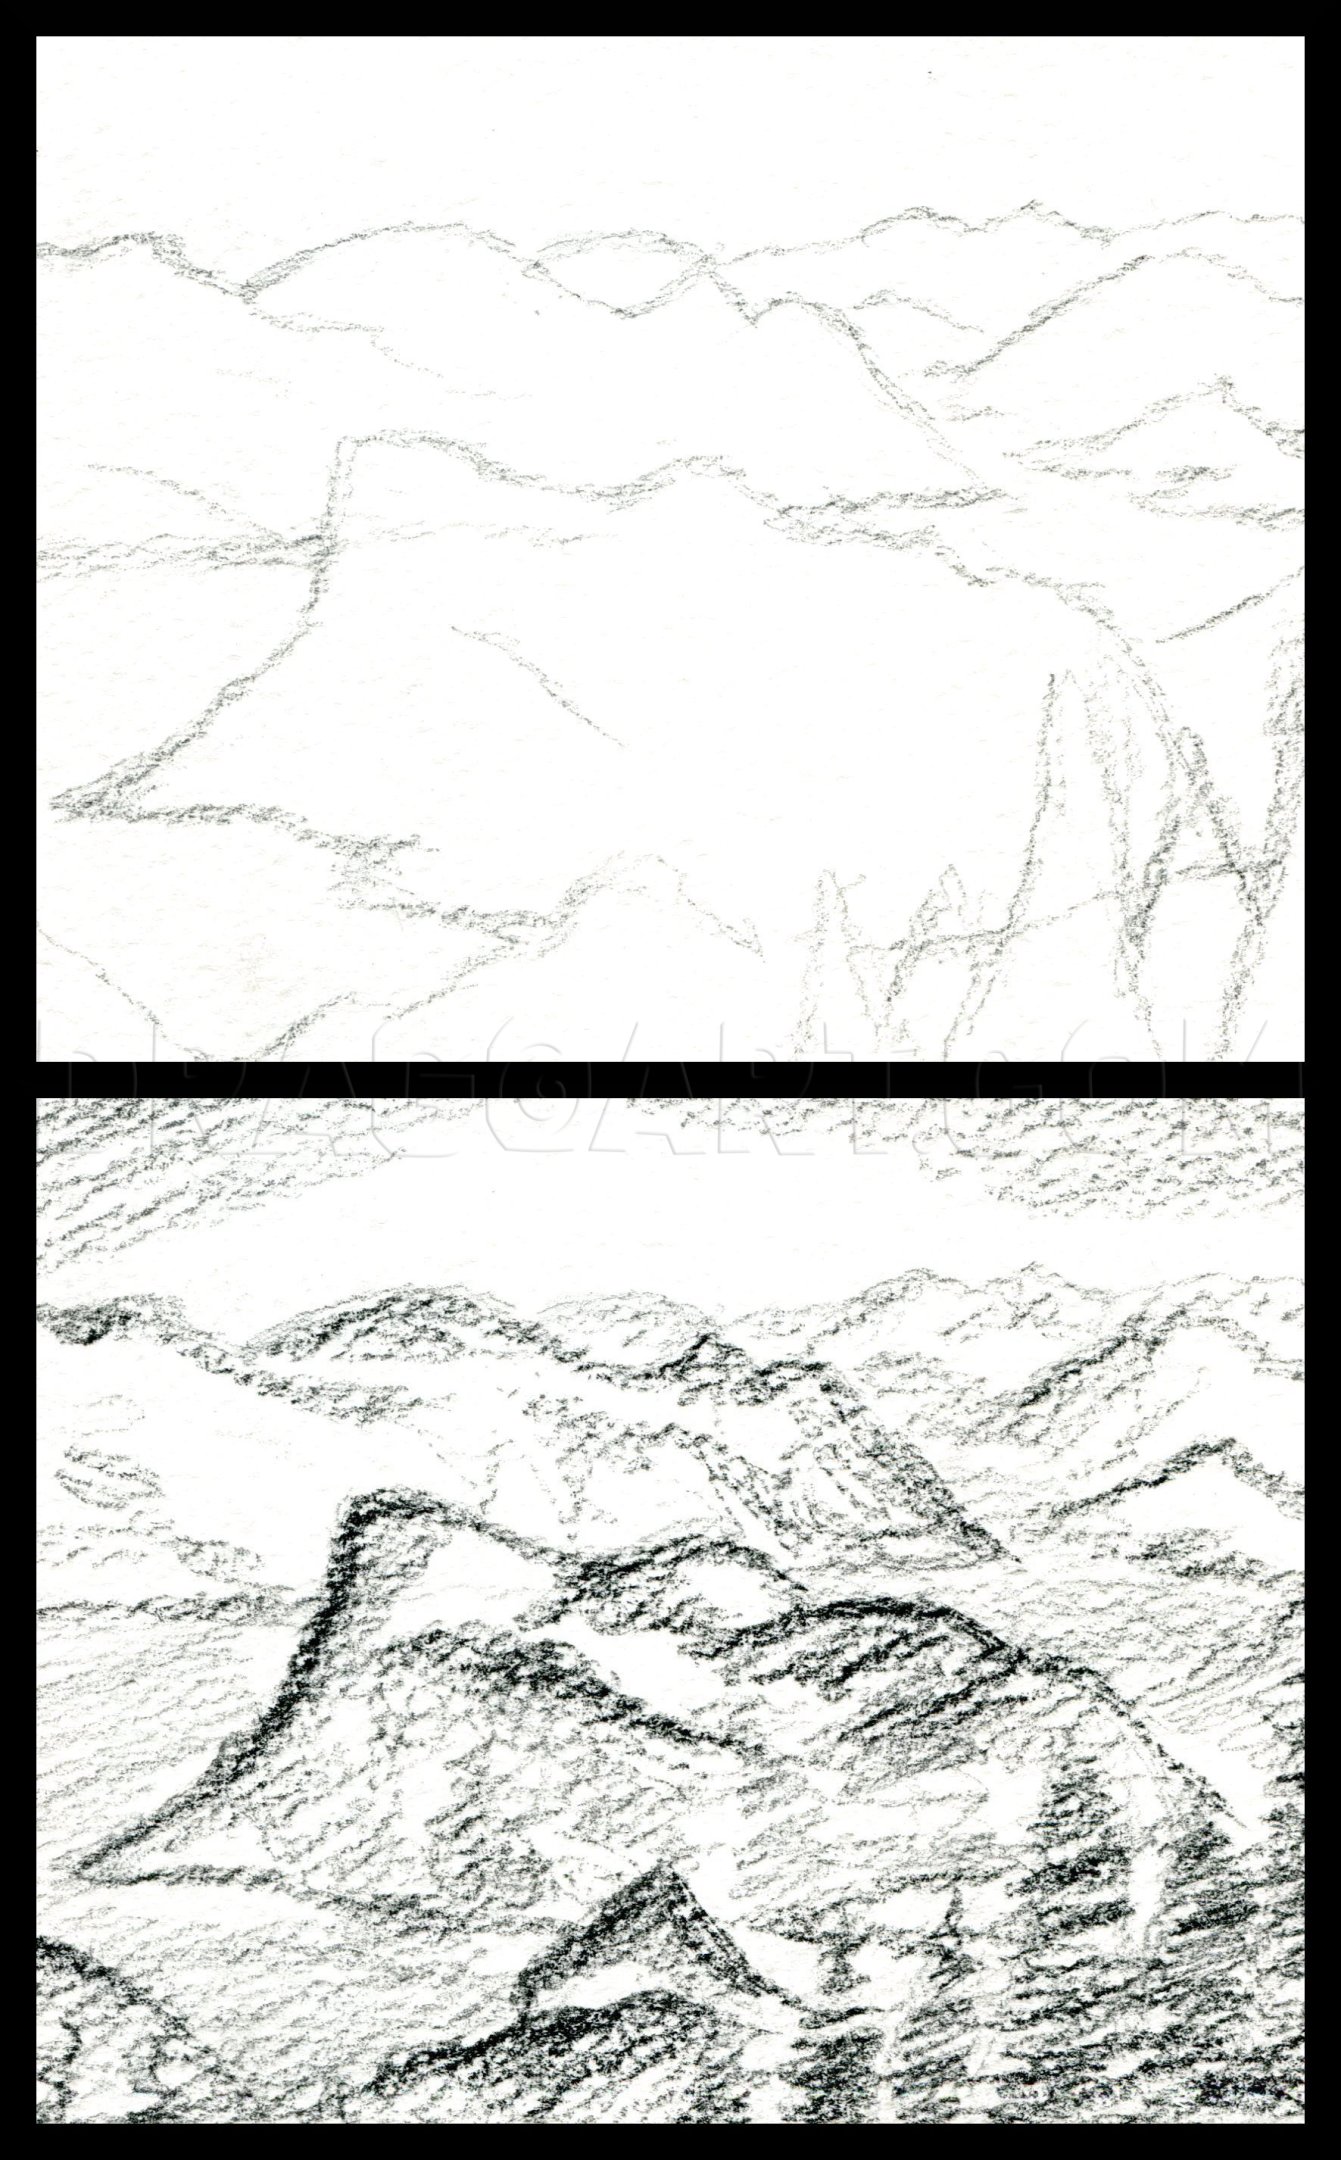
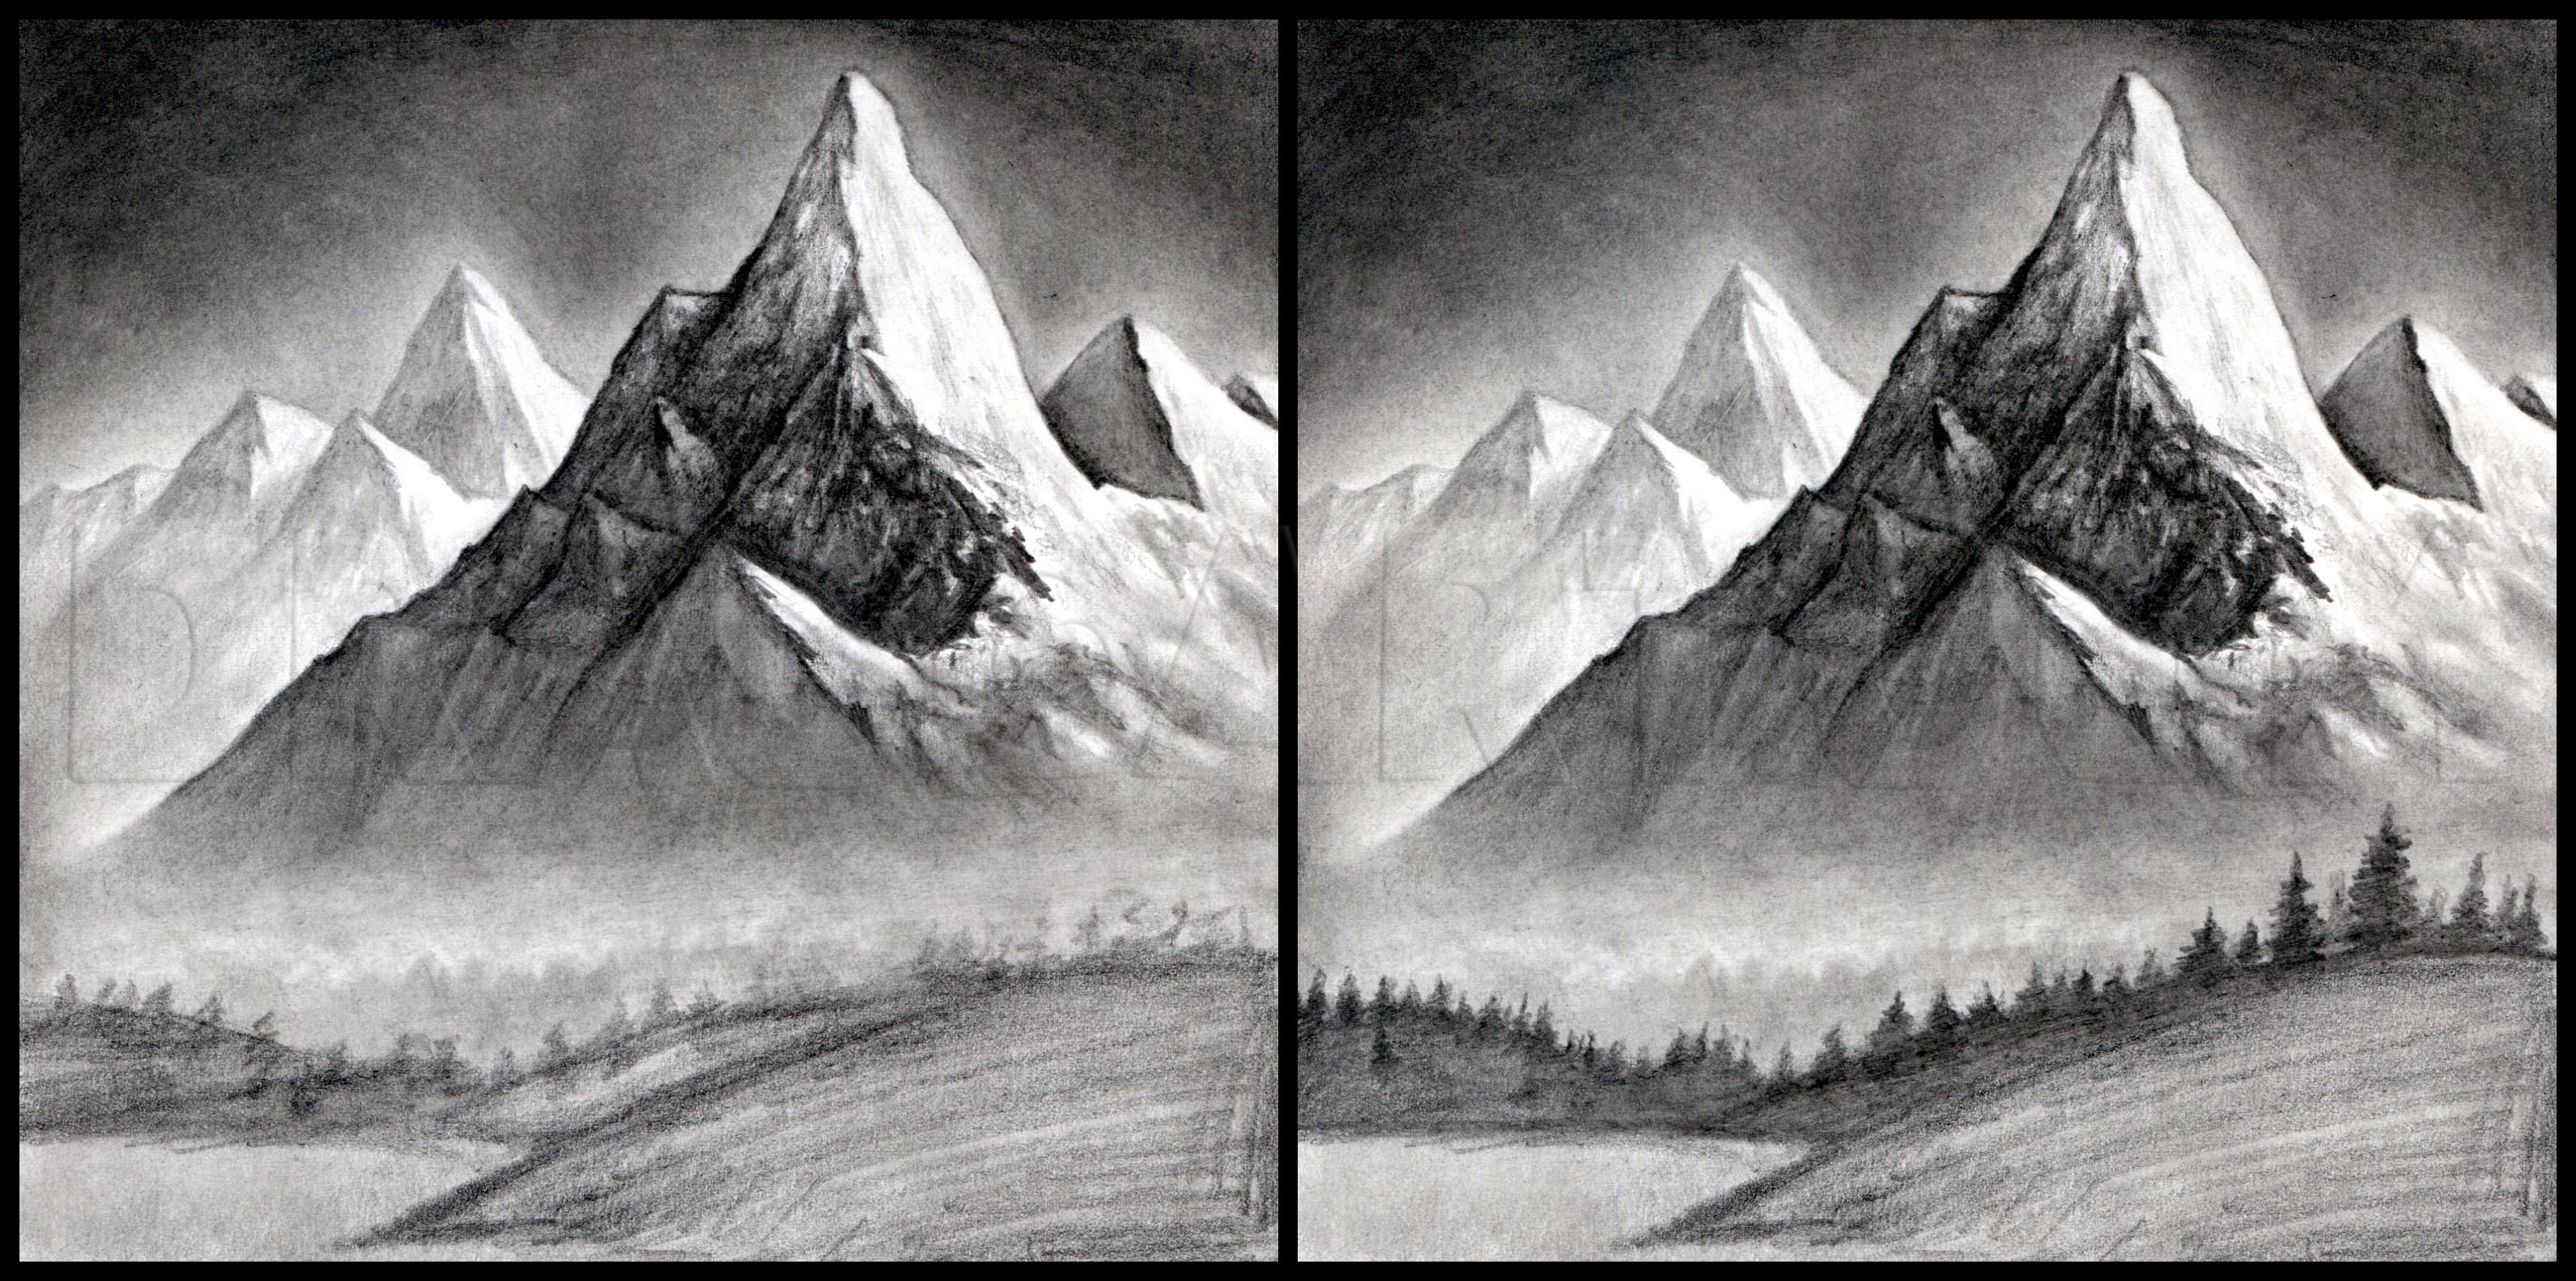
My second sketch is from a different view of different mountains but it follows the same steps.

4
I finished up water and brushes again. An important lesson from this sketch is that the mountains furthest away sort of fade and lighten into the background. You'll see this principle come up in the final drawing.

5
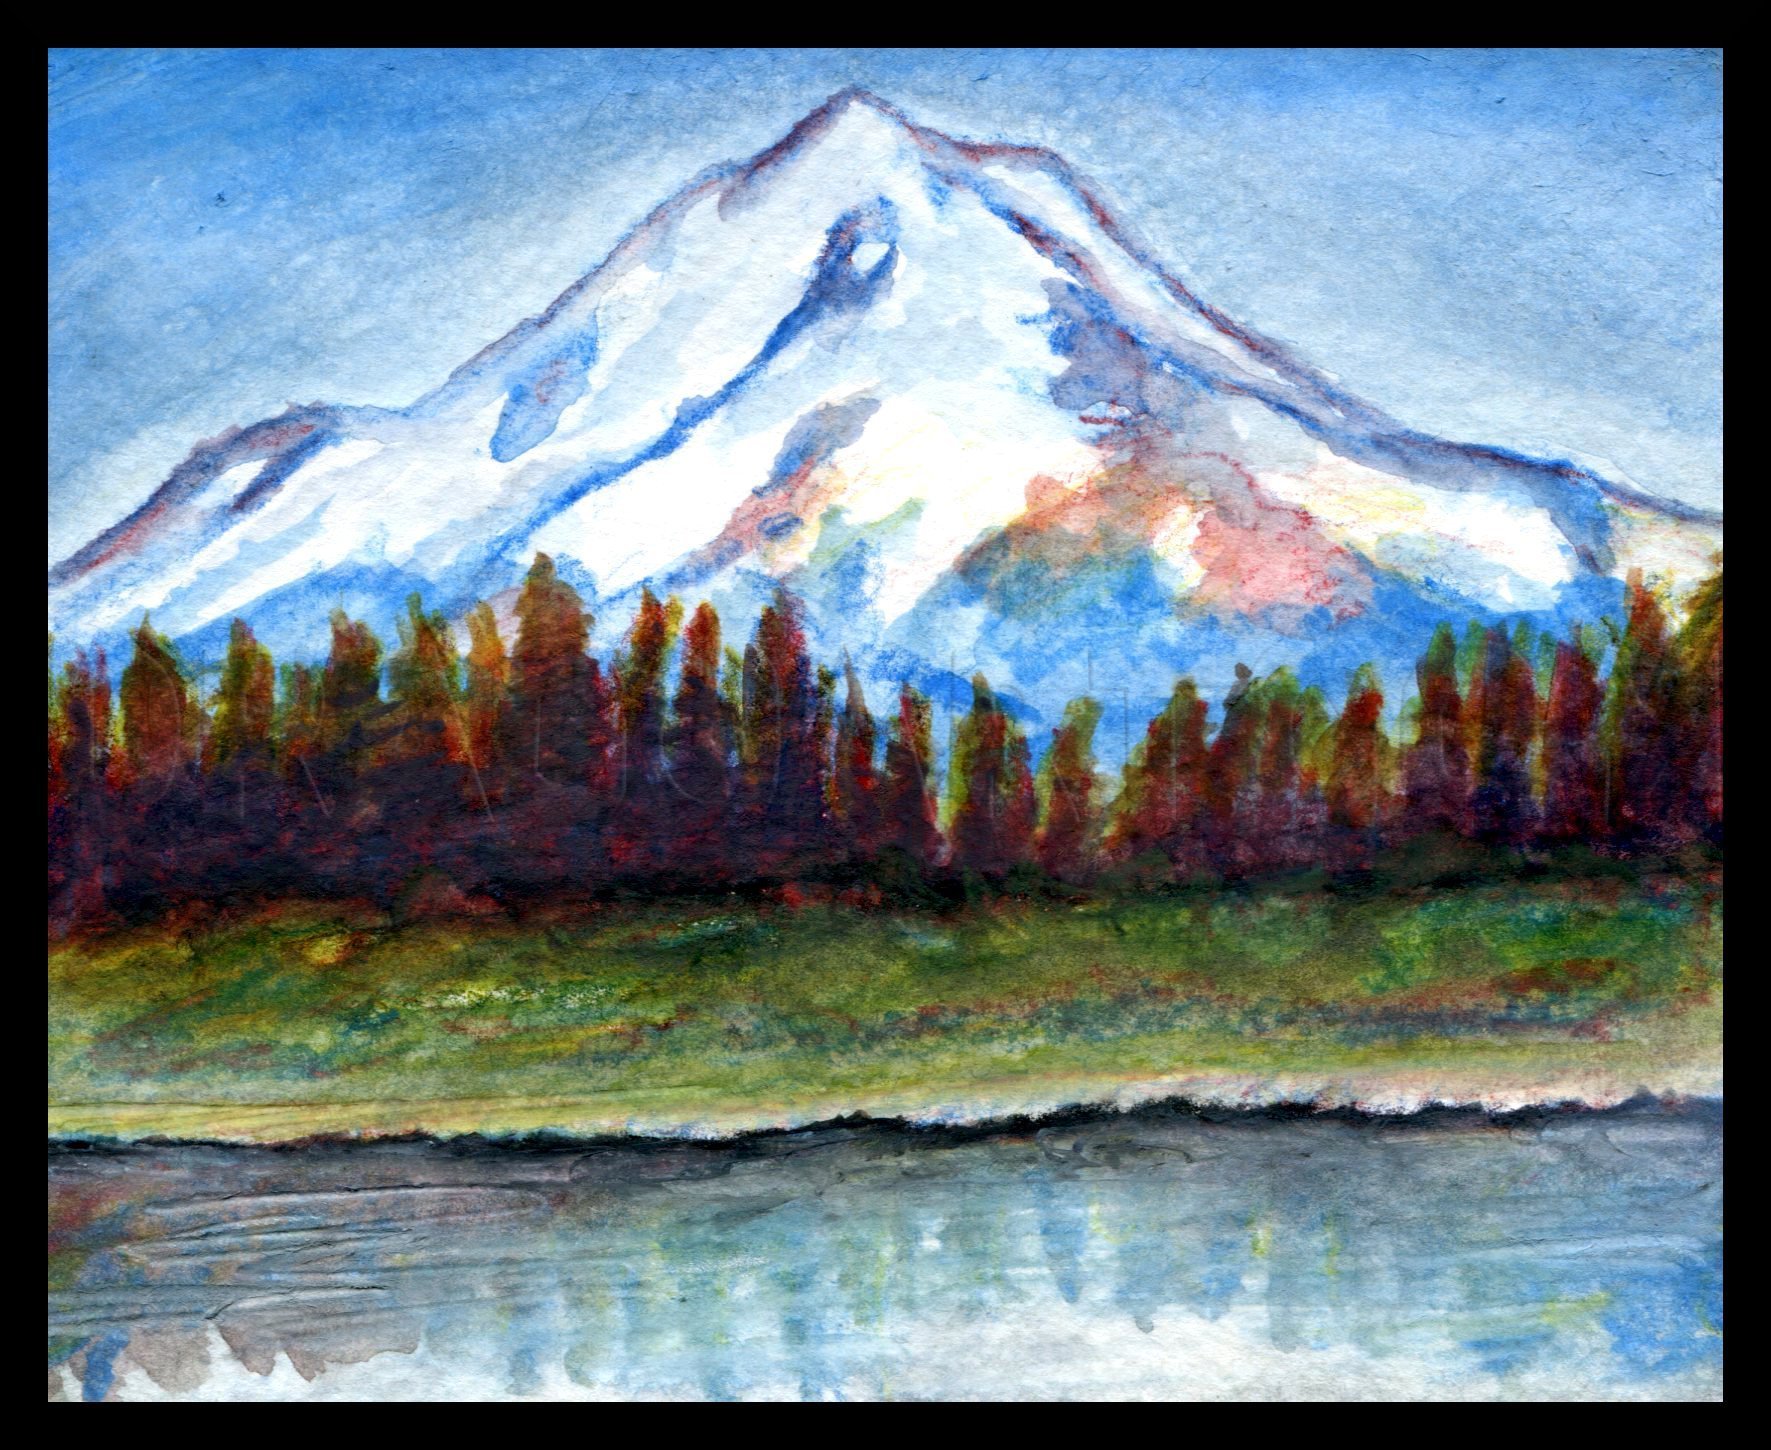
My final sketch was done in color using Inktense pencils. I started by sketching everything out lightly in blue. I then lightly added red and yellow to hint at the rest of the colors. The final colors were made by mixing the three primary colory with
6
Now I finished up my sketch in the same manner as with the black and white ones. After three sketches, I thought myself ready for the final drawing. So, let's get started!

7
I started out by picking my pencils. I used an HB pencil for shading and sketching, a 3H pencil for the lightest shading/lines, and a 6B pencil for dark shading.

8
Start out by adding a sort of gradient shading to the paper using an HB pencil. Roughly shade then blend in your lines using a blending stump.

9
Erase you mountains into the top half of the drawing. I white eraser works well for these purposes. After that darken and blend in the sky using a 6B pencil and a blending stump.

10
Use an HB pencil to progressively shade the shadows of the foremost mountain. Try to give your shading uniform direction instead of just scribbling. After that lightly shade in the mountains on the left.

11
Define the mountains on the left. Blend in your previous step's shading using a blending stump then erase the highlights. Use a 3H pencil to define your shadows. After that, start defining the foremost mountain's outline using an HB pencil.

12
Start defining the foremost mountain using more confident shading with the HB pencil for the shadowed side. Use a 3H pencil on the light, snowy side.

13
Finish up the rest of the shading on the mountains make sure to blend in the base of the mountains as much as possible to make them look sort of hazy. After your mountains look complete use an HB pencil to sketch in some hill in the foreground.
14
Use an HB pencil to draw in trees. Hint at the trees in the background by erasing tree like stubs in the mist.
15
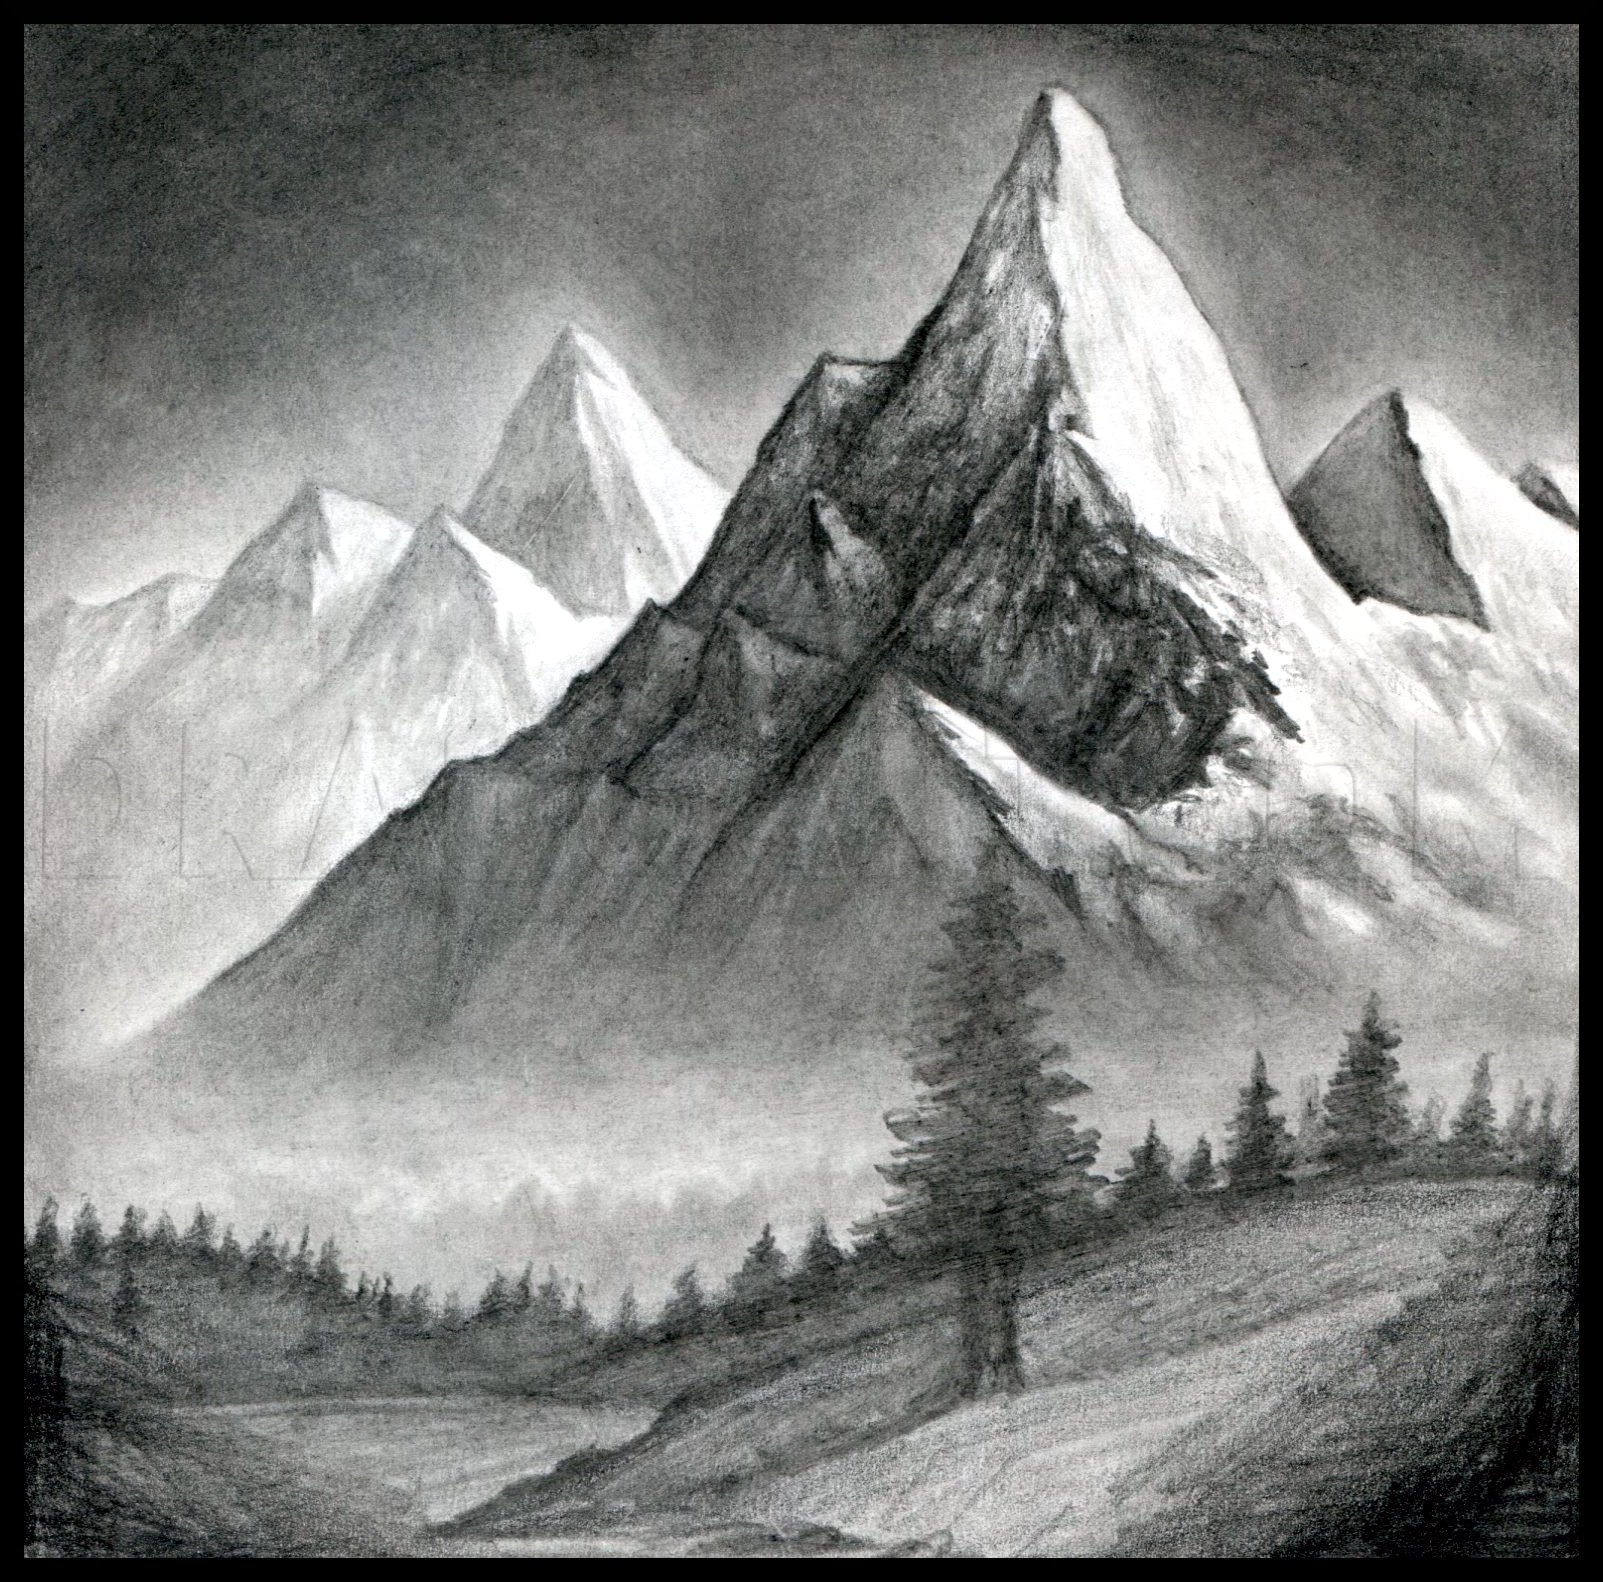
Now shade in the foremost tree using an HB pencil again. Roughly shade in the corners using a 6B pencil.

16
Shade in the foremost tree using a 6B pencil to make it pop out more. Blend in the rest of the shading. Finish up the drawing by adding some finishing details here and there mainly to the background and mountains. I hope you guys have fun with this o
Comments 0
Details
February 26, 2018
Description: Hey everyone, this is my first landscape tutorial and it's a fun one. If you've ever watched Bob Ross painting you'll understand where my inspiration for my landscape technique comes from and if you've never watched "The Joy of Painting" I suggest you do. It's a great show for all artists. Get your pencils ready and get ready to draw some mountains!


