1
Here are the pencils that I used for this tutorial. HB was used for sketching and dark shading. I used F for dark lines and H for light lines.
2
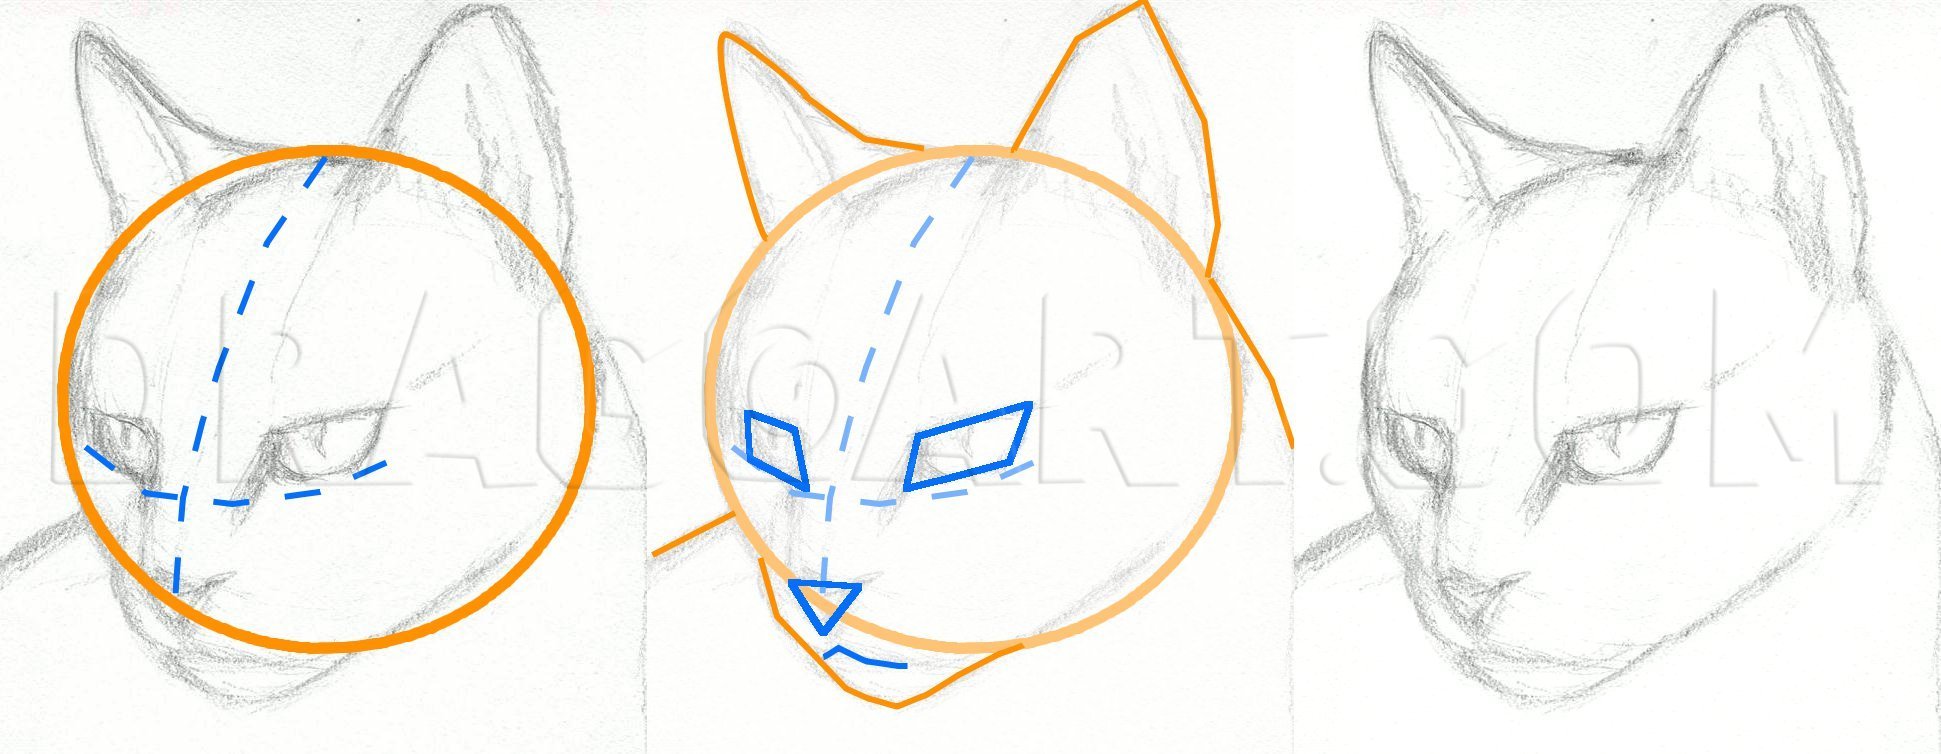
Start out with a basic sketch of the cat's head. Refer to the orange and blue guidelines if you need them. Don't get caught up in detail and keep your lines very light.
3
Once you have your sketch go in and define the features a bit more. I used an F pencil for this. I find it easier to start with the eyes and work my way outward.
4
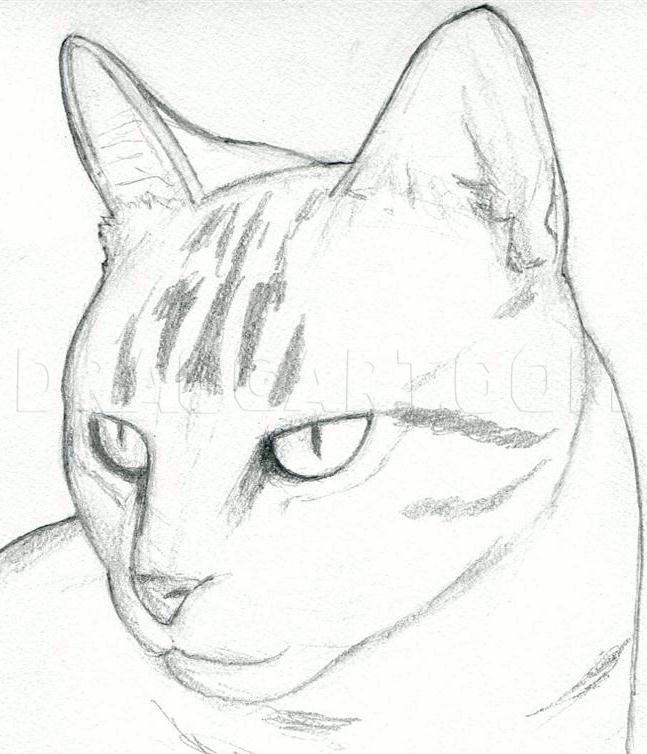
Finish up defining the lines and sketching in the fur stripes. Make sure that your outline is nice and solid.
6
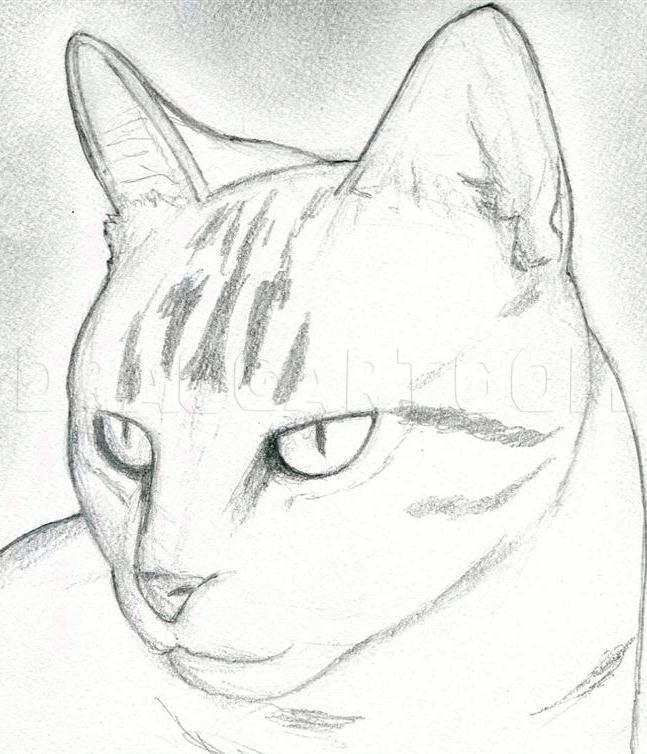
Lightly shade in the darker spots of the cat. Use a cloth or tissue to get your shading fairly smooth.
7
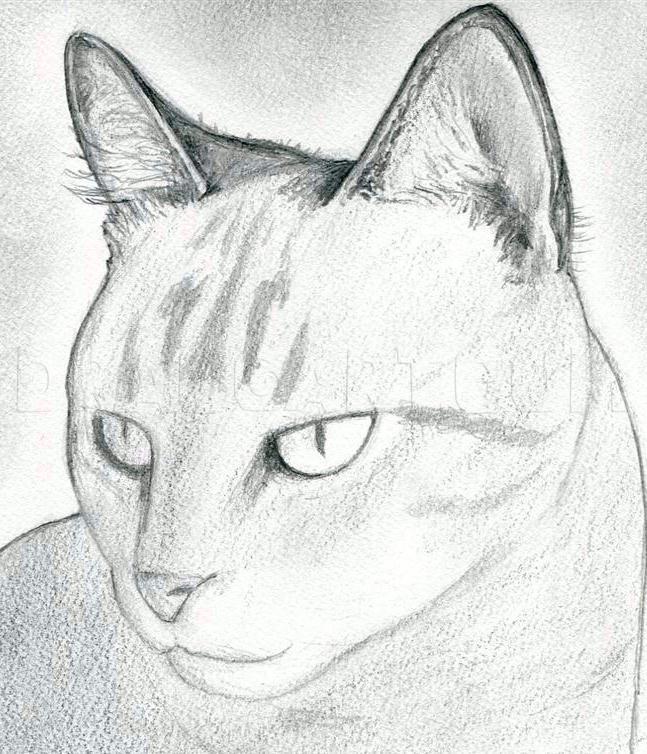
Start shading from top to bottom starting with the ears. I used an F pencil for the darker lines and an H for the lighter ones.
9
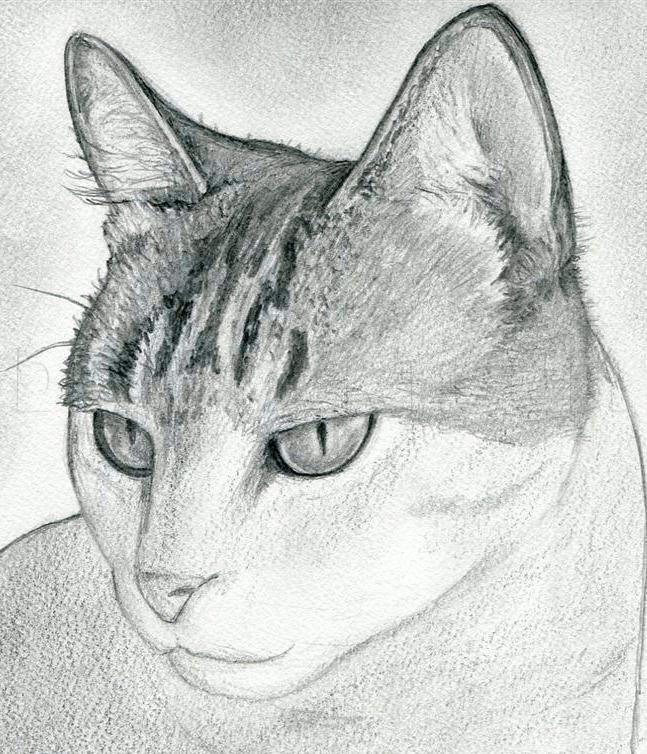
Now, bridge the gap between the ears and eyes. Pay attention to line direction when drawing the fur. Keep your lines short and confident.
10
Shade in the rest of the face. Notice how I roughly erased whiskers around the outside of the mouth in preparation for the next step.
11
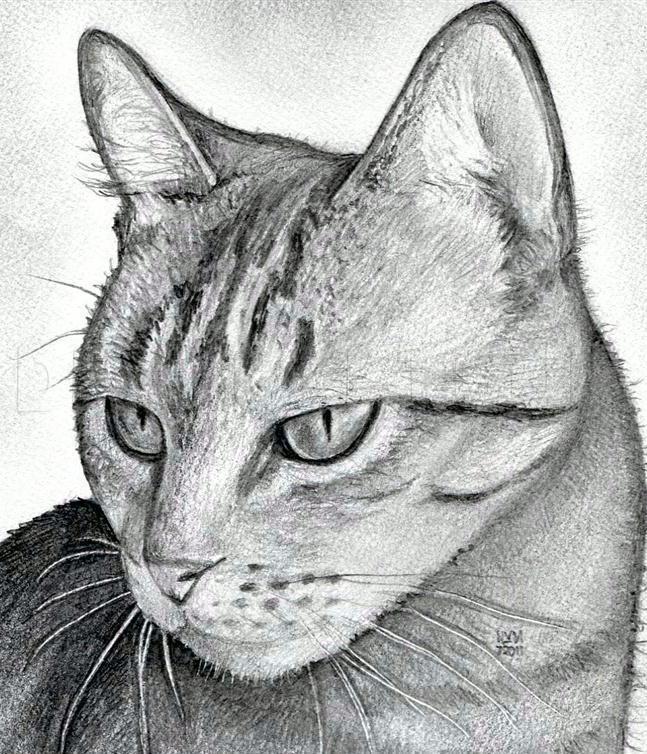
Start finishing up the drawing by defining the torso and whiskers. It's interesting how much of a difference adding a few whiskers can make to your drawing!
Comments 0
Details
July 20, 2011
Description: Hey everyone, here's tutorial on how to draw a cat's portrait. Get your pencils ready and have fun!
