Art
Battles
Live
News
Contest
Contact Us
Join
Login
Battles
Tutorials
Art
News
Live
Contest
Contact Us
Privacy Policy
Login
Join
Welcome to DragoArt 💖🔑
Login
or
Join
How to Sketch a Cherry Blossom
Artist:
DuskEyes969
/ December 29, 2013
Step 1.
Begin by drawing a guide line for the little branch and 2 cirlces where the carpels of the two flowers will be.
Step 2.
Now draw the first flower, don't go into details very much ,it will not matter because in the end this will be blurry.
Step 3.
Draw the other flower and the little branch.
Step 4.
Now draw the bud. This has a bit more detail and as you can see I used thinner lines .
Step 5.
This is my finished sketch.
Step 6.
We'll work in layers. Use a hard pencil,HB or 2B, don't press too hard on the paper, you'll need to smudge later.
Step 7.
Now smudge the whole thing. Make sure it's smooth.
Step 8.
Now make a second layer, but darker than the previous.And only draw in the areas I did .The carpel are black, but don't make the black yet, you'll see why in a few steps.
Step 9.
Blurr again and start adding details. Such as little "veins" on the petal, use a 2B mechanical pencil, if you don't have one, use a sharp normal one.
Step 10.
Draw even more, smaller veins. Make them more visible by erasing the space between them a bit usin a kneaded eraser(if you don't know what that is, it's a type of eraser that acts just like play dough, thus allowing you to make a sharp tip which you
can use for details).
more
Draw even more, smaller veins. Make them more visible by erasing the space between them a bit usin a kneaded eraser(if you don't know what that is, it's a type of eraser that acts just like play dough, thus allowing you to make a sharp tip which you can use for details).
Step 11.
Do the same thing for the petal on the right, also darker the one on the left a little bit.
Step 12.
Using an eraser, make those white lines. This is why I didn't make the center of the flower black from the begining, it would be more difficult to erase.
Step 13.
Now draw the little branch, make it black but blurry on the sides.
Step 14.
Now shade and blurr the petals of the second flower and do pretty much what you did on the first.
Step 15.
Now some details on the bud.Take a sharp 2B pencil and begin giving the bud petals more volume , texture and detail.
Step 16.
Add even more details .
Step 17.
The bud requires more detail than every other part because that's the focus point of the drawing, the rest has to be blurred, thus less detail.Draw the other bud in the background, which is black, but make the edges blurry.
Step 18.
Now we're gonna make the background. Use 2B graphite powder and a piece of cotton. Apply the powder on the cotton and smudge in a circular motion.
Step 19.
Continue with the background around the flowers.
Step 20.
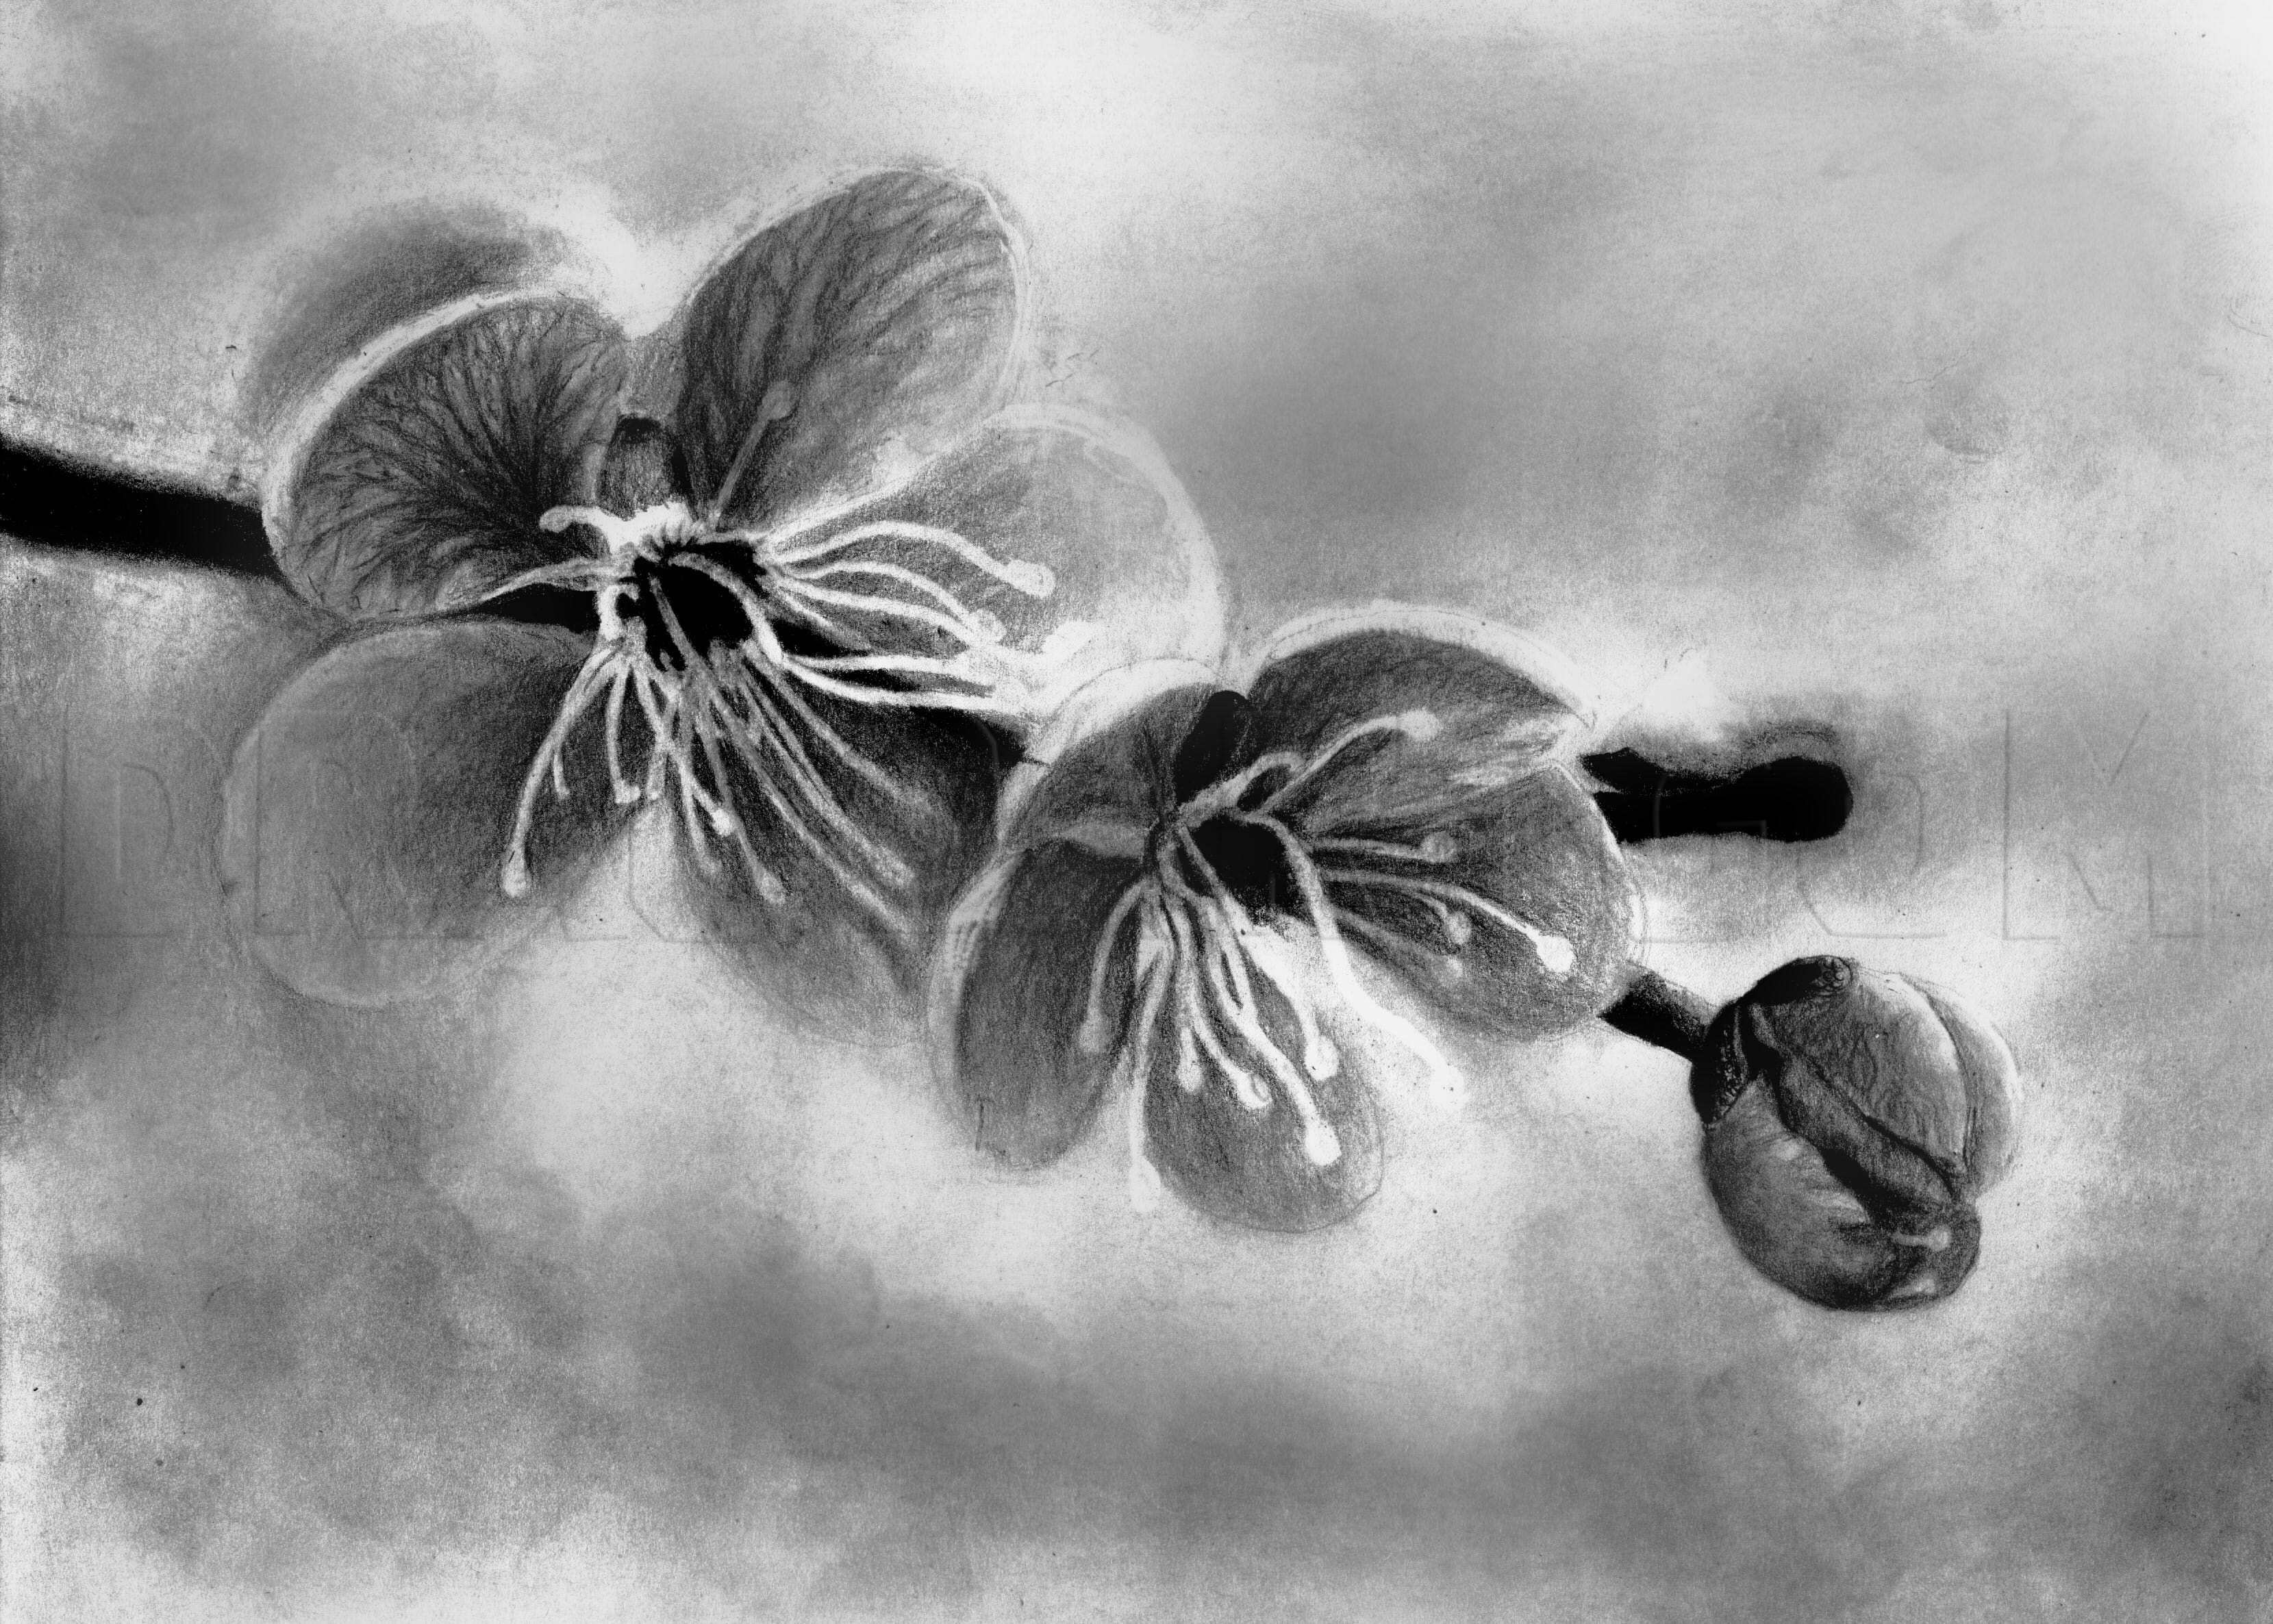
Fill in the rest of the paper. You can blend the background and the petals a bit, but do NOT blend the bud into the background. This is all.
Comments (0)
More From
DuskEyes969
Mature Content
Mature Content
Mature Content
Mature Content
Mature Content
Mature Content
Mature Content
Mature Content
Mature Content
Mature Content
Mature Content
Mature Content
Related
Mature Content
Mature Content
Mature Content
Mature Content
Mature Content
Mature Content
Mature Content
Mature Content
Mature Content
Mature Content
Mature Content
Mature Content
Details
Artist:
DuskEyes969
Date Added:
December 29, 2013
Steps:
20
Favorited:
2
(view)
Views:
0 in last hour, 2 in last day, 31 in last week, 55876 total
Comments:
0
Tags:
draw flowers
Description:
Hello agan ! Today I'll be teaching you how to draw cherry flowers step by step. Cherry flowers are pink ,but we'll be doing them in black and white.Enjoy !
X
Login
Username
Password
Remember Me
I forgot my password
X
Leaving Dragoart for External Site
We temporarily stopped you from leaving Dragoart so you could confirm
The site above is not affiliated with Dragoart in any way. Please continue at your own risk. Don't enter any passwords or personal information from a site claiming to be Dragoart or its affiliates.
X
Flag Content
Report
sexual
violence
copyright
spam
Details (Optional)
X
Flagged Content
Loading...
X
Members that favorited
Loading...
X
Contest Submission Form
Loading...
X
Battle Challenge
Loading...
X
Battle Challenge Details
Loading...