2
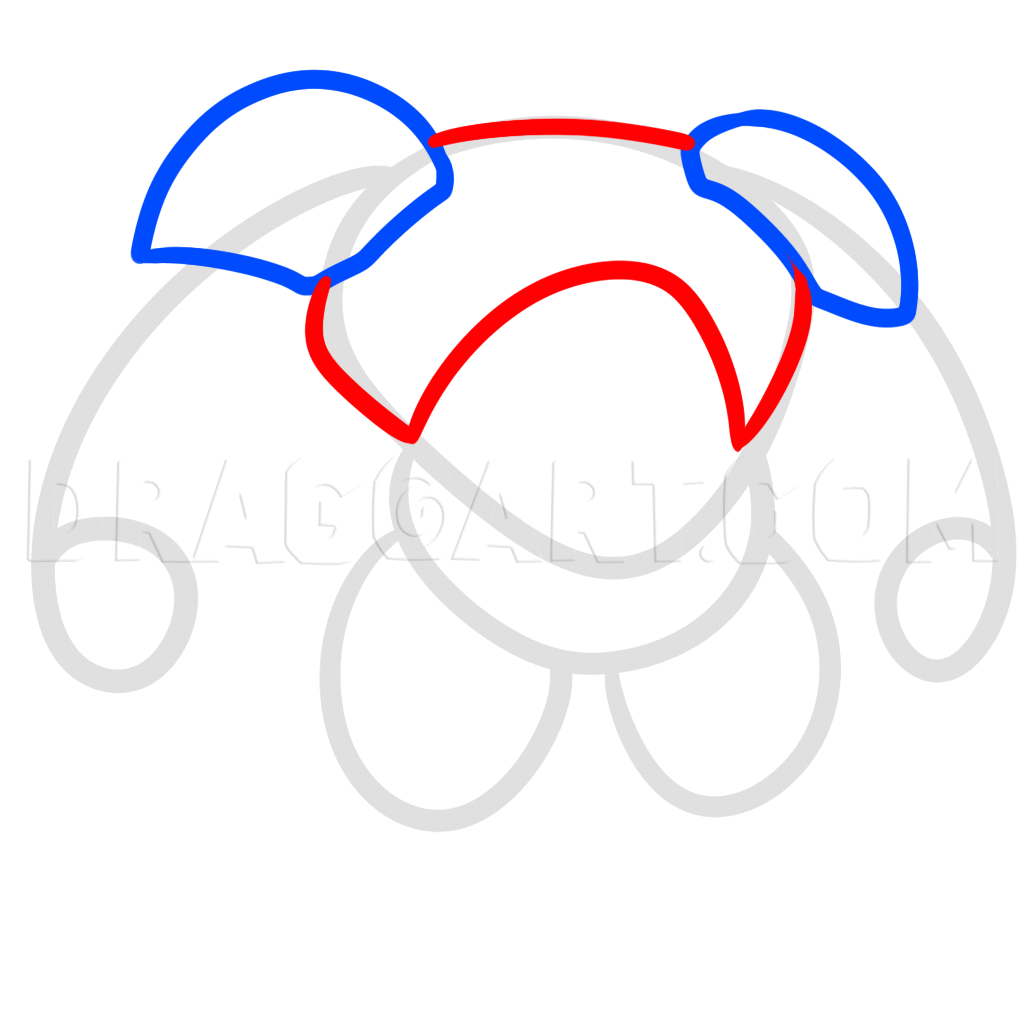
Starting at the torso you will draw in the shoulder armor or padding that rests on the top part of the body like so.
8
We will now draw in the etching on the armor starting with the shoulders. These are also seam lines and joint wires. Detail the tops of each hand like so, then move to step nine.
9
To form a more defined torso you will draw in the scale plated stomach armor. Also form the end of the stomach plate into a V.
11
Starting at the base of the crotch, draw in the armored thighs like so leaving notched at the knee for the bottom half of the legs which will be draw in the next step.
12
Here you have it, the last aspect to finishing the formation of your Disney robot Baymax. Draw the calves and then draw the small feet.
13
Lastly add some seam lines down the hips and thighs then add joint detailing on the knee plates. Erase those guidelines you drew in step one.
Comments 0
Details
January 4, 2017
Description: I don't know how many of you are aware that Disney is coming out with a film that is supposed to be the next big thing since Toy Story based on the same concept from the Marvel Comics story line series of the same name. Here is "how to draw Baymax", step by step from Big Hero 6. Baymax starts out as a boys (Hiro) lab creation who is just this big mass of soft touch fluff. It's actually an old toy huggable robot who gets transformed into Baymax the red armor plated warrior you see here. I don't know too much because the film won't be in theaters until November of 2014. But you can still watch the teaser trailer of you Google 'Big Hero 6'. There is where you will find the preview for the upcoming Disney film. Have fun drawing Baymax folks see you back here in a bit.


