Art
Battles
Live
News
Contest
Contact Us
Join
Login
Battles
Tutorials
Art
News
Live
Contest
Contact Us
Privacy Policy
Login
Join
Welcome to DragoArt 💖🔑
Login
or
Join
How to Draw Anime Hair
Artist:
Dawn
/ May 29, 2017
Step 1.
Before you draw any type of hairstyle, you'll want to prepare yourself with the base of the skull. Logically, the skull/scalp is round. You'll need to start yourself off with the basis structure of the head.
Step 2.
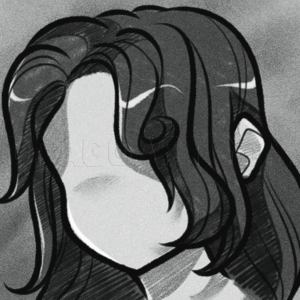
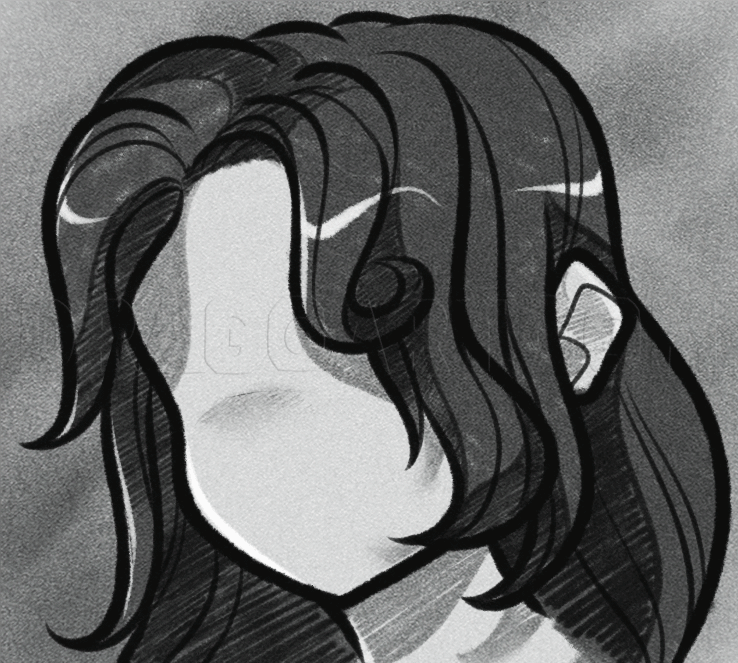
Notice how the split in the middle of the hair turns into two large separated points. This grows into larger regions and turfs. 2. Always remember the direction that the hair is moving in. The arrows indicate where the details must be drawn.
Step 3.
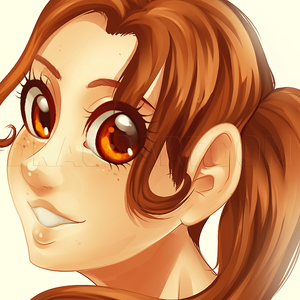
Using foreshadow shading will bring dimension forth in your drawings. Add shading to the darker parts of the hair/figure; depicting your light source and keeping value as you shade from dark to light.
Step 4.
Here is a more detailed look from what I talked about in step 1. The middle of the scalp should consist of very dark lines and proceeded downwards with lighter lines as it flows to the roots. Keep your dark/light lines consistent to avoid confusion a
nd slop.
more
Here is a more detailed look from what I talked about in step 1. The middle of the scalp should consist of very dark lines and proceeded downwards with lighter lines as it flows to the roots. Keep your dark/light lines consistent to avoid confusion and slop.
Step 5.
For separating details of each strand, use thin strokes, thinner than the outlaying lines. This will vary your line-work, making the overall piece more interesting.
Step 6.
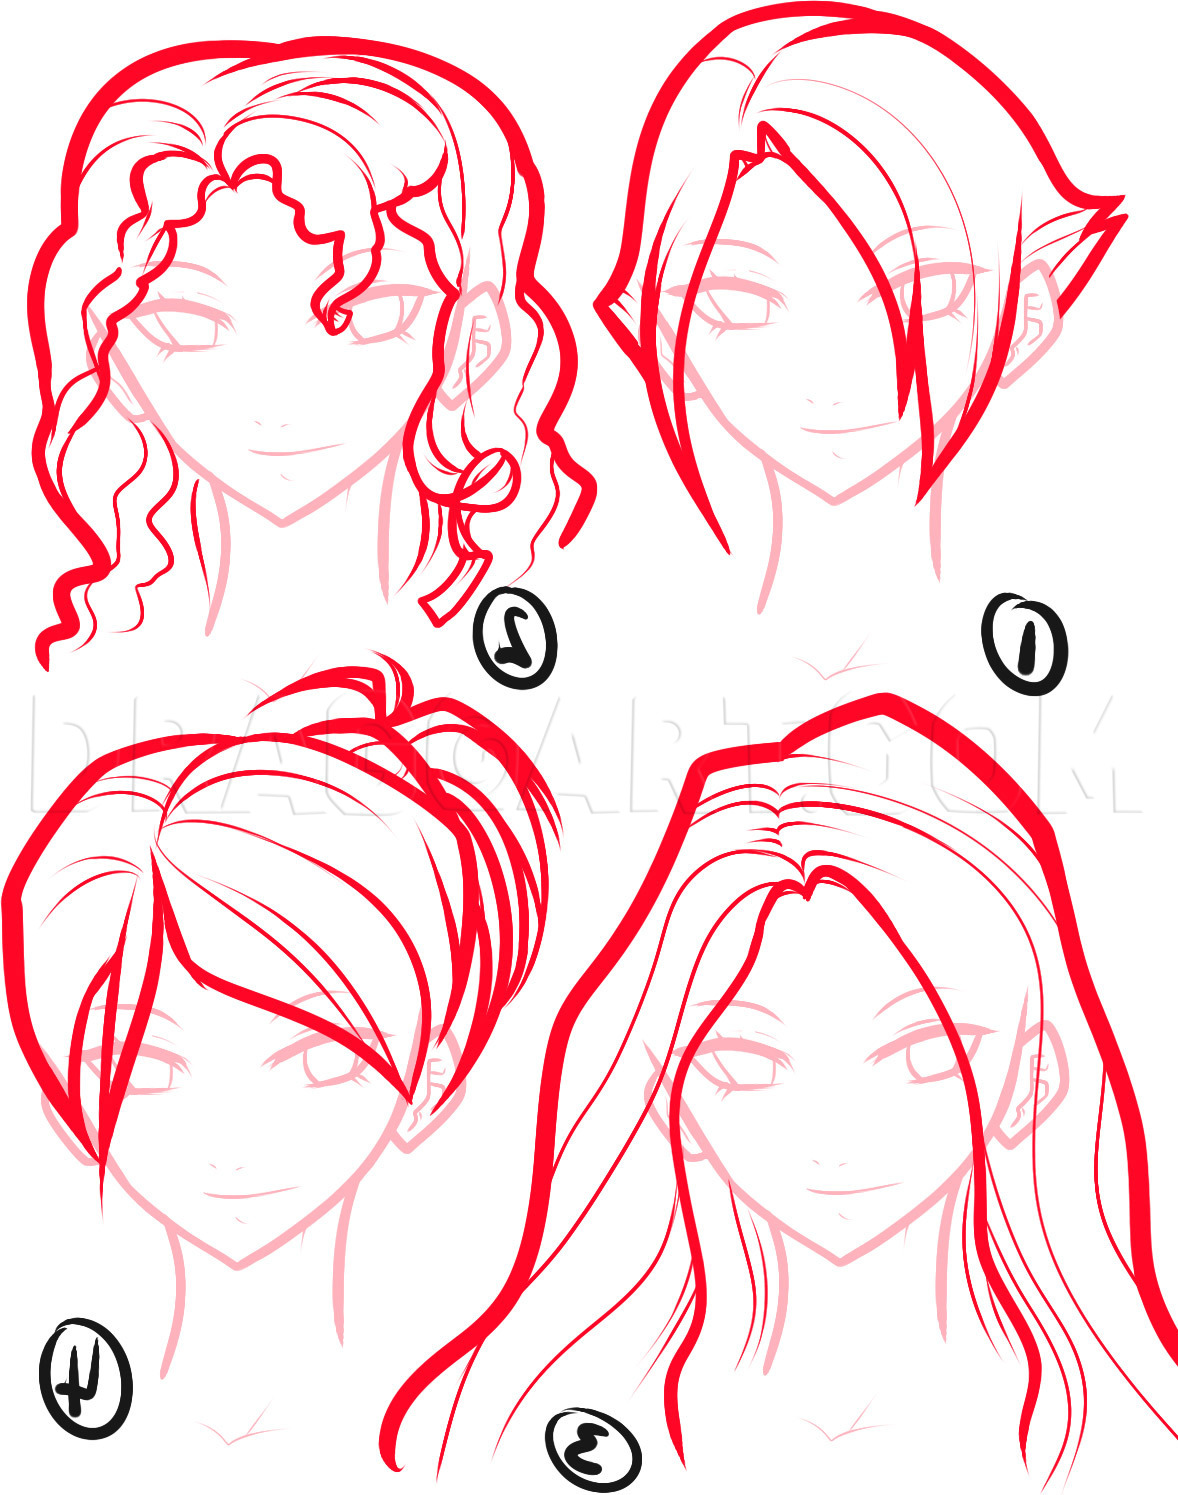
It's best to experiment with various hair styles. Here I list a few of the many styles you can draw hair in. Mix and match! Experiment!
Step 7.
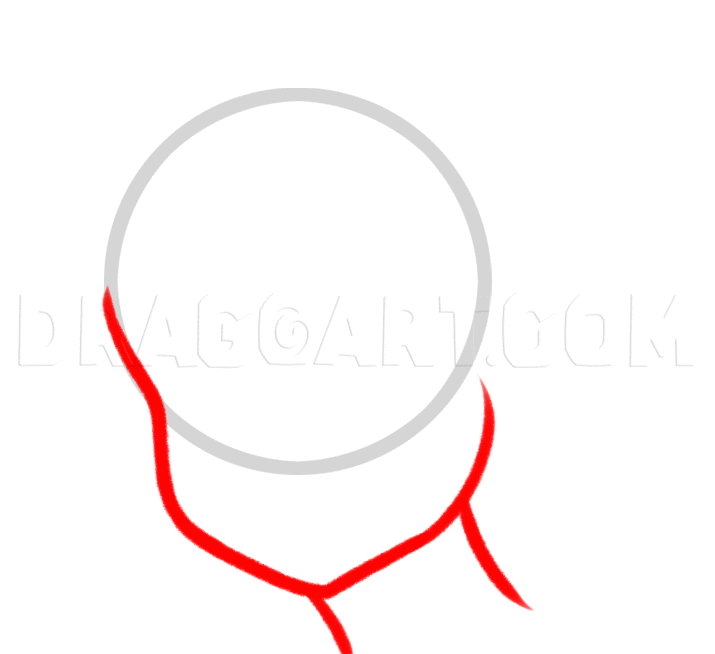
Let us begin by making a circle for the head of your anime mannequin.
Step 8.
The next thing you want to do is sketch out the shape of the mannequin's face, and then draw a neck.
Step 9.
We will start this step by drawing the chunky hair strands individually, but at the same time you have to keep the hair looking lustrous. I added a few curls at the tips of each strand, but you can go for a straight style if you want.
Step 10.
Sketch out another chunk of hair which will rest on the back of the mannequin's neck, and then draw in an ear. Sketch in detailing to the ear, and then add some detailing to the hair.
Step 11.
You will now draw the top part of the left side of the anime hair. This is simple because all you have to do is make three small mounds and end them on each other. Draw the shape for the back of the head as well as more hair. Then add a bit more stra
nd detailing.
more
You will now draw the top part of the left side of the anime hair. This is simple because all you have to do is make three small mounds and end them on each other. Draw the shape for the back of the head as well as more hair. Then add a bit more strand detailing.
Step 12.
Once you've cleaned up all the mistakes you should end up with a drawing that looks similar to the one you see here. Now you can dress up your anime characters with a variety of hair styles.
Comments (0)
More From
Dawn
Mature Content
Mature Content
Mature Content
Mature Content
Mature Content
Mature Content
Mature Content
Mature Content
Mature Content
Mature Content
Mature Content
Mature Content
Related
Mature Content
Mature Content
Mature Content
Mature Content
Mature Content
Mature Content
Mature Content
Mature Content
Mature Content
Mature Content
Mature Content
Mature Content
Details
Artist:
Dawn
Date Added:
May 29, 2017
Steps:
12
Favorited:
1
(view)
Views:
0 in last hour, 5 in last day, 46 in last week, 99219 total
Comments:
0
Tags:
draw hair
,
how to draw hair
,
drawing hair
Description:
Okay everyone, I know I’ve been absent from drawing more anime related tutorials, especially on hair. My latest anime hair tutorial wasn't as detailed or very well explained just how hair flows, grows, styles, and colors. In this informative and short lesson, I will explain and demonstrate in simple to draw steps, "how to draw anime hair", step by step. This was pretty fun to work on, considering the fun shading style I've been using recently. Anyways, hopefully you guys will enjoy this tutorial as much as I had creating it. Stay tuned for more informative tuts like these, and let me know how you did or your feedback if this was helpful.
X
Login
Username
Password
Remember Me
I forgot my password
X
Leaving Dragoart for External Site
We temporarily stopped you from leaving Dragoart so you could confirm
The site above is not affiliated with Dragoart in any way. Please continue at your own risk. Don't enter any passwords or personal information from a site claiming to be Dragoart or its affiliates.
X
Flag Content
Report
sexual
violence
copyright
spam
Details (Optional)
X
Flagged Content
Loading...
X
Members that favorited
Loading...
X
Contest Submission Form
Loading...
X
Battle Challenge
Loading...
X
Battle Challenge Details
Loading...