1
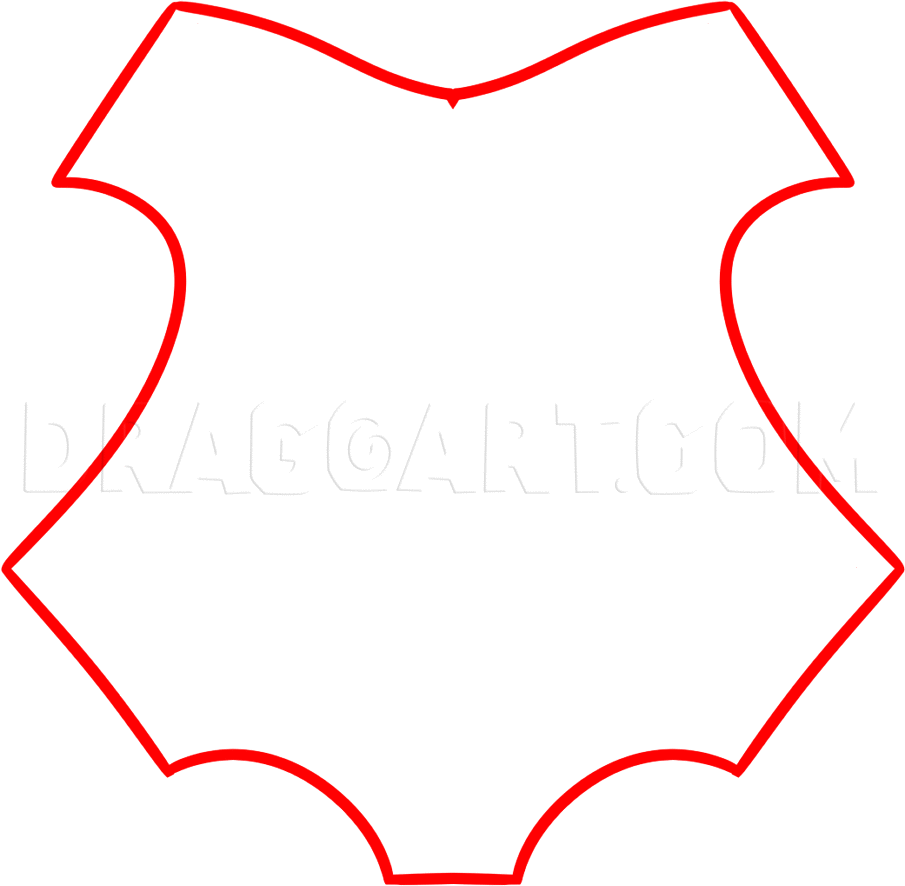
Start the first step by drawing out the outline for the badge. This is the canvas that the crest will be built on.
2
Outline the edges to make a border for the crest formation. Draw in the vertical lines on the top and bottom part of the symbol as well.
3
Next, draw a small badge like shape in the center of the crest shape like you see here between both vertical lines you made.
4
Up next, begin drawing the serpent. This seems to be a cobra head style snake, so go ahead and complete this task now.
7
Start the formation of the eagle and when you do this be sure to just draw the body and not the wings.
9
Now you can tackle the task of drawing the badger. Take your time until you have an outlined image of the badger.
10
And lastly, draw in the letter H at the center of the crest or badge, then color it in as well as make a small horizontal line going between the snake and eagle. Erase whatever mistakes you might have made.
Comments 0
Details
April 14, 2014
Description: I don't know how many Harry Potter fans are still left, but here is a lesson that many will enjoy. I will show you "how to draw the Hogwarts crest", step by step. Whenever you draw logos you have to make sure that they are as accurate as possible. I will sometimes make a lesson easy for others to tackle by eliminating some of the smaller pieces that makes up a logo. That is not the case with this tut though, I did manage to include everything. The image or crest has all three animals for every house; the lion belongs to Gryffindor, the serpent belongs to the Slytherin, the badger belongs to Hufflepuff, and the eagle is for Ravenclaw. Anyways, have fun all you Harry Potter fans. I shall return with more for ya'll.


