1
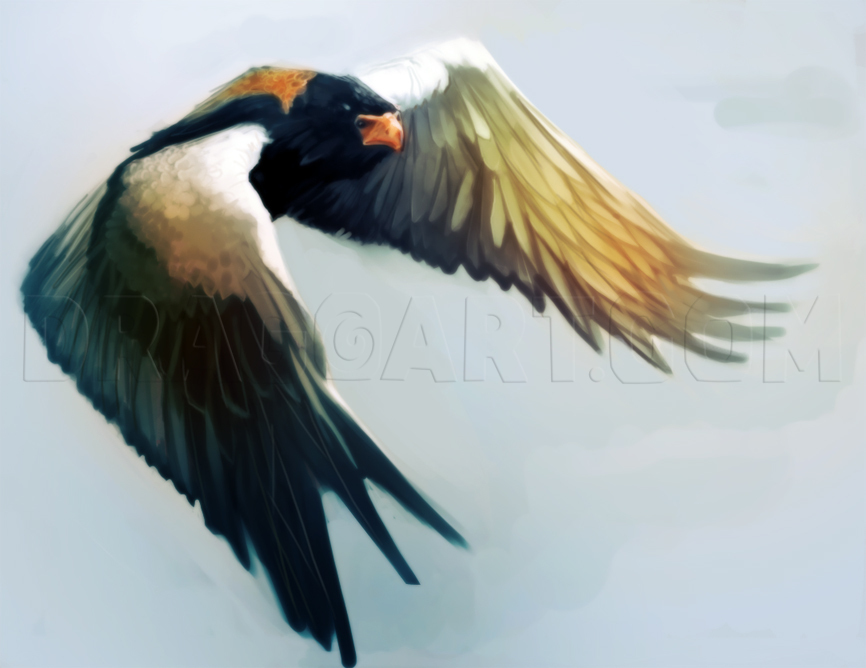
Oh man! The most important step... The first one! Birds in flight are graceful and organic, so your brush strokes should be too. Look for the flow of feathers to and draw the same direction. Starting on dark paper makes it easy to go back and pain
2
Birds are not simple. They have a wonderfully variation in light and dark values. So for right now paint in black and white! It makes it easier to understand the form. Photoshop is so powerful, you can add color in later very easily. A professiona
3
Remember Wings are complex. They bend and curl over each other, but the feathers are only so flexible so they don't match the curve exactly. Try to picture it in your head. And gather references to study.
4
Start to add in textures by changing the brush size and keep playing with the values. I wanted to pull the dark colored bird off the background more so I am starting to make the sky behind the bird much lighter.
5
With the light background in, start going around the edges of the feathers with light and dark tones. Don't worry if it blends in with the background in spots, that happens in real life and makes it painterly. And feathers are so thin, light can shin
6
Time for color, Woo!! Make a new layer above your bird by clicking the little folded corner in the circle, then change the layer to "color" using the drop down box. Painting hues on a "color layer" will adjust the color without adjusting the value. L
7
Take a big soft brush and start adding color. I chose some red and blues See how it is changing? be careful though, too much color is unrealistic in paintings, Keep it soft. Remember where the light hits will be warm and where the shadows are will be
Comments 0
Details
January 7, 2013
Description: Learn how to paint a soaring bird using Photoshop!


