1
For this drawing I used an HB pencil for sketching/shading, a 2H pencil for light/detailed shading, and a 6B pencil for dark shading as well as background shading. I stayed away from blending stumps for this drawing. You can use a kneaded eraser here
2
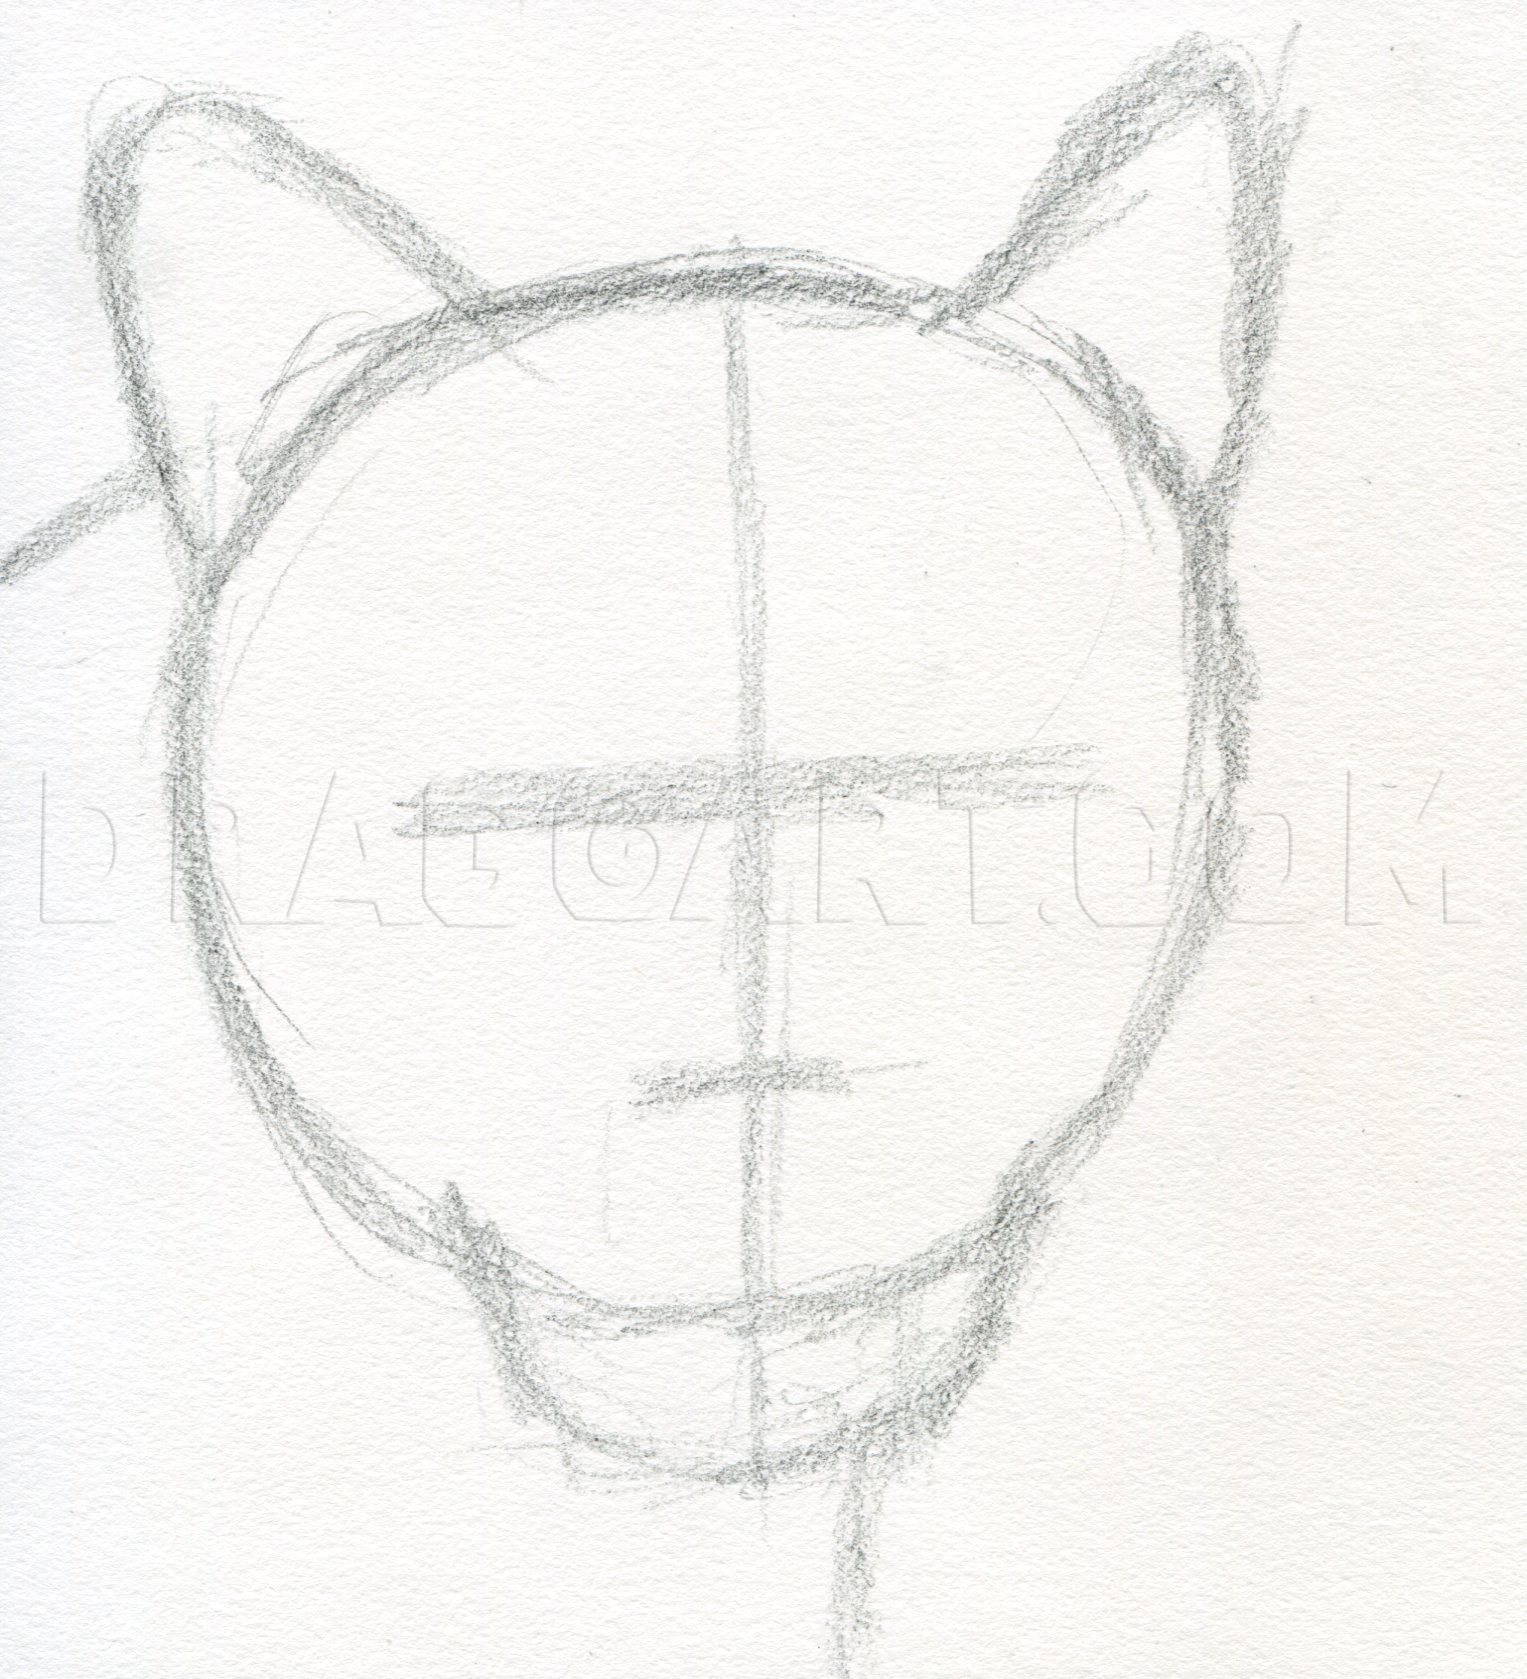
Start out with a very basic sketch. Start out by sketching a circle. Divide the circle in half and add some marks for the eyes and nose. Add in the basic form of the muzzle, eyes and body. Don’t worry about getting everything perfect. This sketch

3
Start defining your sketch. Start with the eyes and then define the ears. Don’t worry about fur and shading just yet. Continue to draw as lightly as you can. Lightly erase extra lines.

4
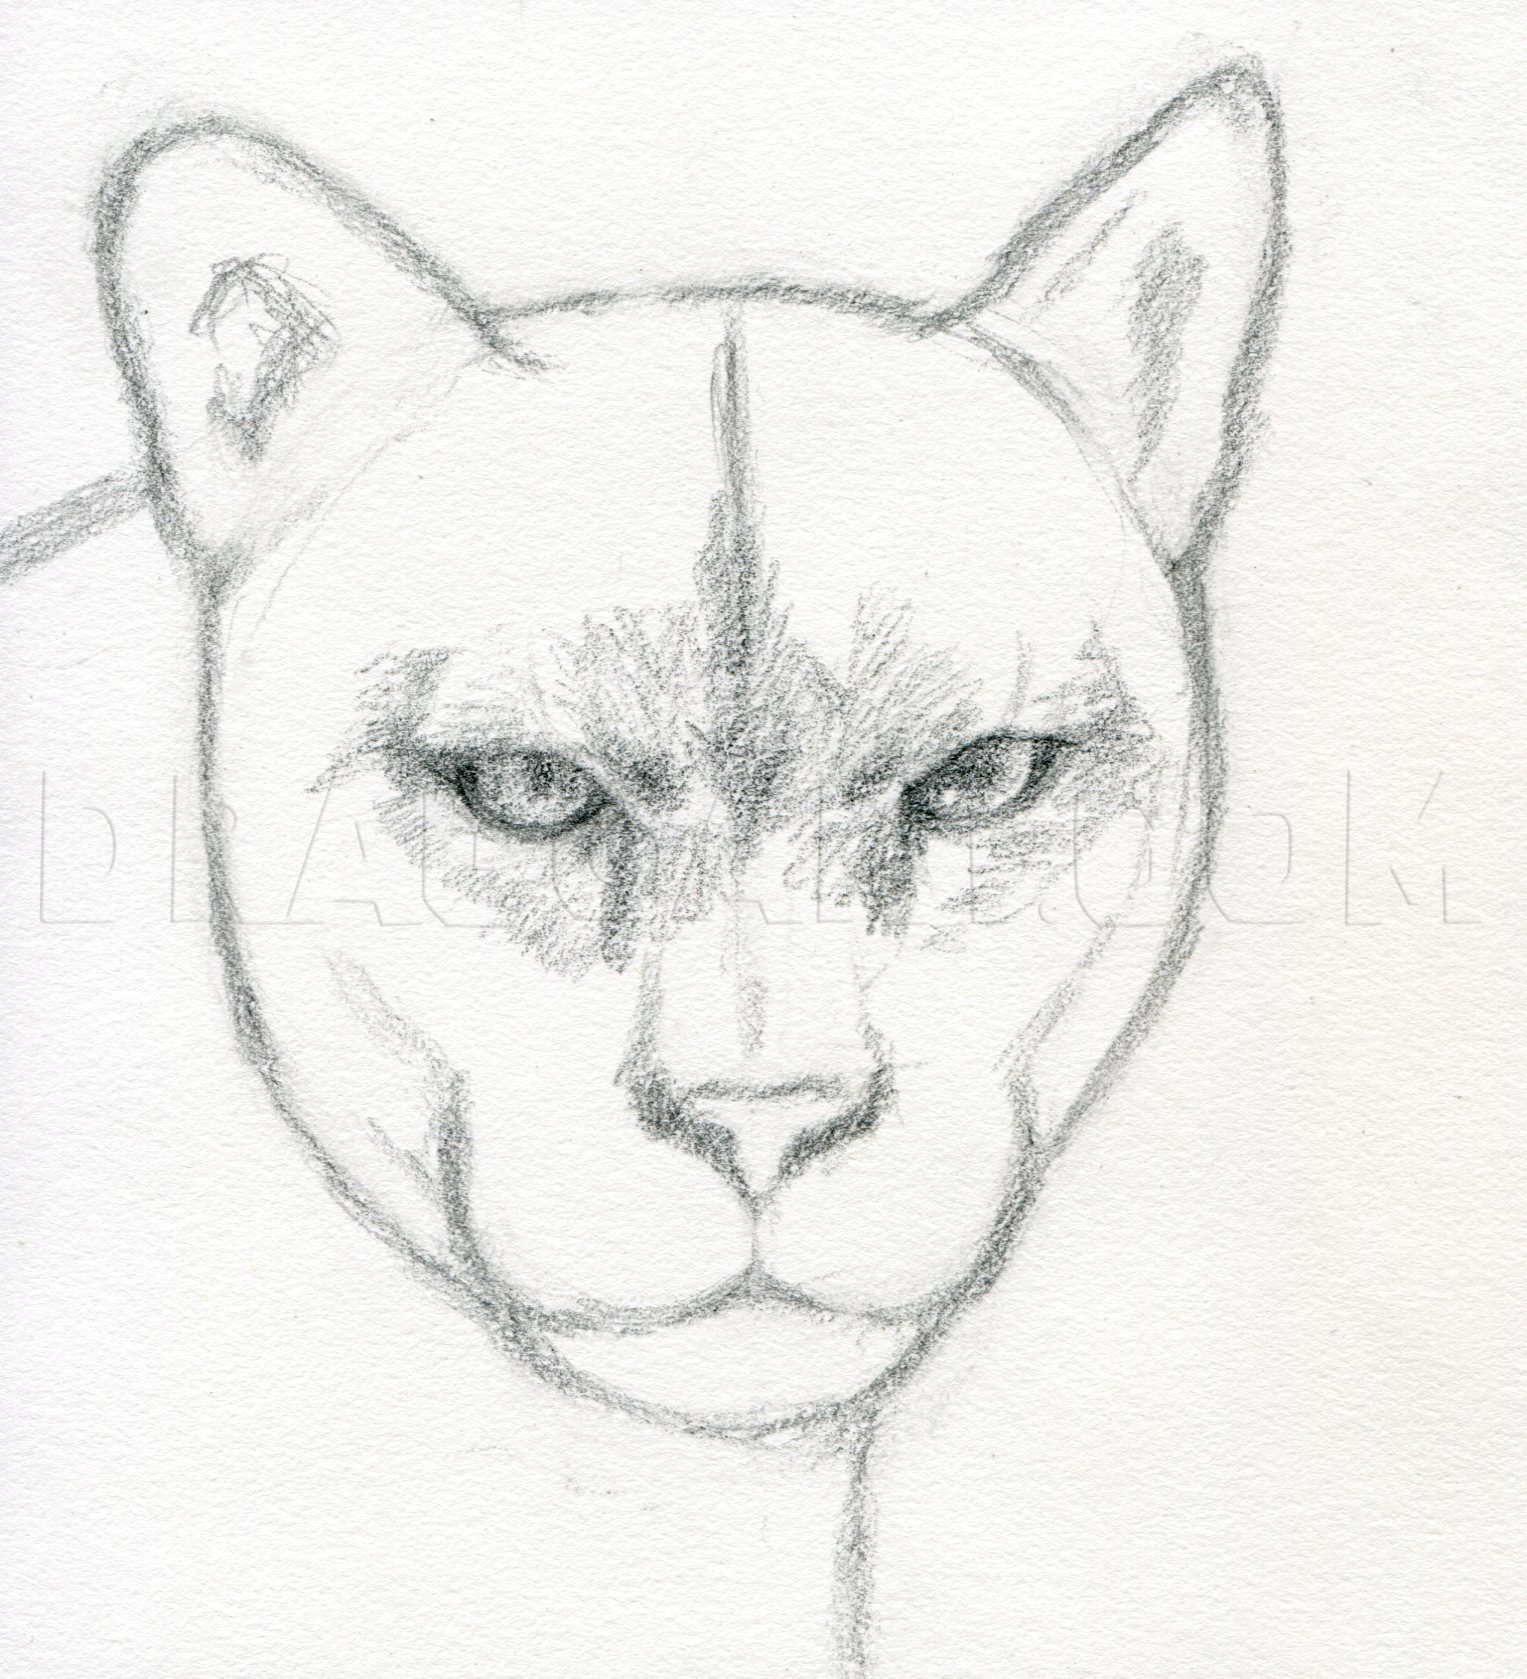
Shape up the rest of the puma’s face. Remember that the first sketch was just a placeholder. If you find that something is out of whack, fix it. You can notice how I shortened the muzzle and modified the nose position a bit. As you progress throug
5
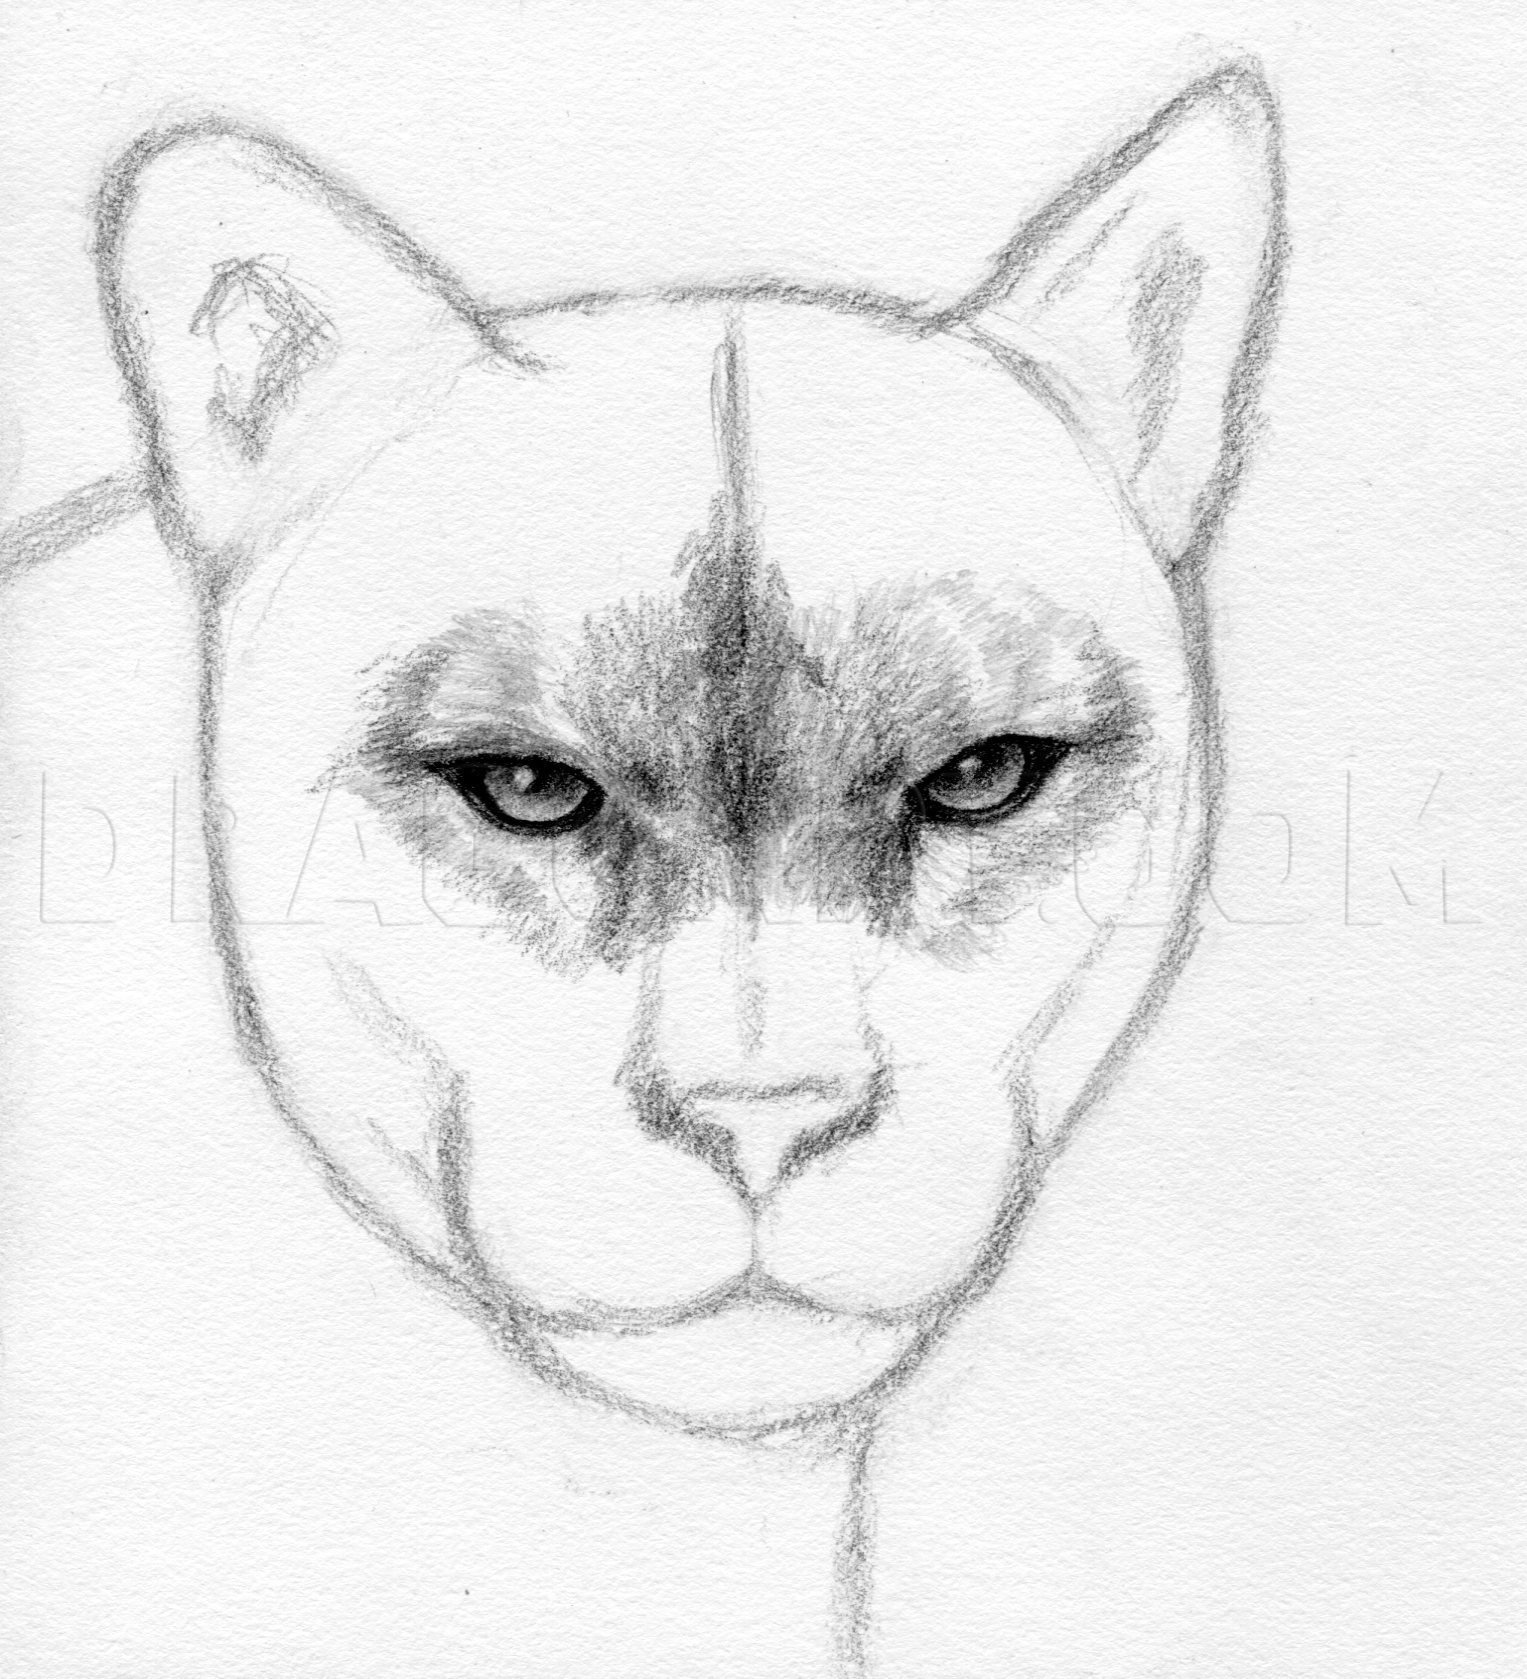
Now, break out the 6B pencil and start adding light and rough shading. Pay attention to fur direction. Don’t just scribble in some lines and call it fur. As a rule of thumb fur flows outwards from the center of an animal’s face.
6
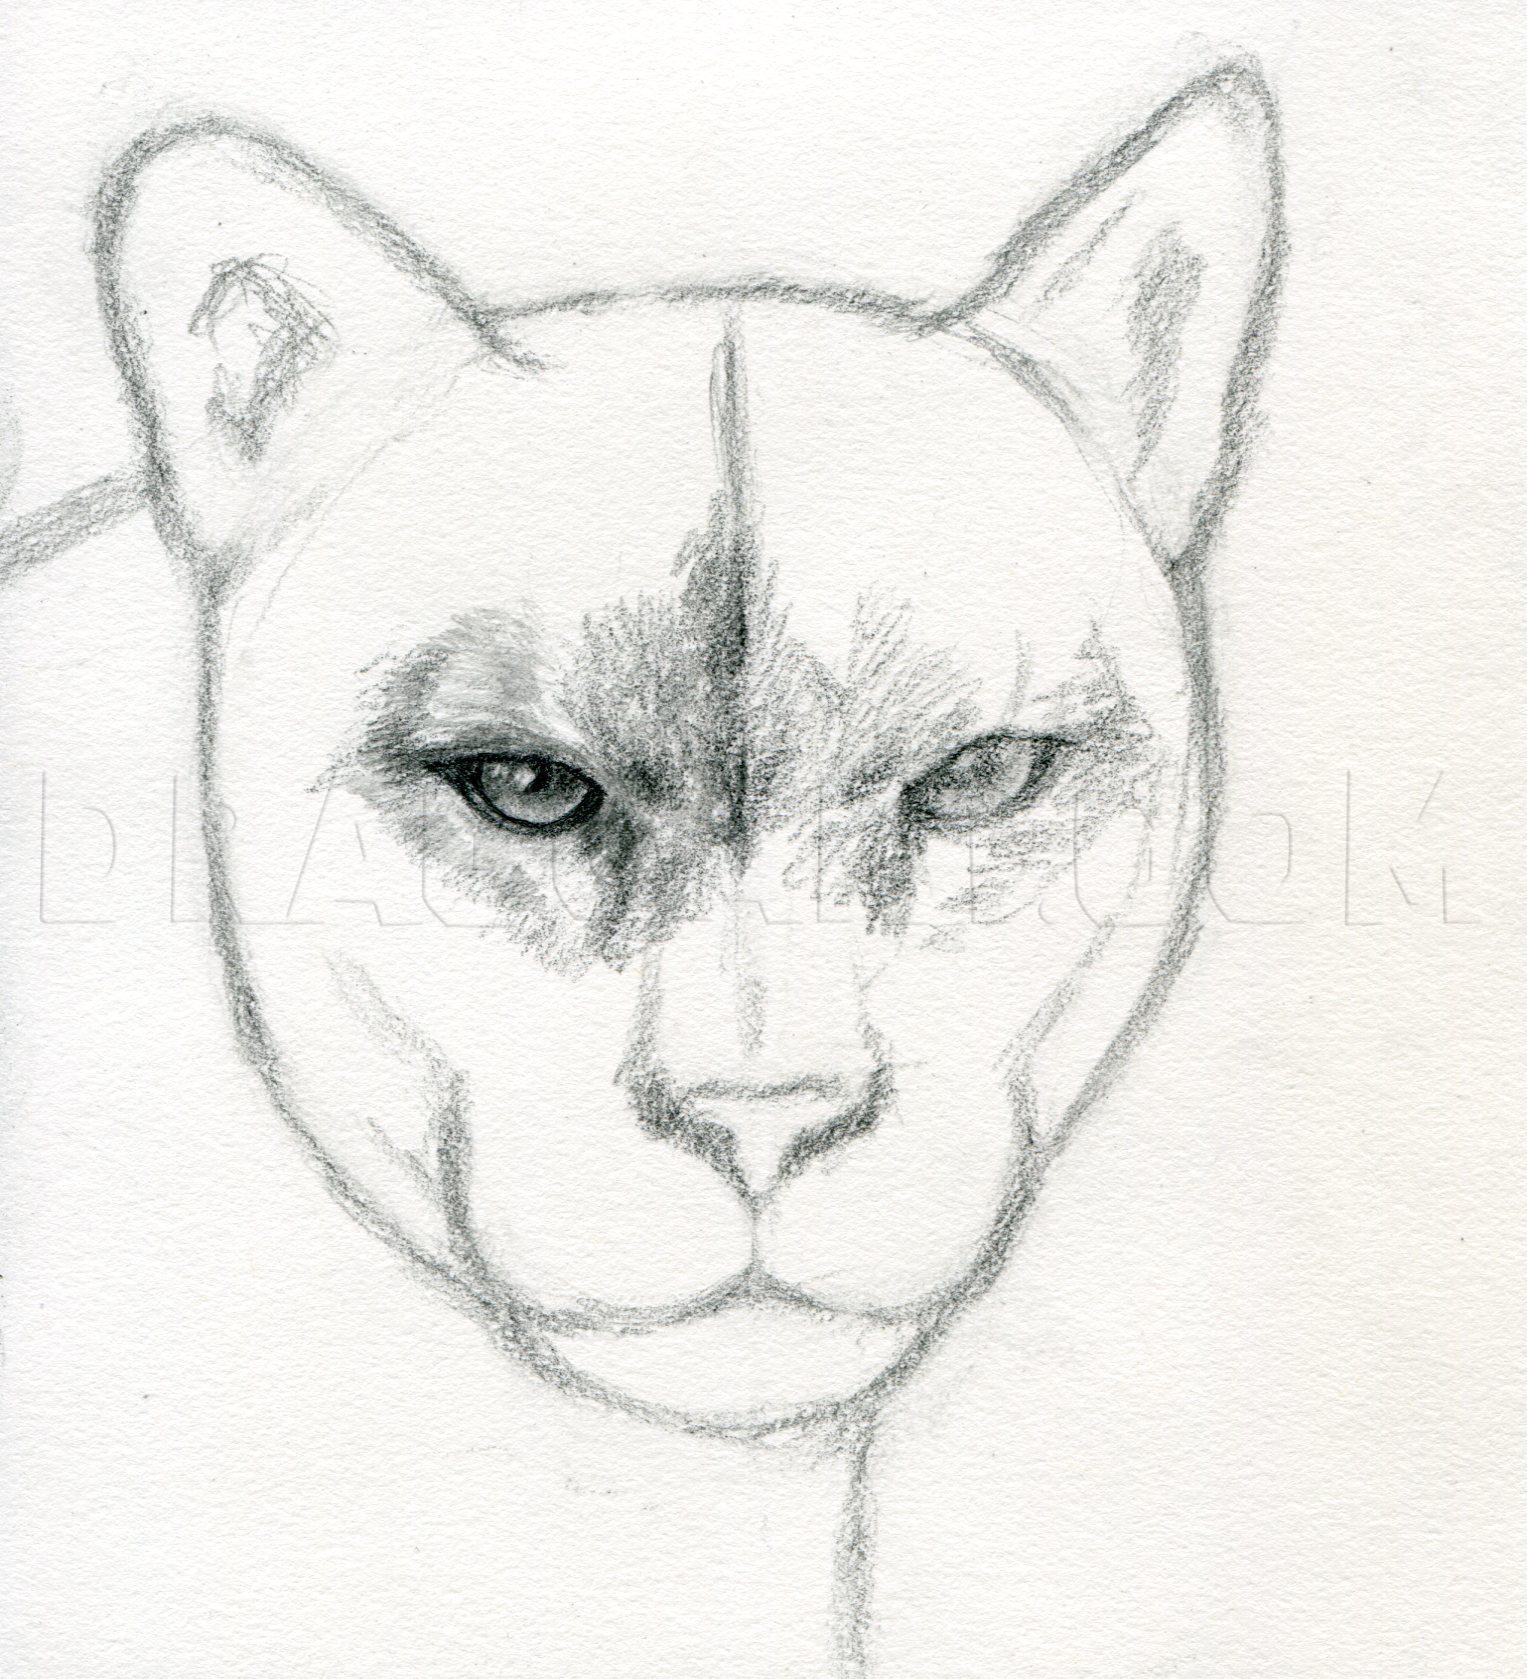
Go over the rough shading with 2H and HB pencils. You’ll have to find the right balance for yourself but I found myself using a 2H pencil for the lighter fur and HB for the darker fur and details. You may need the 6B again to add dark shading to an
7
Shade in the other eye and the fur around it. Don’t get too carried away with the fur just yet. Just make sure that the puma’s eyes look the way that you want them to before you move on.

8
Use a 6B pencil to roughly shade in the rest of the top half of the head minus the ears. Again pay attention to the outward flow of the fur. Also be sure to add some dark lines to represent the long eyebrow “whiskers.”

9
Use a 6B pencil to roughly shade in the rest of the top half of the head minus the ears. Again pay attention to the outward flow of the fur. Also be sure to add some dark lines to represent the long eyebrow “whiskers.”

10
Build up your fur mainly around the edges of the head and down the center. I mainly used an HB pencil for this step since it is mostly darker fur. You can try using a 2H pencil if HB is too dark. I found it easier to leave the areas below the ears u

11
Use a 6B pencil to add rough shading to the ears. Make sure to finalize the ear shape before moving on

12
I worked my way from left to right with my shading. Try drawing in your fur with a 2H pencil at first even if it comes out too light. Build on your 2H fur with HB fur in the darker areas. You may need to use a 6B pencil for the dark shading in the in

13

14
Use a 6B pencil to shade in the rest of the head down to the nose. It’s the same old drill: pay attention to fur direction when adding your shading.

15
Add detail to and above the nose. I used mainly 6B B and HB pencils in and around the nostrils. Don’t worry too much about the outer fur; we will deal with that later.

16
Use a 6B pencil to shade in the rest of the facial features. Be sure to add quite a few whiskers.

17
Shade in a bit of detail to the rest of the muzzle. Again, don’t worry about the outer areas including the whiskers just yet.

18
Use a 6B pencil to roughly add in the body fur. As a rule of thumb, body fur flows away from the head.

19
Add some layers of fur to the body using mainly a 2H pencil and an HB pencil if needed. Work around the whiskers. No need to go into final details just yet. Use a 6B pencil to roughly shade your background. You can shade it however you want to just k

20
Smooth out your background. I used a common paper towel to blend my shading in. If you find your shading too light lightly shade in some more with a 6B pencil and blend it in. If you want your background to be textured don’t blend just use cross-ha

21
Time to start adding final details! I decided to work from left to right. Start by outlining your whiskers with an HB pencil then building around them. Build up lairs of fur with HB and 2H pencils. Make sure that the left half of the drawing looks ju

22
Detail the rest of the whiskers by outlining them with a 2H pencil and building around them. Finish up the muzzle shading and body fur. Go back over your drawing and clean up any stray lines. If you find areas of fur that are a bit too light tone the
Comments 0
Details
June 4, 2012
Description: Hey everyone, here’s another big cat tutorial for you. This time I’ll be showing you how to draw a puma or mountain lion. Look out for more wild felines in the future.