1
For this tutorial I used an H pencil for sketching and lighter shading, a 2B pencil for general shading and details, and a 4B pencil for rough/rough shading. Remember that these are just the pencils that I ended up using. Use the pencils that you hav
2
Start out with a very simple sketch. Use basic shapes and simple lines. Don’t worry about proportion and perfection yet. Just build a base for your drawing.
3
Start adding basic features from top to bottom. Start with the ears and eyes as well as the back of the neck. Continue to shade lightly.
4
Sketch in the rest of the basic features. Again don’t worry if things look off right now. It’ll become easier to spot your mistakes and fix them once you start shading. Finish up the sketch by erasing away any unnecessary lines.
5
Use a 4B pencil to roughly shade over your sketch. This adds more texture to the drawing and will help you make your highlights stand out later on.
6
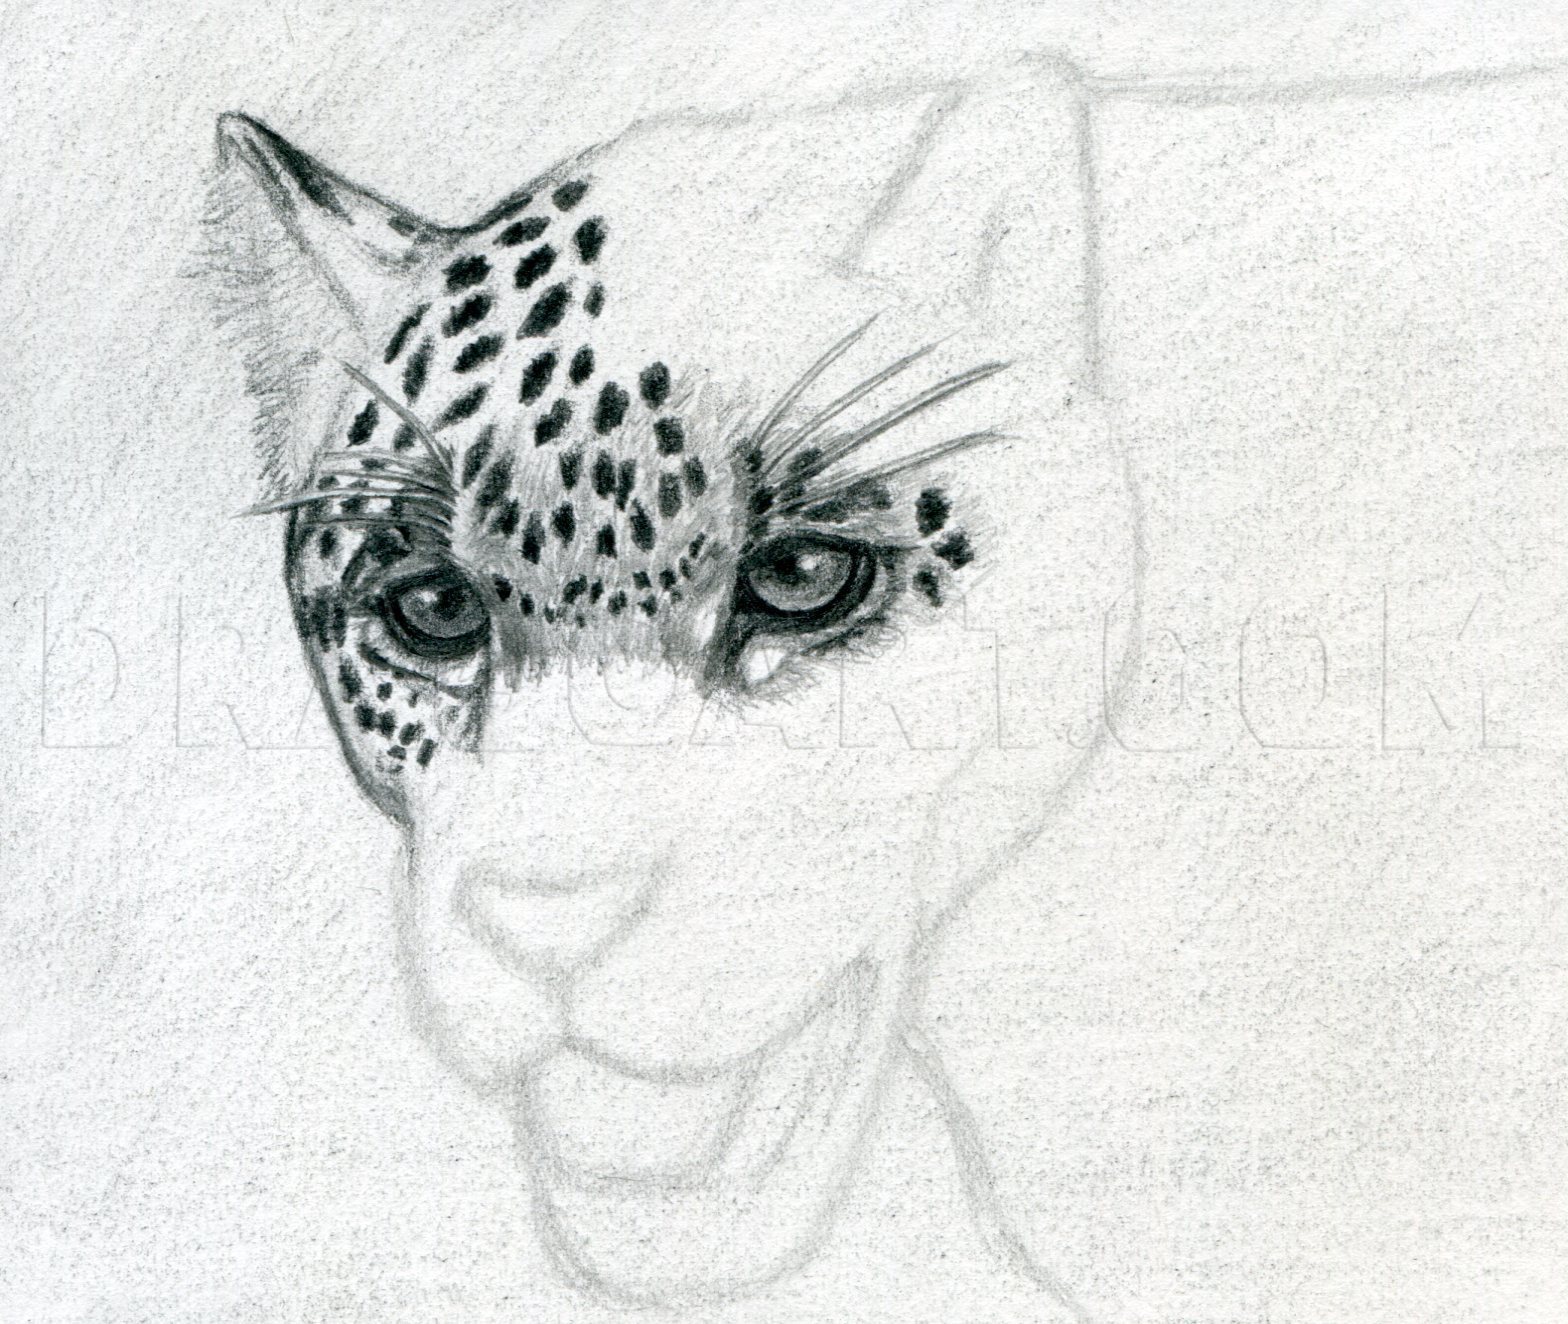
Use a 4B pencil to roughly shade in the eyes and the spots around them. Don’t worry about details just yet. Consider this your first layer of shading. Also, don’t get too obsessive about where you place the spots. Just drop them in naturally.
7
Build on your shading with a 2B pencil. Detail with the 2B as well. Erase some highlights in the eyes. Also lightly sketch in some long eyebrows. When shading in the spots try to give them direction since the spots are fur. Don’t just scribble oval
8
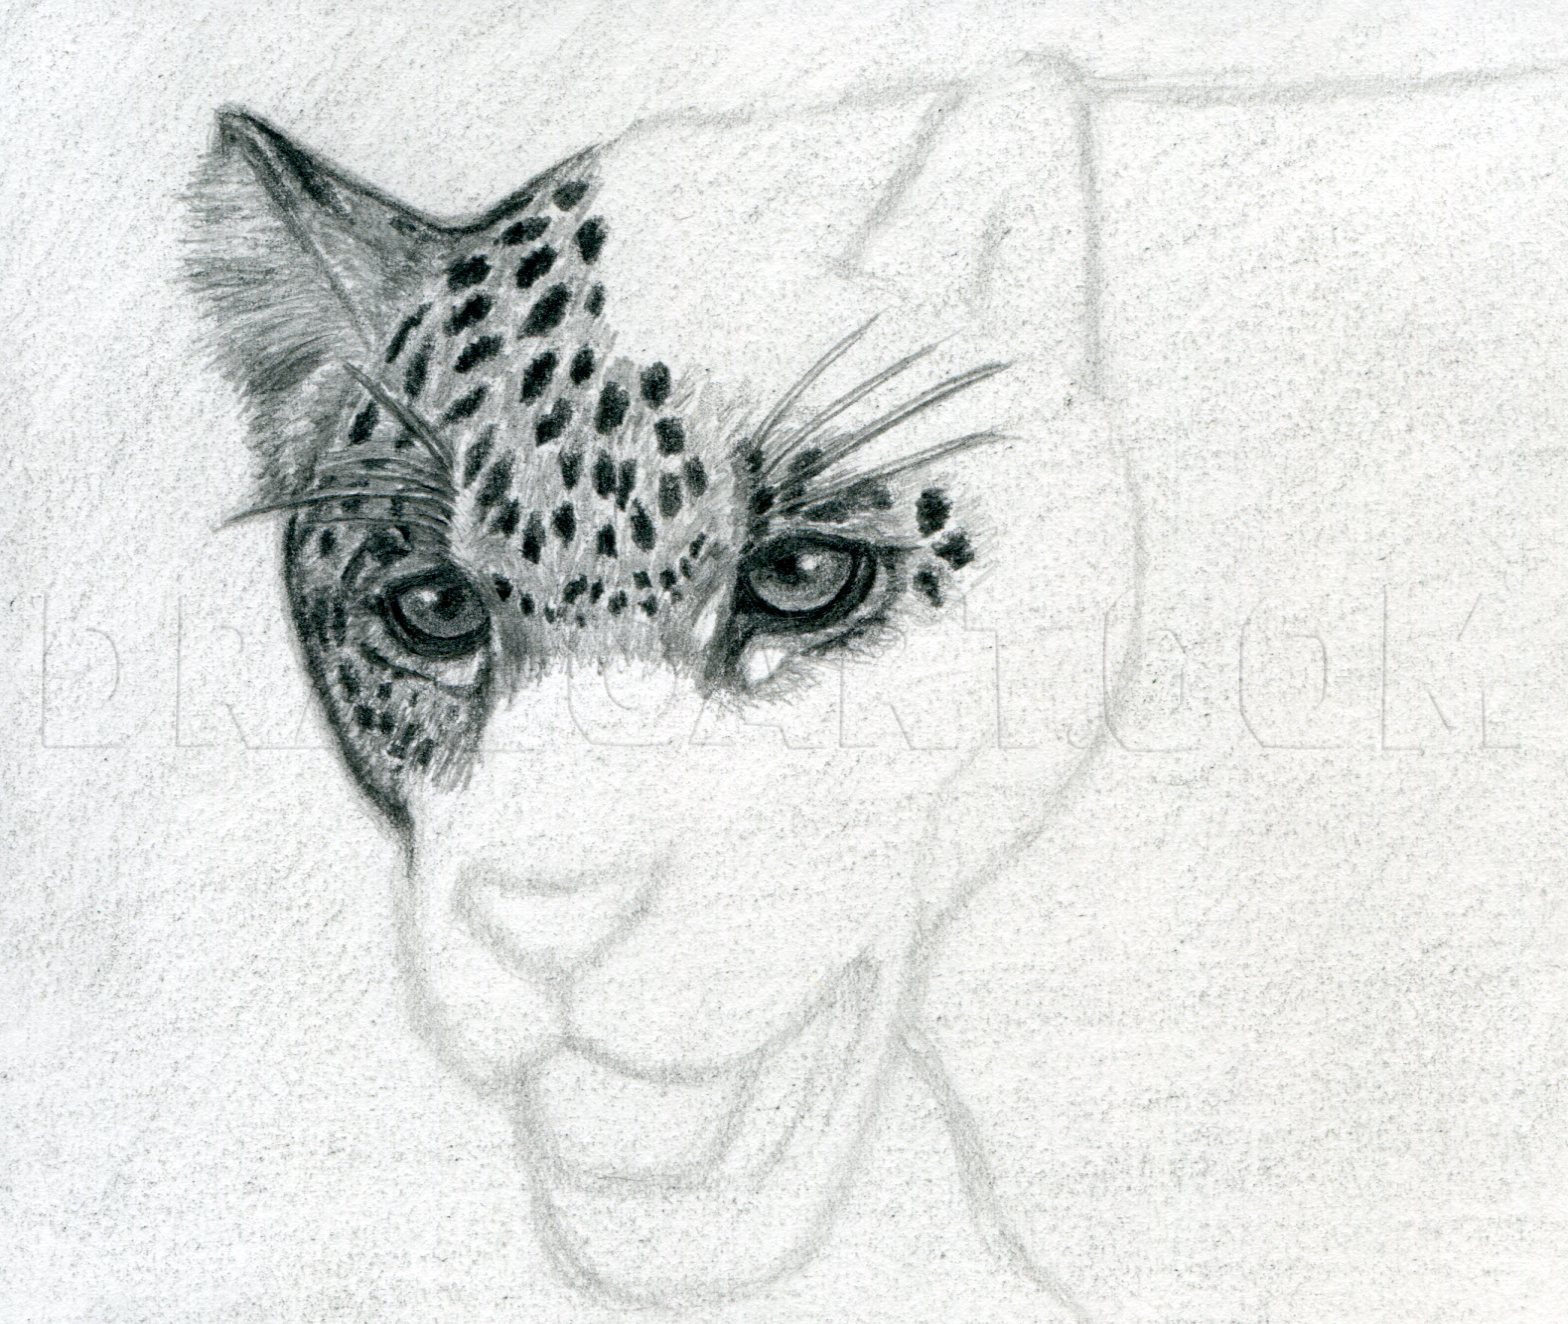
Now use an H pencil to add in the lighter fur and detail the eyebrows. Remember to give your fur direction. If you consider the area between the eyes to be the center of the jaguar’s head, then generally your fur will flow outwards from the center.
9
Use a 4B pencil to roughly shade in the left area above the eyes. Again keep your shading roughly and basic.
11
Now use an H pencil to build up on your fur again. The easiest way to bake the fur in the ears look fluffy is to start with light shading and gradually get darker. Use a kneaded eraser to softer your shading if it looks too rough.
14
Build up your shading again using an H pencil. Don’t worry too much about the right edge of the jaguar’s head. You can deal with that once you start work on the body.
15
Work your way from nose to chin with a 2B pencil. If your nose and mouth placement seemed off before, fix it now. Don’t forget to sketch in some whiskers.
18
I went ahead and roughly shaded in the background with a 4B pencil during this step to that I could get the whole left side of the drawing finished. I then used the 4B to build up the shading in and around the mouth a bit.
19
Smooth out your background with a paper towel, cloth, or blending stump. Then shade in the mouth area from left to right. Use an H pencil on the light fur and whiskers. Use a 2B pencil for the dark shading/lines.
20
Use a 4B pencil to roughly shading in the body spots. As you are adding these in keep in mind that most of them form rings made up of about 4 to 6 spots. Just try and make it seem naturally random. Don’t try to copy my spots exactly as they are.
21
Work from top to bottom when darkening your spots with a 2B pencil. Pay more attention to forming the rings during this step.
22
Use an H pencil to start adding in lighter fur. Make the area in the middle of the spots just a bit darker than the rest of the fur. As you make your way down the body add finishing touches to the head and background as well.
Comments 0
Details
June 24, 2012
Description: Alright, it’s time for another big cat tutorial! This time I’ll be showing you how to draw a jaguar. If you ever get leopards and jaguars mixed up just remember that jaguars have circular groupings of spots and shorter tails. Jaguars are also native to the areas around Central America while leopards are indigenous to Africa and Asia. Let me know in the comments if you want a leopard tutorial as well!


