2
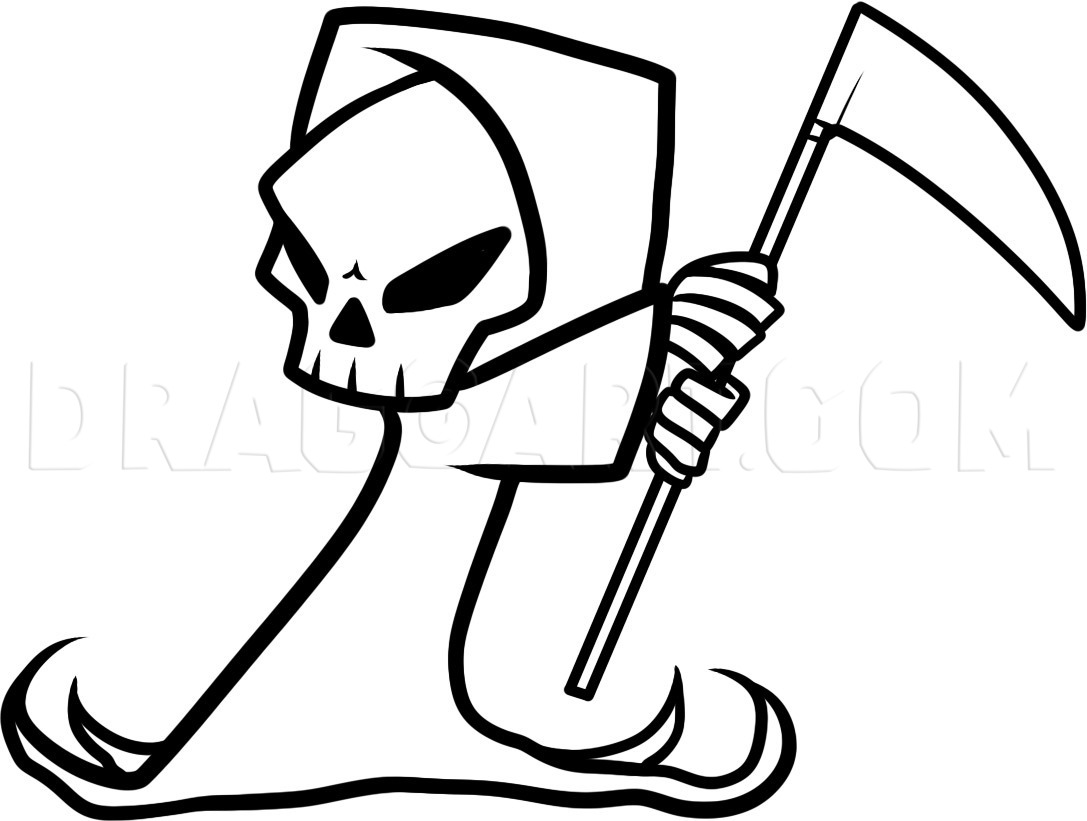
Draw out the actual shape of the reaper's head, face and skull, and then draw the lining for the hood that frames the top of the face or head.
3
Now you will draw out the eye, and then the nose and mouth. The mouth is actually tooth lines. Color in the eye and nose and hen draw in the crinkle between the eyes.
5
Now you can draw out the reaper's body and then at the bottom of the cloak draw the curled up edges for the bottom of the cloak.
6
For the last drawing step all you have to do is draw out the stick or handle for the scythe, and then draw in the blade and hands. Erase or clean up the drawing and than you are done.
Comments 0
Details
September 8, 2011
Description: Yes folks I am back once again with another fun filled lesson that will be on another 'for kids' figure. Since Halloween is drawing near, I thought of the idea to make a tutorial on "how to draw a grim reaper for kids", step by step. This is by far one of the neatest reapers I have drawn in a very classic, simple manner. There is no way that someone can fowl up this lesson because the steps and instructions are so easy to follow. The grim reaper was one of my favorite figures to draw around the month of October when I was around twelve or thirteen. He was always a challenge for me, but over time I found my nitch and went with the flow. Now here I am showing novice or beginning artists how to draw a grim reaper in a very simple for kids concept. I think you will like what you see, and please don't forget to rate, comment, and fav anything you see here on Dragoart.com.


