1
What's most important about drawing dragons breathing fire, is that you have to pay attention to the shape of the mouth. A closed mouth with have the lower jaw tucked beneath the upper jaw, like dinosaurs. It's better to base your dragons off past an
2
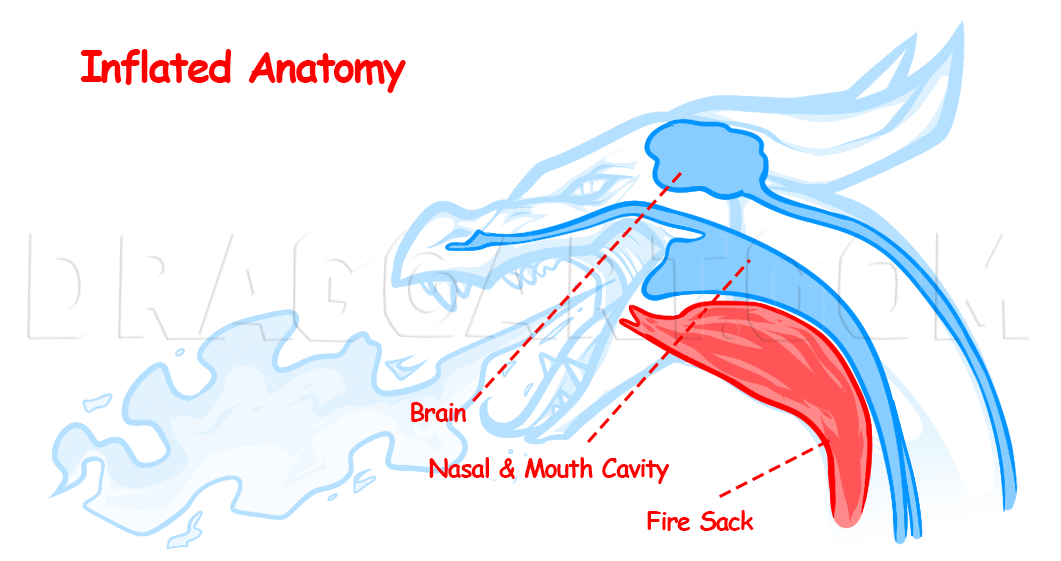
Now, let's delve deeper into the anatomy of dragon, because essentially, educating yourself on anatomy will further your successes of drawing dragons. If you have no idea bout the anatomy, creating the outer body forms will get confusing. I like to a
3
Here's what the inside of the anatomy looks like, without the fire sac being filled. Notice how the neck has become flushed opposed to the inflated neck. See how adding a bit of realism to your creatures creates interest?
4
Now, let's examine the teeth of our reptilian beasts. What most artists don't understand is, when a dragon is opening their mouths in offense, their teeth will become bare, just like modern day animals. Just reference a wolf, cat, ferret, or bear, ob
5
Sometimes, I see artists draw fire breathing dragons with inaccurate details. When breathing fire, the tongue has to stand aside, or hide from the exiting fire. Otherwise, their tongues would be scorched in direct contact of the fire. Here's two of t
6
Now, let's examine the various styles of fire. The one above is a mixture of acid and fire, which is...pretty deadly. The second is a huge spray of fire, which covers a wider blast radius, but shorter distance. The third, covers a further distance, b
7
Here's just the various ways to draw your dragons breathing fire. I've included a flying, baby, and under-curved dragon. It's best to quickly draw a pose before you start etching the details of the head first (mostly everyone does this :P). Take your
8
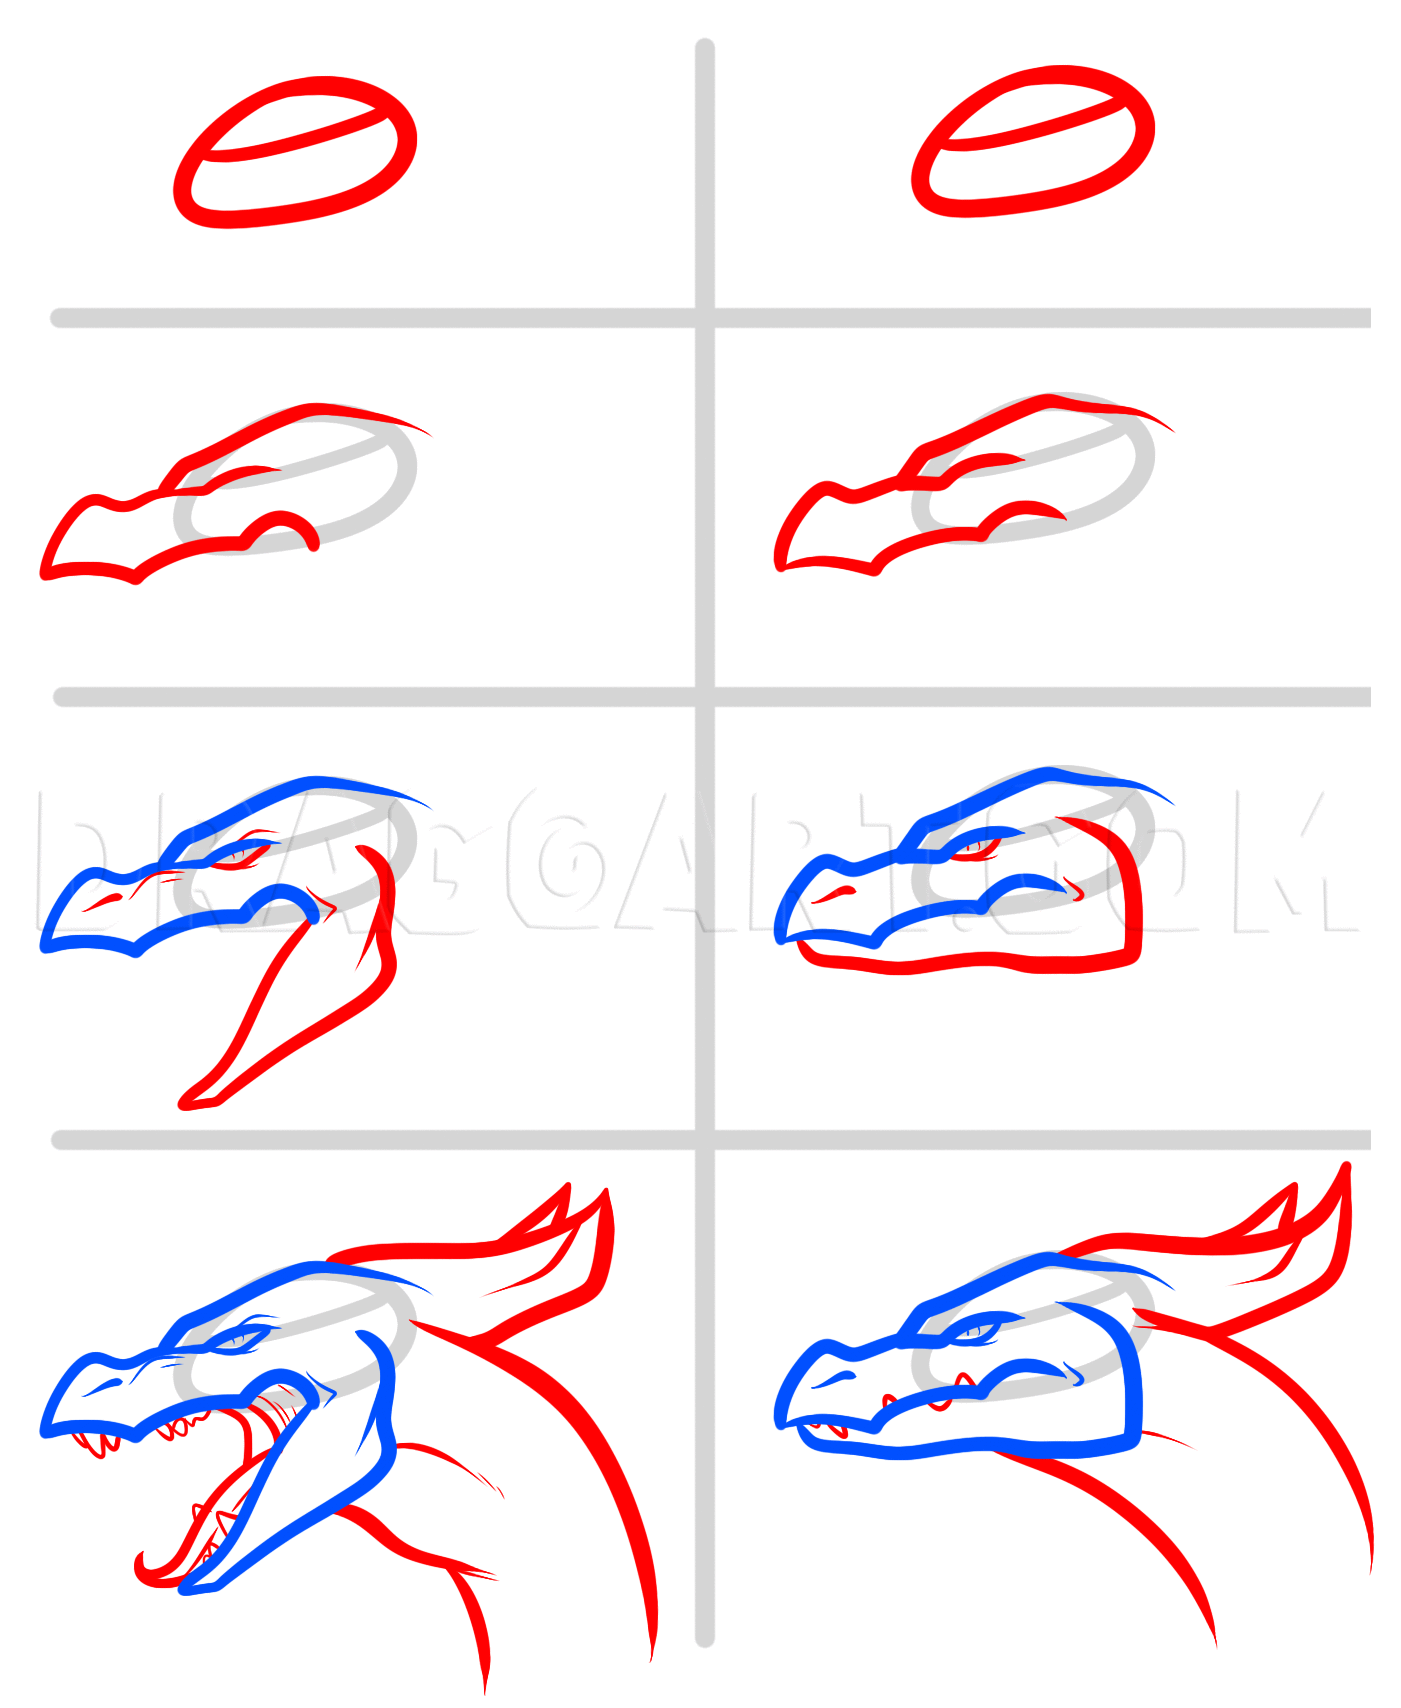
Let's start this tutorial with a layout lesson just for the side profile view of the dragons head that you will be drawing. Both sides start the same up until the third step. When you get to the third step the dragon's mouth will be drawn closed in o
9
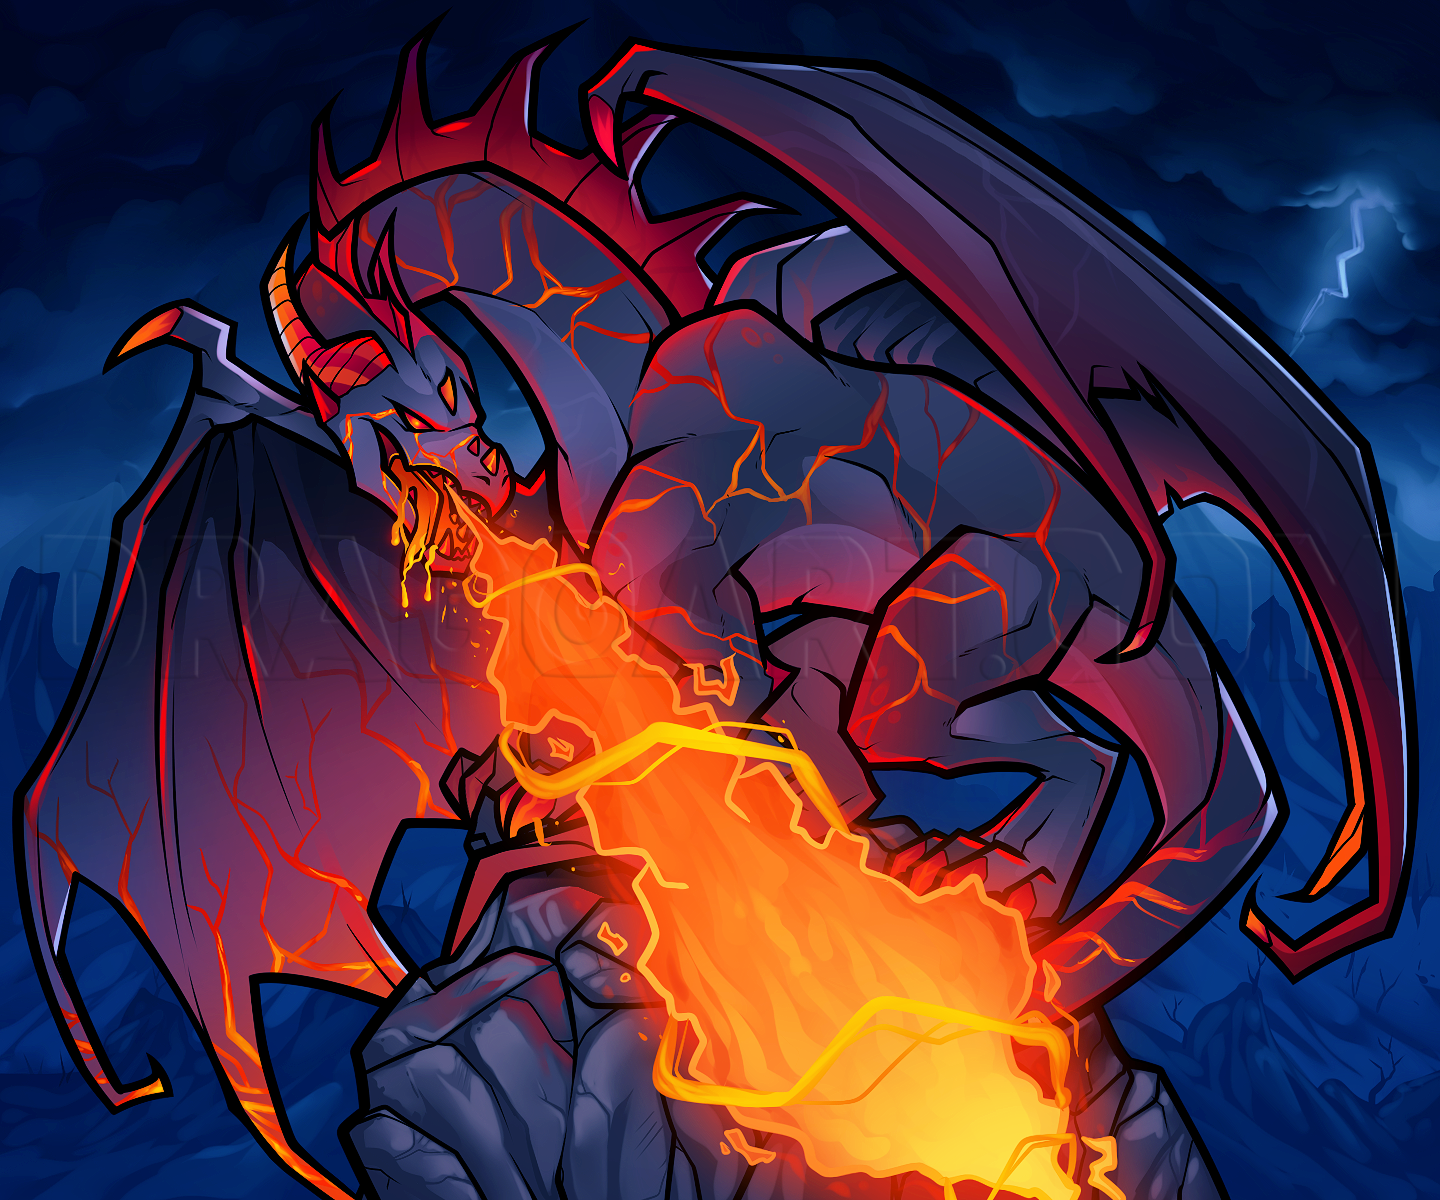
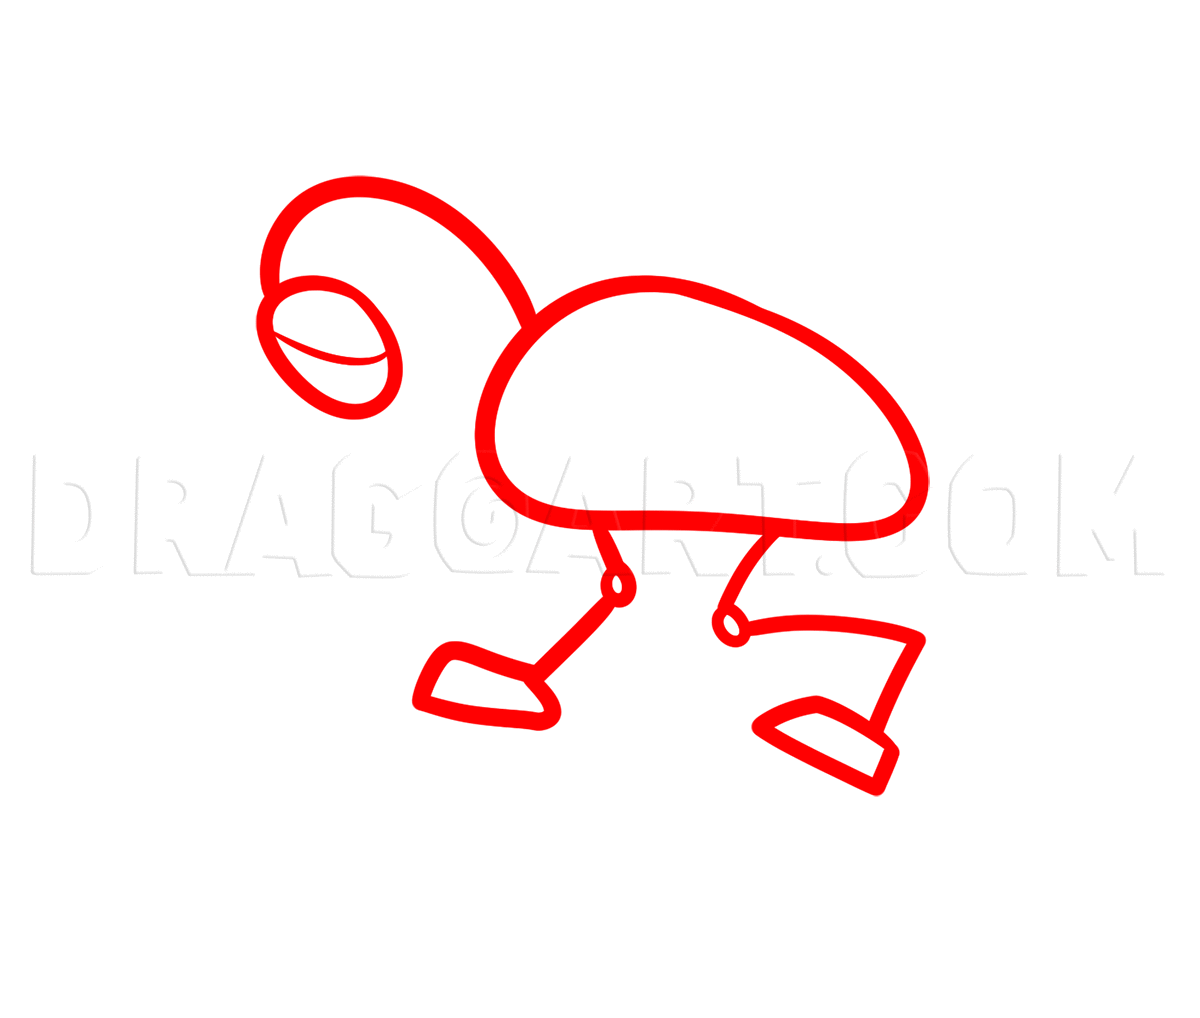
Now let's start the lesson for the entire dragon that you see in the thumbnail. Start with making the basic body shapes for the head, and body. Draw in the neck and limb lines like so, then add the facial guideline.
10
Next, work on getting the dragon's head sketched out. For me I started with the horns, then I worked on the forehead, snout, then the left side of the jawline. Also, draw in the limp looking tongue and make sure the the lining for the mouth is rugged
11
Using thin line weights, let's draw the inner detailing to form the facials and the starting spikes of frills. I like to use thick outlines for the base body build, and smaller lines for the inner moderate details.
12
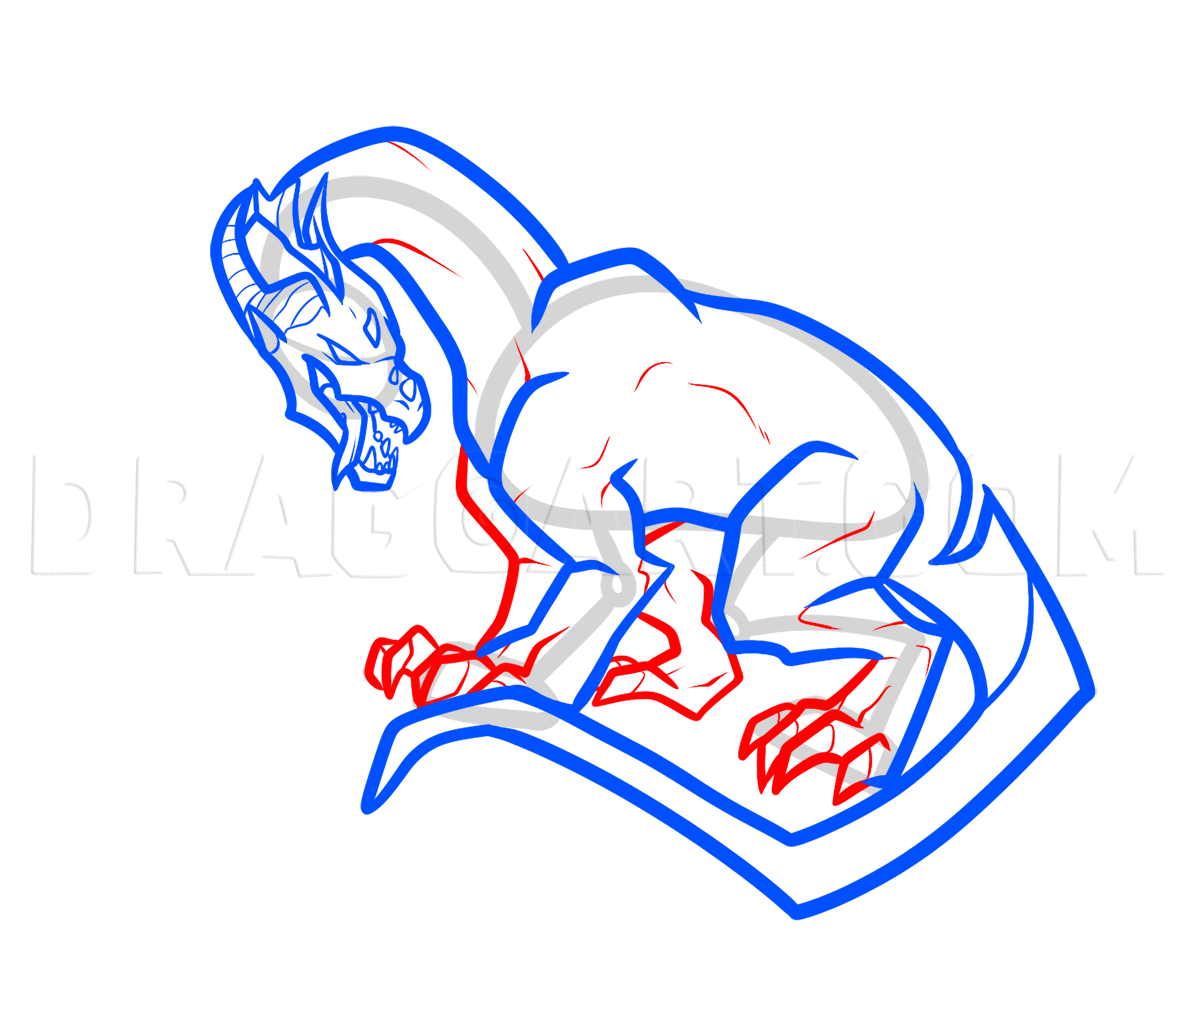
Now that you have the face all drawn out, you can begin sketching or drawing out the body. Start with getting the long neck sketched, then work on getting the back and shoulders drawn. Next, make the first front leg, then add some detail to the body
13
Then, let's work on the hindquarters, as well as the tail. The tail should have boxy curves in order to thematically match the style of this dragon. Using a lot of sharp edges enhances the sinister feel of the artwork. Take your time, and begin with
14
You will still keep the momentum up with drawing out the dragon's body. Here you will work on the rest of the limbs. Draw the other front and back legs like so, then sketch in the powerful looking claws on each foreleg and back leg. These are also kn
15
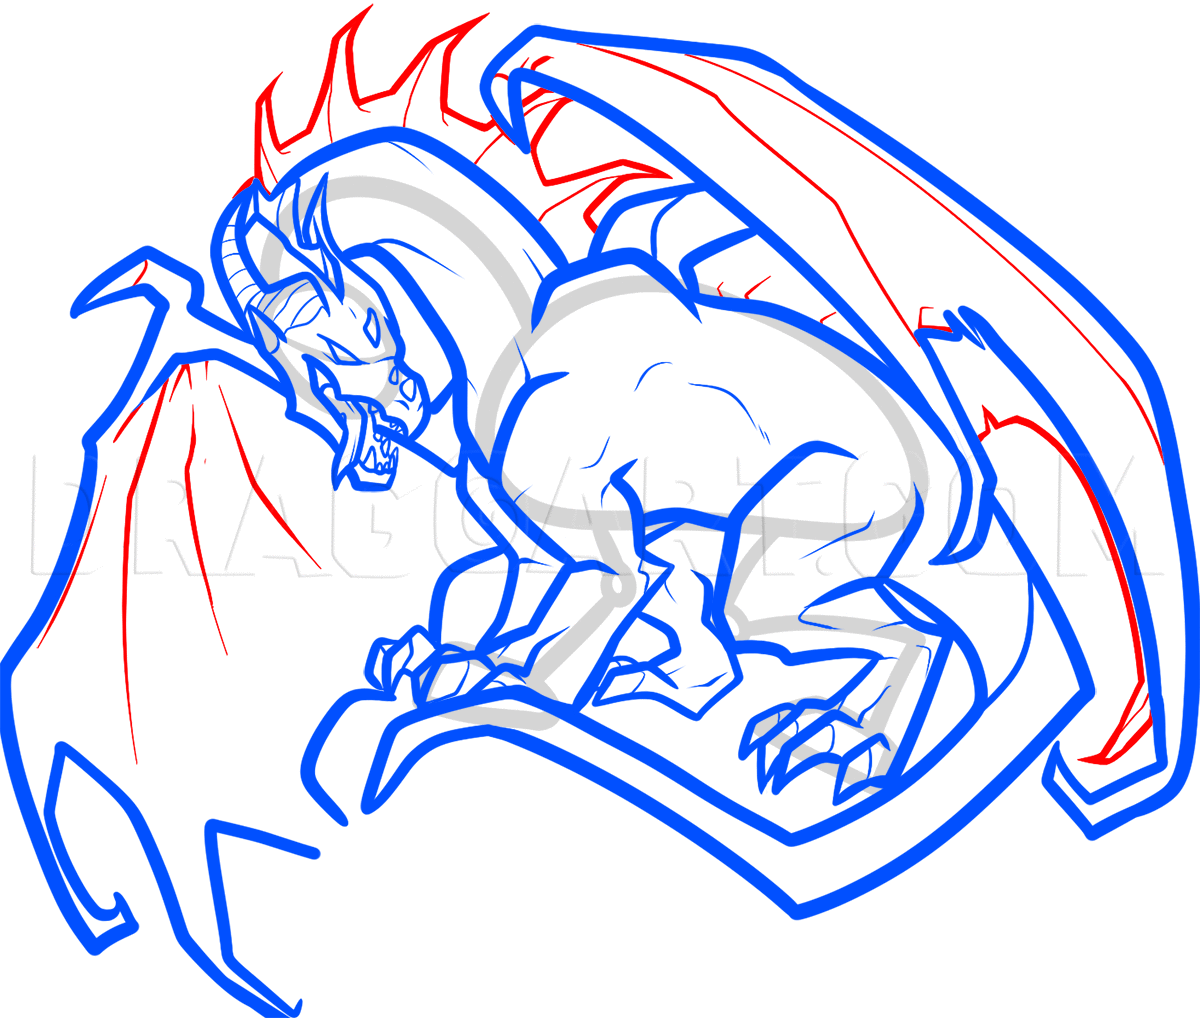
I know this step seems pretty difficult, but by taking a step one at a time, it's not. Let's begin on the left wing, since this is probably the hardest wing to tackle. I ALWAYS start my wings with the forearm and then the hooked claw, then form the i
16
Draw in the long line of sharp pointed frills that flow down the dragons neck and back like so, then sketch in the wing detailing for added texture and definition. You are almost done with your dragon, just a few more steps.
17
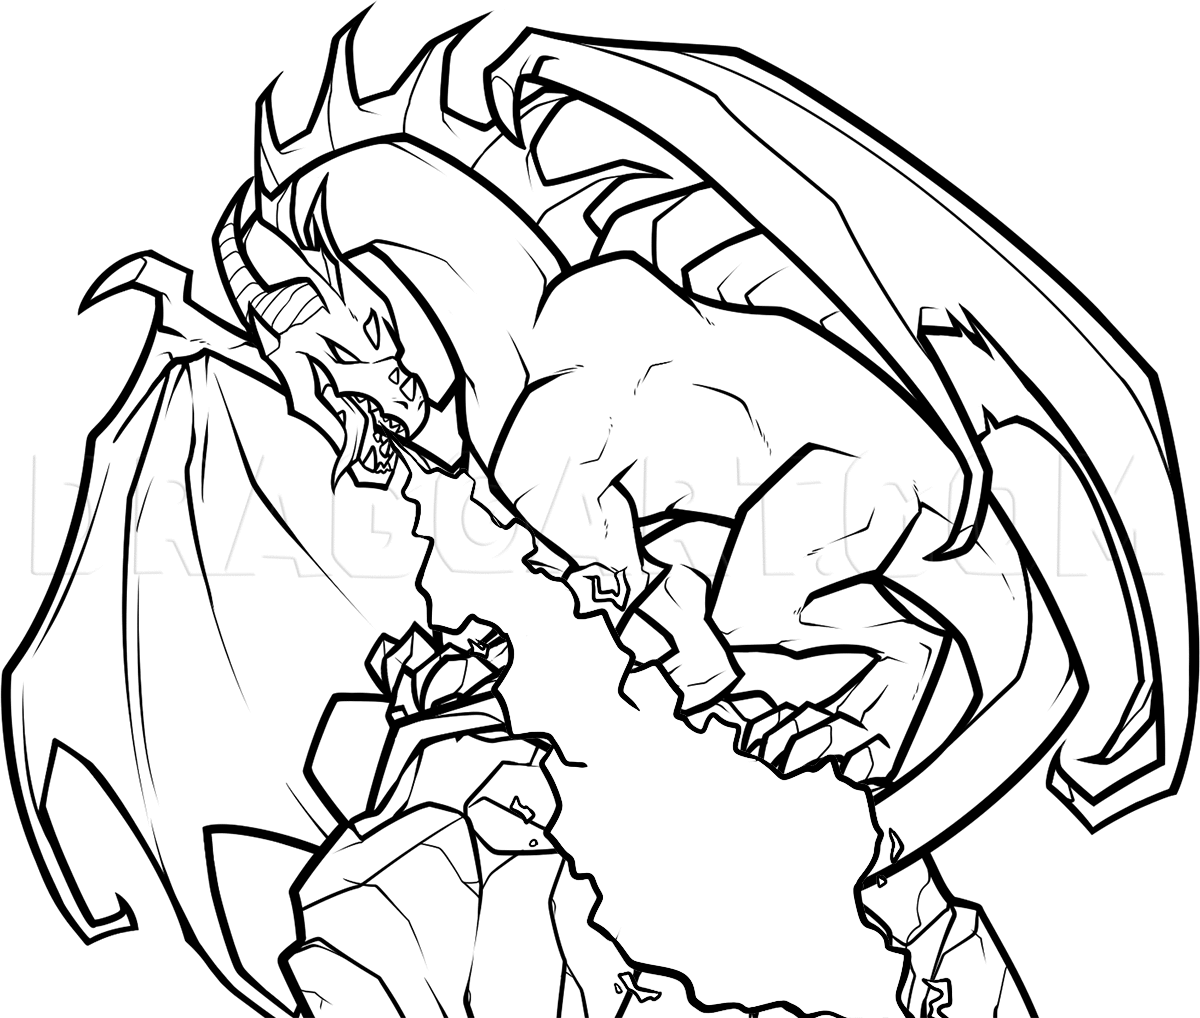
Now you will need to draw in the rock or rugged boulder that the dragon is standing on as he looks down at the enemy or prey. Sketch out a rough patterned rock or boulder like so, then draw in the detailing to the rock. You should end up with a stron
18
For your last drawing step all you have to do is draw in the stream of fire that is flaring out of your dragon's mouth. Instead of a straight stream edge lining, you will draw in a crimped look instead. When you are done with the fire, start erasing
Comments 0
Details
September 15, 2012
Description: Okay guys, earlier today I was drawing live. In the live stream I was sketching out a design for a fire breathing dragon. Surprisingly the concept came out pretty darn good. Now as you may know I haven't drawn dragons in a long while so for me this was a special surprise. Having said that, today you will be getting an awesome tutorial on "how to draw a fire breathing dragon", step by step once again. I know I have done one or two in the past, but since I haven't drawn any dragons lately, why not add a cool one instead of something simple or kiddish. The dragon that I made is standing on top of a mountain as he grips the rock with his clawed feet or talons. The lava rock design style that I chose for this dragon wound up looking real cool. The cracks on the dragons hide actually looks nice colored in red. The spiked frills that flow along down the back part of the neck makes him look even more vicious. I love the way the neck is positioned, and I also love how the fire is drawn. It's a new drawing technique that I'm working on. It's supposed to look solid instead of misty. Almost like a solid stream of fire mixed with lightning. Anyways I know a lot of you members and visitors will fall in love with this lesson on drawing a fire breathing dragon because almost everyone that joins or visits Dragoart loves these flying reptiles. I will be back later with some more drawing fun so try to stay tuned in. Peace out people!

