

1
First, let's start by drawing the basic framework for the eagle drawing. Keep the guidelines drawn very LIGHT and sketchy since we'll be erasing this later on. You don't have to draw the guides too accurate, just similar in sizes and shapes will do f

2
Next, we'll draw the head and beak before we move onto the chest and legs. Take your time, and use light lines until you're satisfied with outcome of the lines; then you may darken the lines just a bit to know you'll be shading inside of them. The le

3
Then, we'll go ahead and draw the talons and toes for the forelegs of the eagle. Keep in mind that the talons are curved and sharp, eagles do not have small talons! Because their feet act as grappling weapons, you'll need to draw them in a similar fl

4
So now that you've finished facials and talons. We'll start sketching the beginning of the flight feathers and wing. It's important to use large - curved strokes because these flight feathers are the largest of the wing.

5
Then, we'll finish the fore-wing, before we work on the background wing, which again meshes with the background. Notice how the back-wing seems to have shorter feathers because they aren't the base of the focal point and because of perspective. Use t

6
Lastly, finish off the basic sketch by drawing the tail feathers and the section of the white pattern of the eagle head.

7
So now that you've sketched from all the steps presented above. You should have lines similar to these. Mind you that you'll probably have a few sketchy misplaced lines here and there, but this should be pretty lose to the finished destination. The n

8
Now, take a 2B pencil and draw over the outer lines with a darker tone, this will evaluate where exactly you have to place the shadows in the correct order. Use the darkest of tones in areas where the shadows will cast (inner leg, 2nd further back wi

9
Now, take an 8B pencil and start going over the drawing with light sketchy strokes. This should establish a first layer of shadow which will then be blended in with the Q-Tips or cotton swab. Take your time, and leave certain areas open for the light

10
Now take your kneaded eraser and mold it into a fine point. Later on, we'll go ahead and start erasing away feather detailing in most of the highlight areas. Take your time, and try observe references to see how feathers form on the surface of the bo
Comments 0
Details
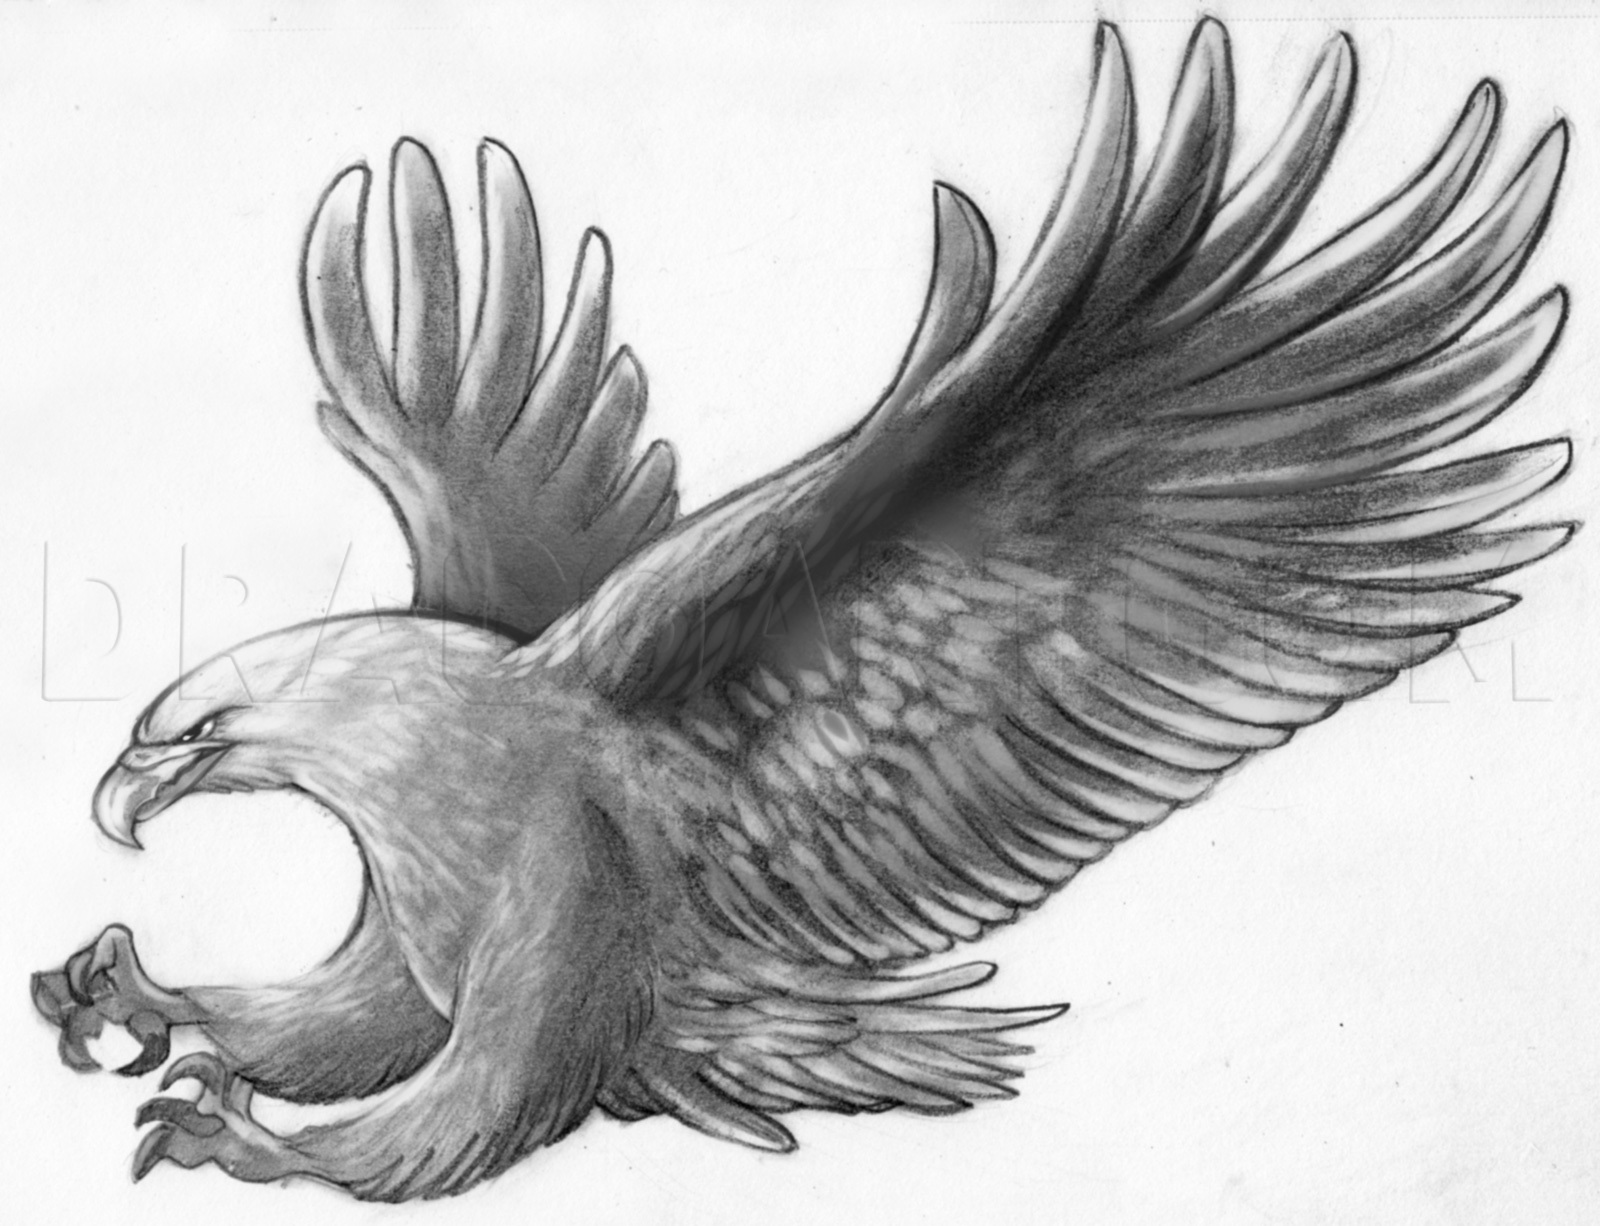
July 30, 2012
Description: Hello once again, guys! I'm back with another tutorial again, but this is going to be a switch up from the more cartoony and vector artwork I've been squeezing out. In this tutorial, I will give you a basic breakdown on 'how to draw an eagle', step by step. I loved working on this tutorial, especially the shading process on the wings. Remember to prepare yourself with a varied softness/hardness graphite penciling kit if you want an outcome presented in the first image. I would also recommend using a kneaded eraser (preferably a Prismacolor Kneaded Eraser) to have a thicker and stable molding power for erasing highlights. I used the Prismacolor Scholar Graphite Pencils which comes with the high quality kneaded eraser. Anyways, hopefully you guys will enjoy this tut! Peace and have a great time :)


