1
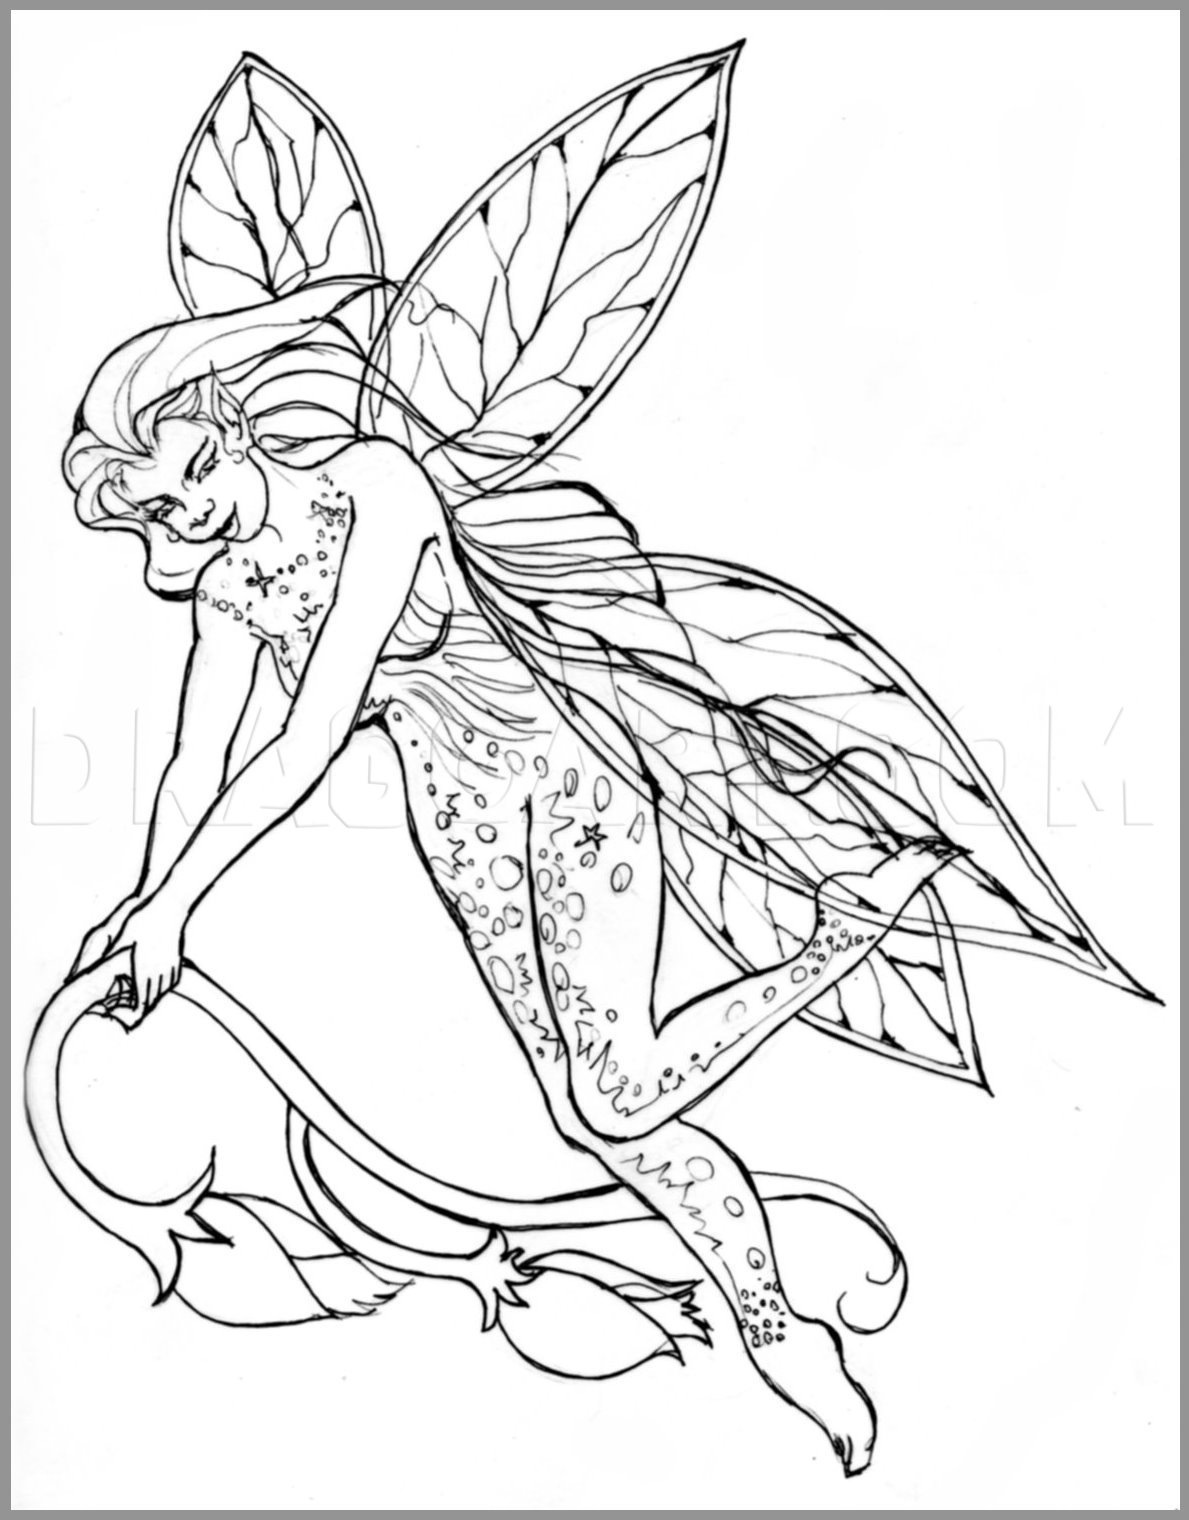
All kinds of magical creature ears can be used for the fairies. Elf, bug antennea, or even Spock's pointed ears. Dawn's "How to Draw Fairies" in this Fantasy category has some great styles for fairy ears. If you want to experiment, try adding any one
2
For the modern day fairy butterfly or bugs wings are popular. You can add one of these styles to your fairy. And, again, check out Dawn's "How to Draw Fairies" for some more wing styles.
3
This is the double whammy. You can draw this fairy, the fairy landscape or both. The fairy was so small in the landscape until I had to do a close up drawing of this magical creature. If you have a thirst for more fairy folklore, check out PuzzlePiec
5
Lightly draw the crescent lines for head mass and lines for the facial feature placements. Also add the torso and hip placements. And don't forget the lines for her wings. Try to stay close to how the guidelines look.
7
You can see how the guidelines interact with the fairy details. If you want, you can erase those guidelines before adding the hair fluff, veins in her wings, and sparkle circles in her outfit.
8
With the guidelines erased, this is how your fairy may look. But you may have fun putting on different ears and wings! Whatever your fairy preference, you can outline the details in ink, color it, or leave it in pencil.
9
HIGHLIGHTS, TONE, SHADING -- Click on the picture for tips on coloring your beautiful fairy. Now let us advance to the introduction picture--the fairies!
10
Sketch the low-rolling hills, dirt path, and the two diagonal lines in the foreground that represent a fallen tree trunk.
11
Add the mushrooms, tree trunk, and fairies. One fairy is poking from the bottom of the toward the mushroom. Don't forget that one.
12
This part is advanced because there are so many components to add. You can leave out some grass, maybe put in one flower bud of the main fairy, and not so much foliage. I want one thing from you--to enjoy drawing this. Have fun, get in the picture, a
13
This is how the fairy landscape looks without the red lines. If you want, you can focus on one area in the picture and draw it. The next 4 steps will have tips on how to hold a pencil for easier drawing, different pencil types, tone (etc.), and shape
14
Holding your pencil a certain way is important. When you want to cover a large area, like the tree leaves and rolling hills, you hold your pencil underhand almost parallel to the paper with the pencil on its side. For outlines and tiny details, like
16
CUBE, BALL, CONE, & CYLINDER -- These are shapes everywhere in nature. It helps to know how to shade, add texture, etc. Recognizing these shapes, simplifies the landscape or subject you're looking at. TONE, SHADING, SHADOW, & TEXTURE -- Tone is the a
17
FOUR BASIC FORMS IN NATURE -- In the picture are the basic shapes placed on the nature forms. If you look closely, you'll find the fairy, mushrooms, trees, and flowers are a combination of the four basic forms.
18
This is how your picture may look once you've sketched it in. You have accomplished a lot and absorbed plenty about "How to Draw Realistic Fairies." I've used sketchy line strokes to shade. You can use circular or lines to fill in the darker areas. M
Comments 0
Details
May 20, 2011
Description: When I think of fairies, Disney's Tinker Bell or the tooth fairy comes to mind. But throughout folklore, this magical creature ranged from gnomes, trolls, elves, tall angelic creatures without wings, child-size to tiny-size mischievous winged creatures, kidnappers of children & old folks, substituting with changelings, & the list goes on. I'm going with the modern-day fairy, wings and all! I hope you enjoy this tutorial. It's a double whammy made for fun! This ranges from intermediate to advanced. I'd love to hear what you've got to say, please vote to keep me in the tutorial race, and fav to your heart's content. YOU ALL ROCK!!!


