


1
Before we start drawing, let's see which are the main differences between two similiar Corvids: crow and raven. Ravens are lager and bulkier than crows, the beak of the raven is large and it curves close to the end while the beak of the crow looks t
2
Now we'll draw a fullbody side viewed raven. Start with these simple guide lines. Remember: solid body and large beak. Draw a circle for the eye near to the beak.

3
Draw the forehead and the shaggy throat, then add the small eye.

4
Now it's time to draw the beak, it's very important to draw it correctly because it will make your drawing look like a raven and not like a random bird. Do not make it too thin but neither too thick. Looking at photos is helpful. Do not forget to dra

5
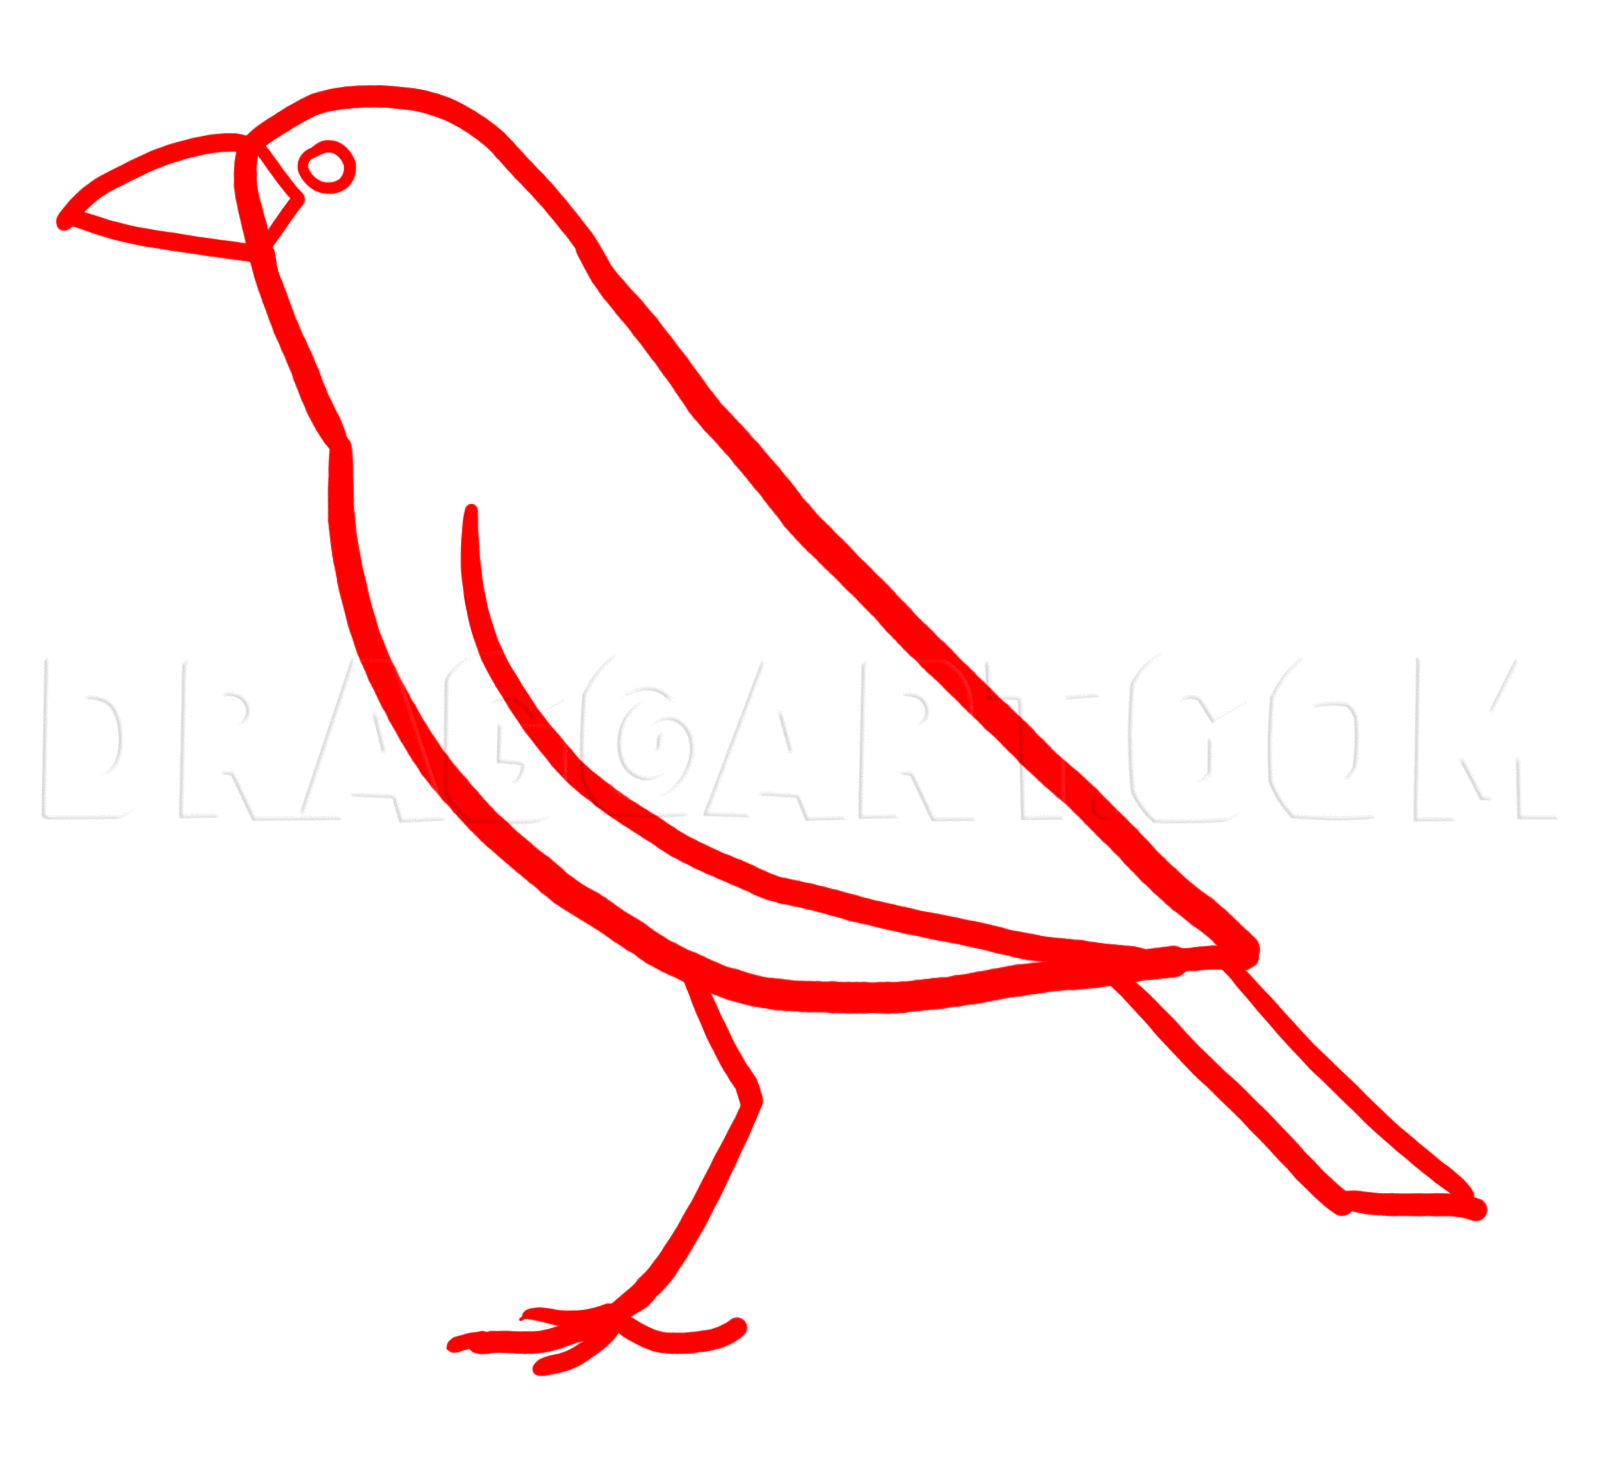
The head is done, now we have to work on the body. Draw also the start of the leg.

6
Add the folded wing and the tail.

7
Let's add some feathers on the wing. As you can see the wing is formed by various feathers groups.

8
Draw the legs and the feet with the long, curved and sharp claws. The foot of the raven has three toes on the front and one behind.

9
Add some feathers on the body and on the head, the round pupil and detail on the legs.

10
The raven is finished!

11
In the image you can see the pose that the raven assumes while it is croaking. The body is slanting and the feathers on the throat are raised.

12
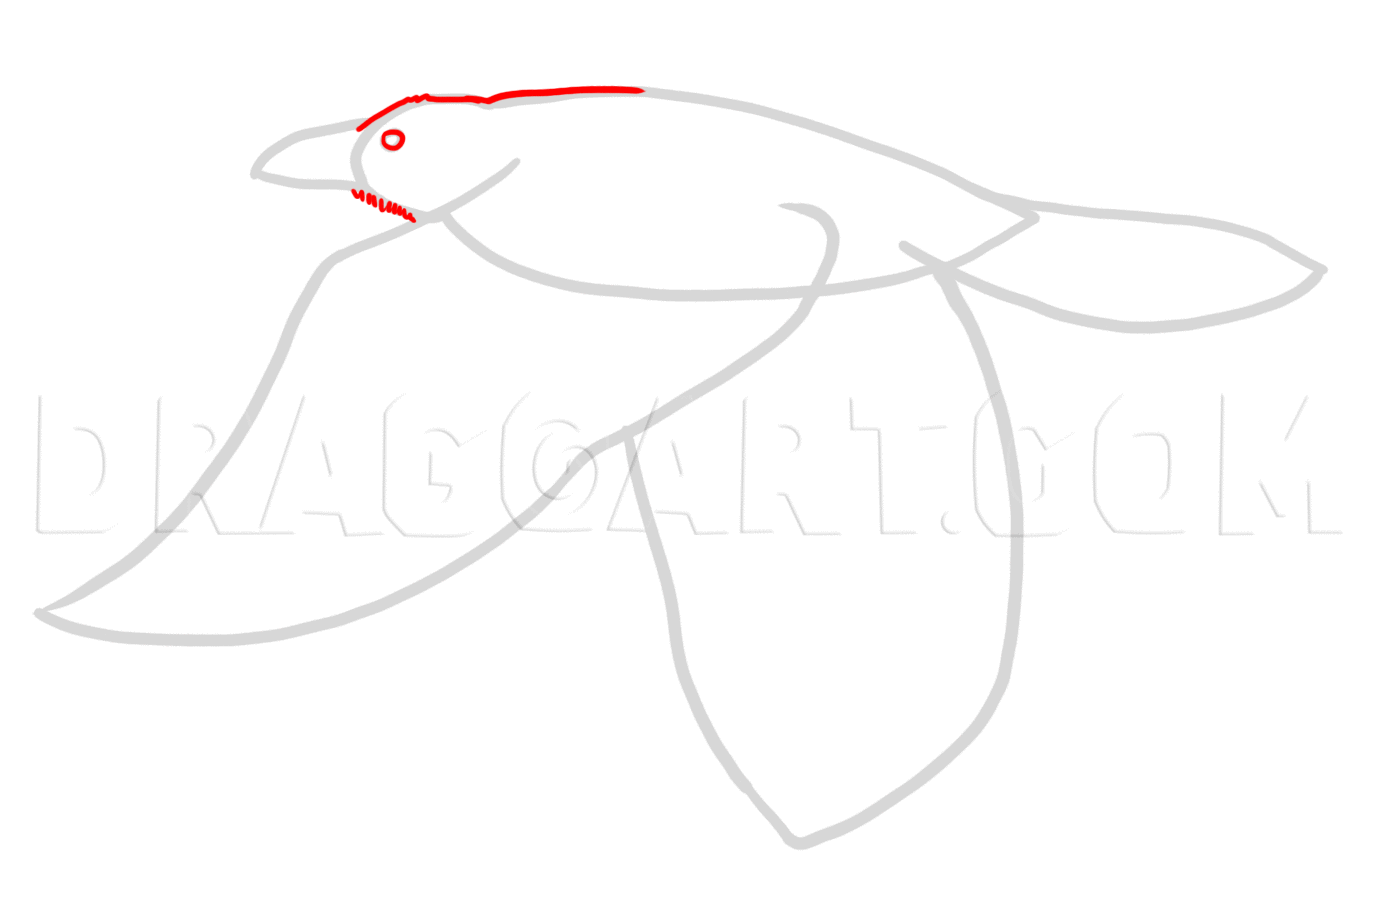
Draw the guide lines like in the image, the most important parts here are the beak and the open wings.
13
Now work as before, draw first forehead and throat and then the eye.

14
Add the beak with the thin feathers on it.

15
Finish the body and draw the tail.

16
Draw the large open wing following the simple shape that we've drawn in the guide lines step (step 12).

17
Draw also the other wing and add feathers on the whole figure, then add the pupil.

18
The flying raven is done! I hope you liked this tutorial.
Comments 0
Details
August 14, 2013
Description: Tutorial about how to draw realistic ravens.


