1
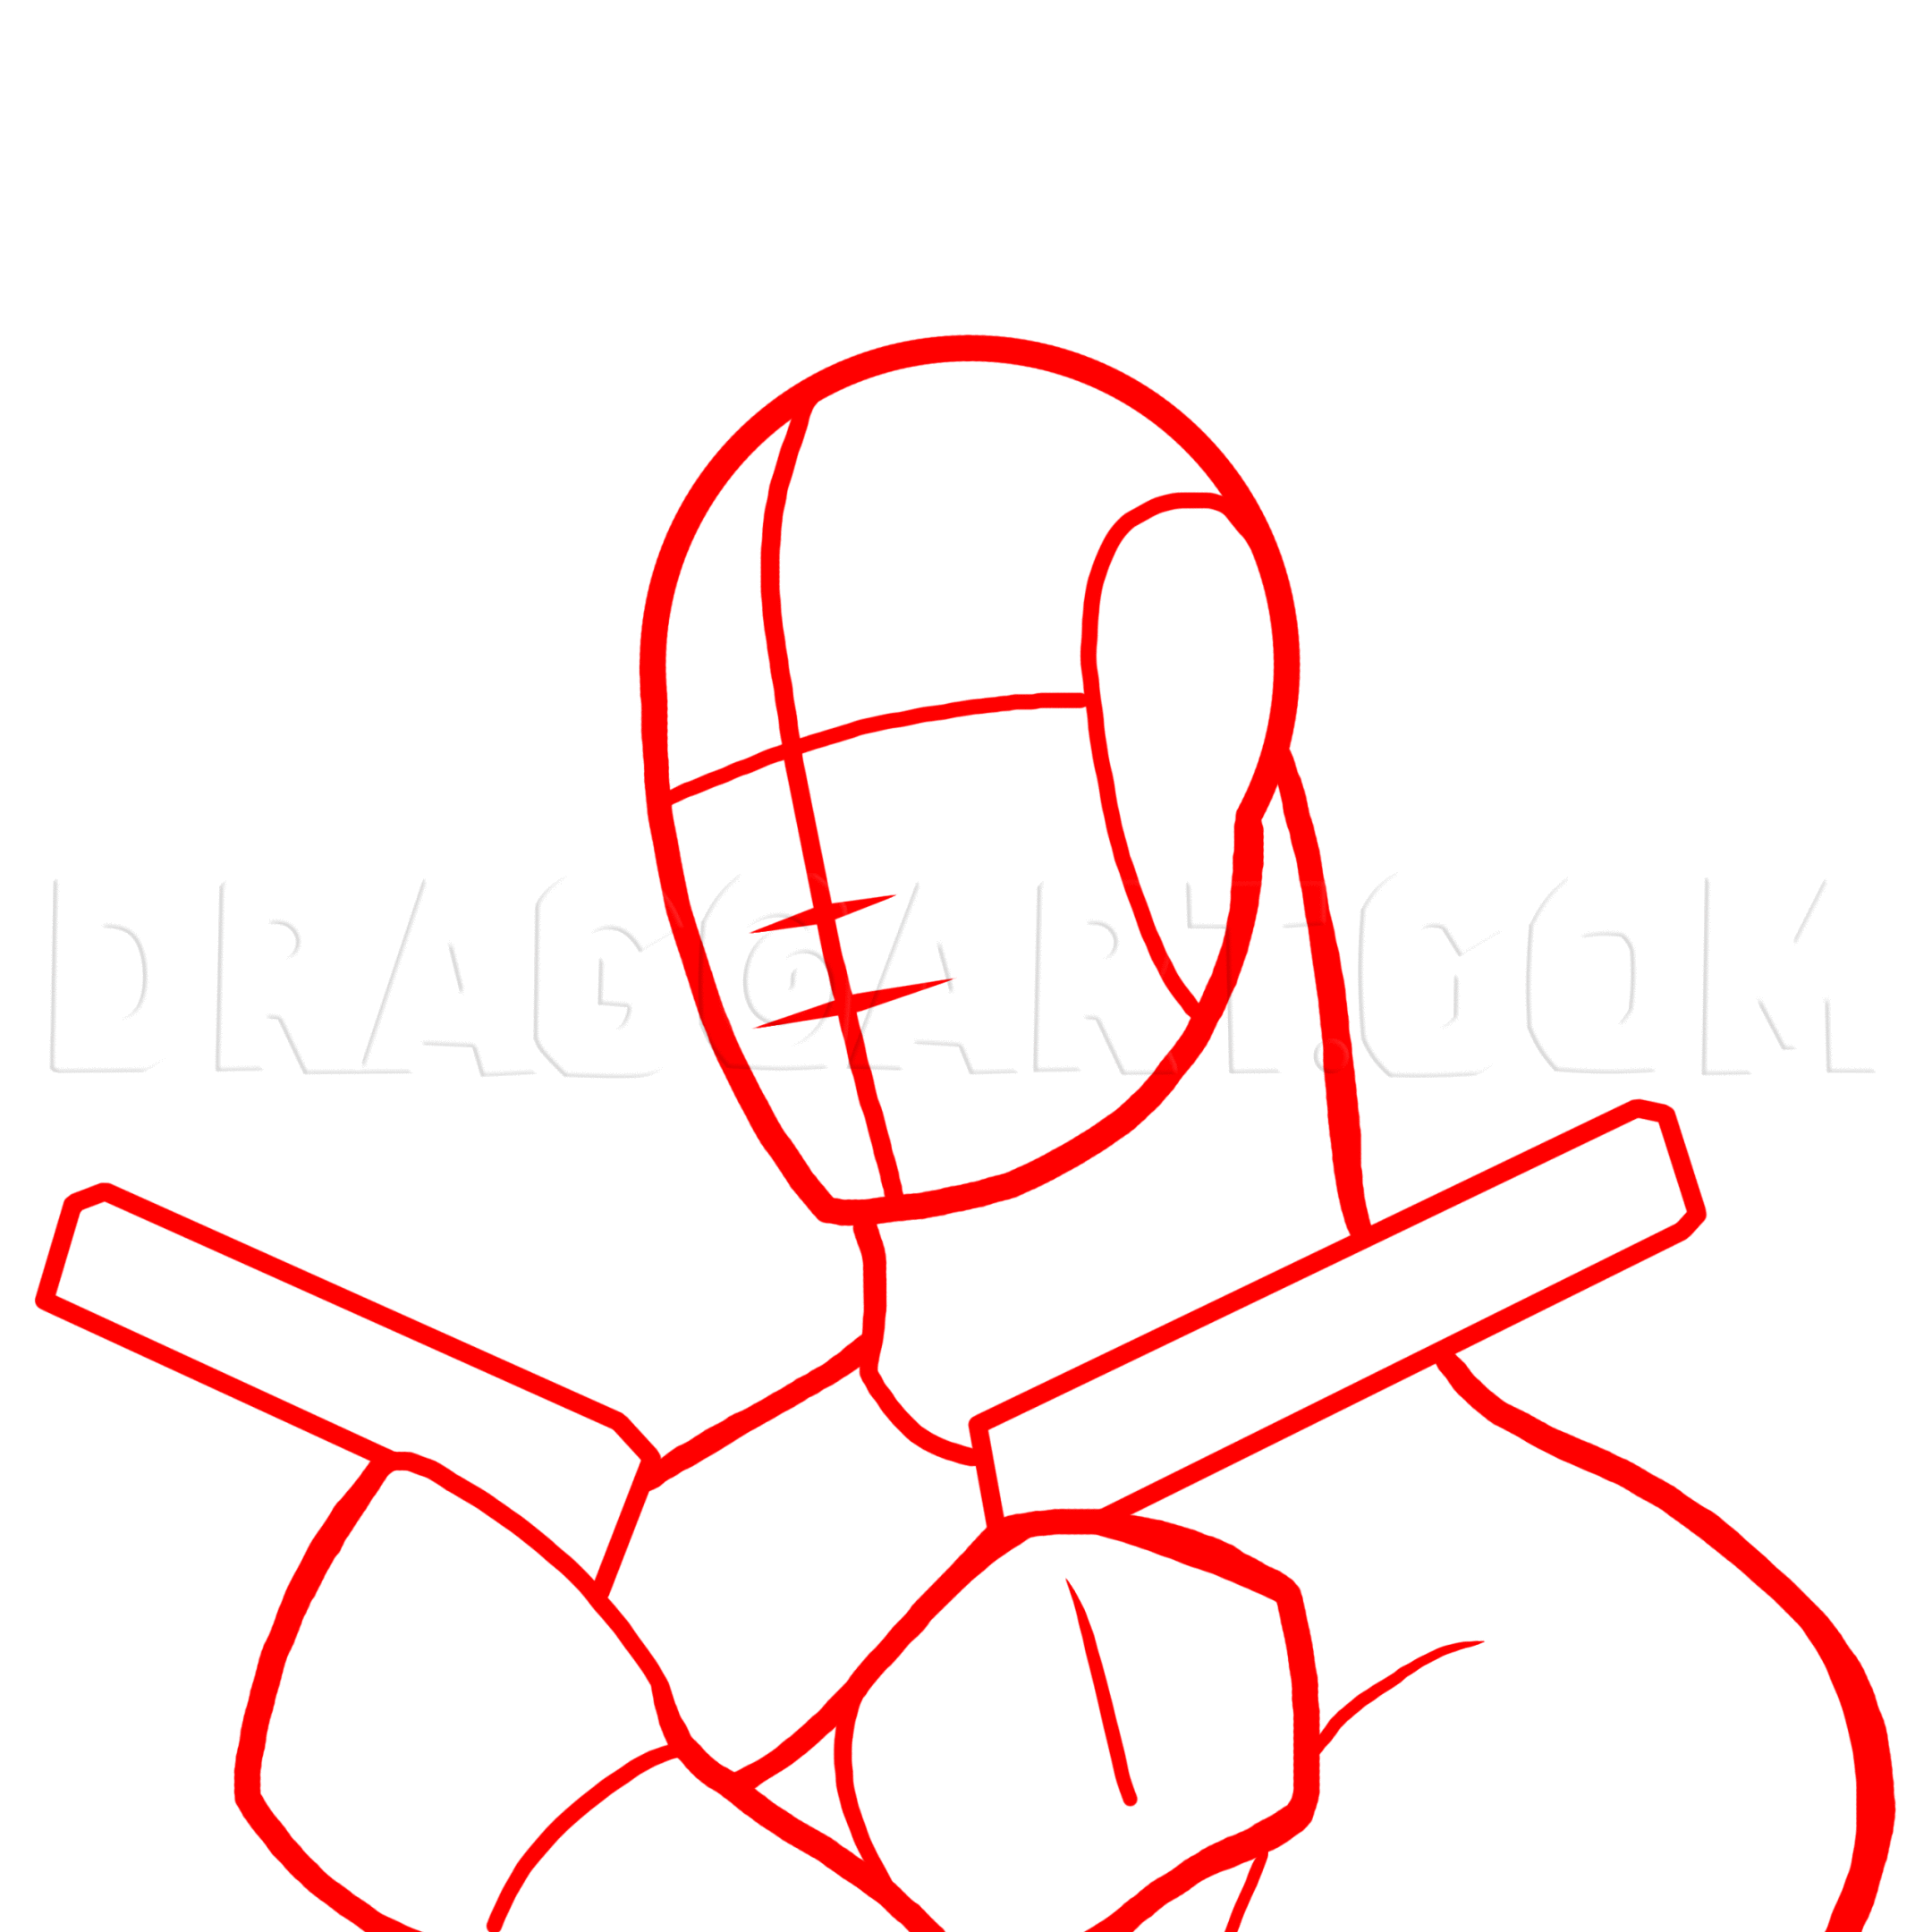
To draw Eazy-E, we should first sketch out some basic construction lines. Use a 2H or harder pencil and sketch very lightly so that the lines are easy to erase later on after we ink. Sketch the basic shape of the head, neck, and upper shoulders. We'r
2
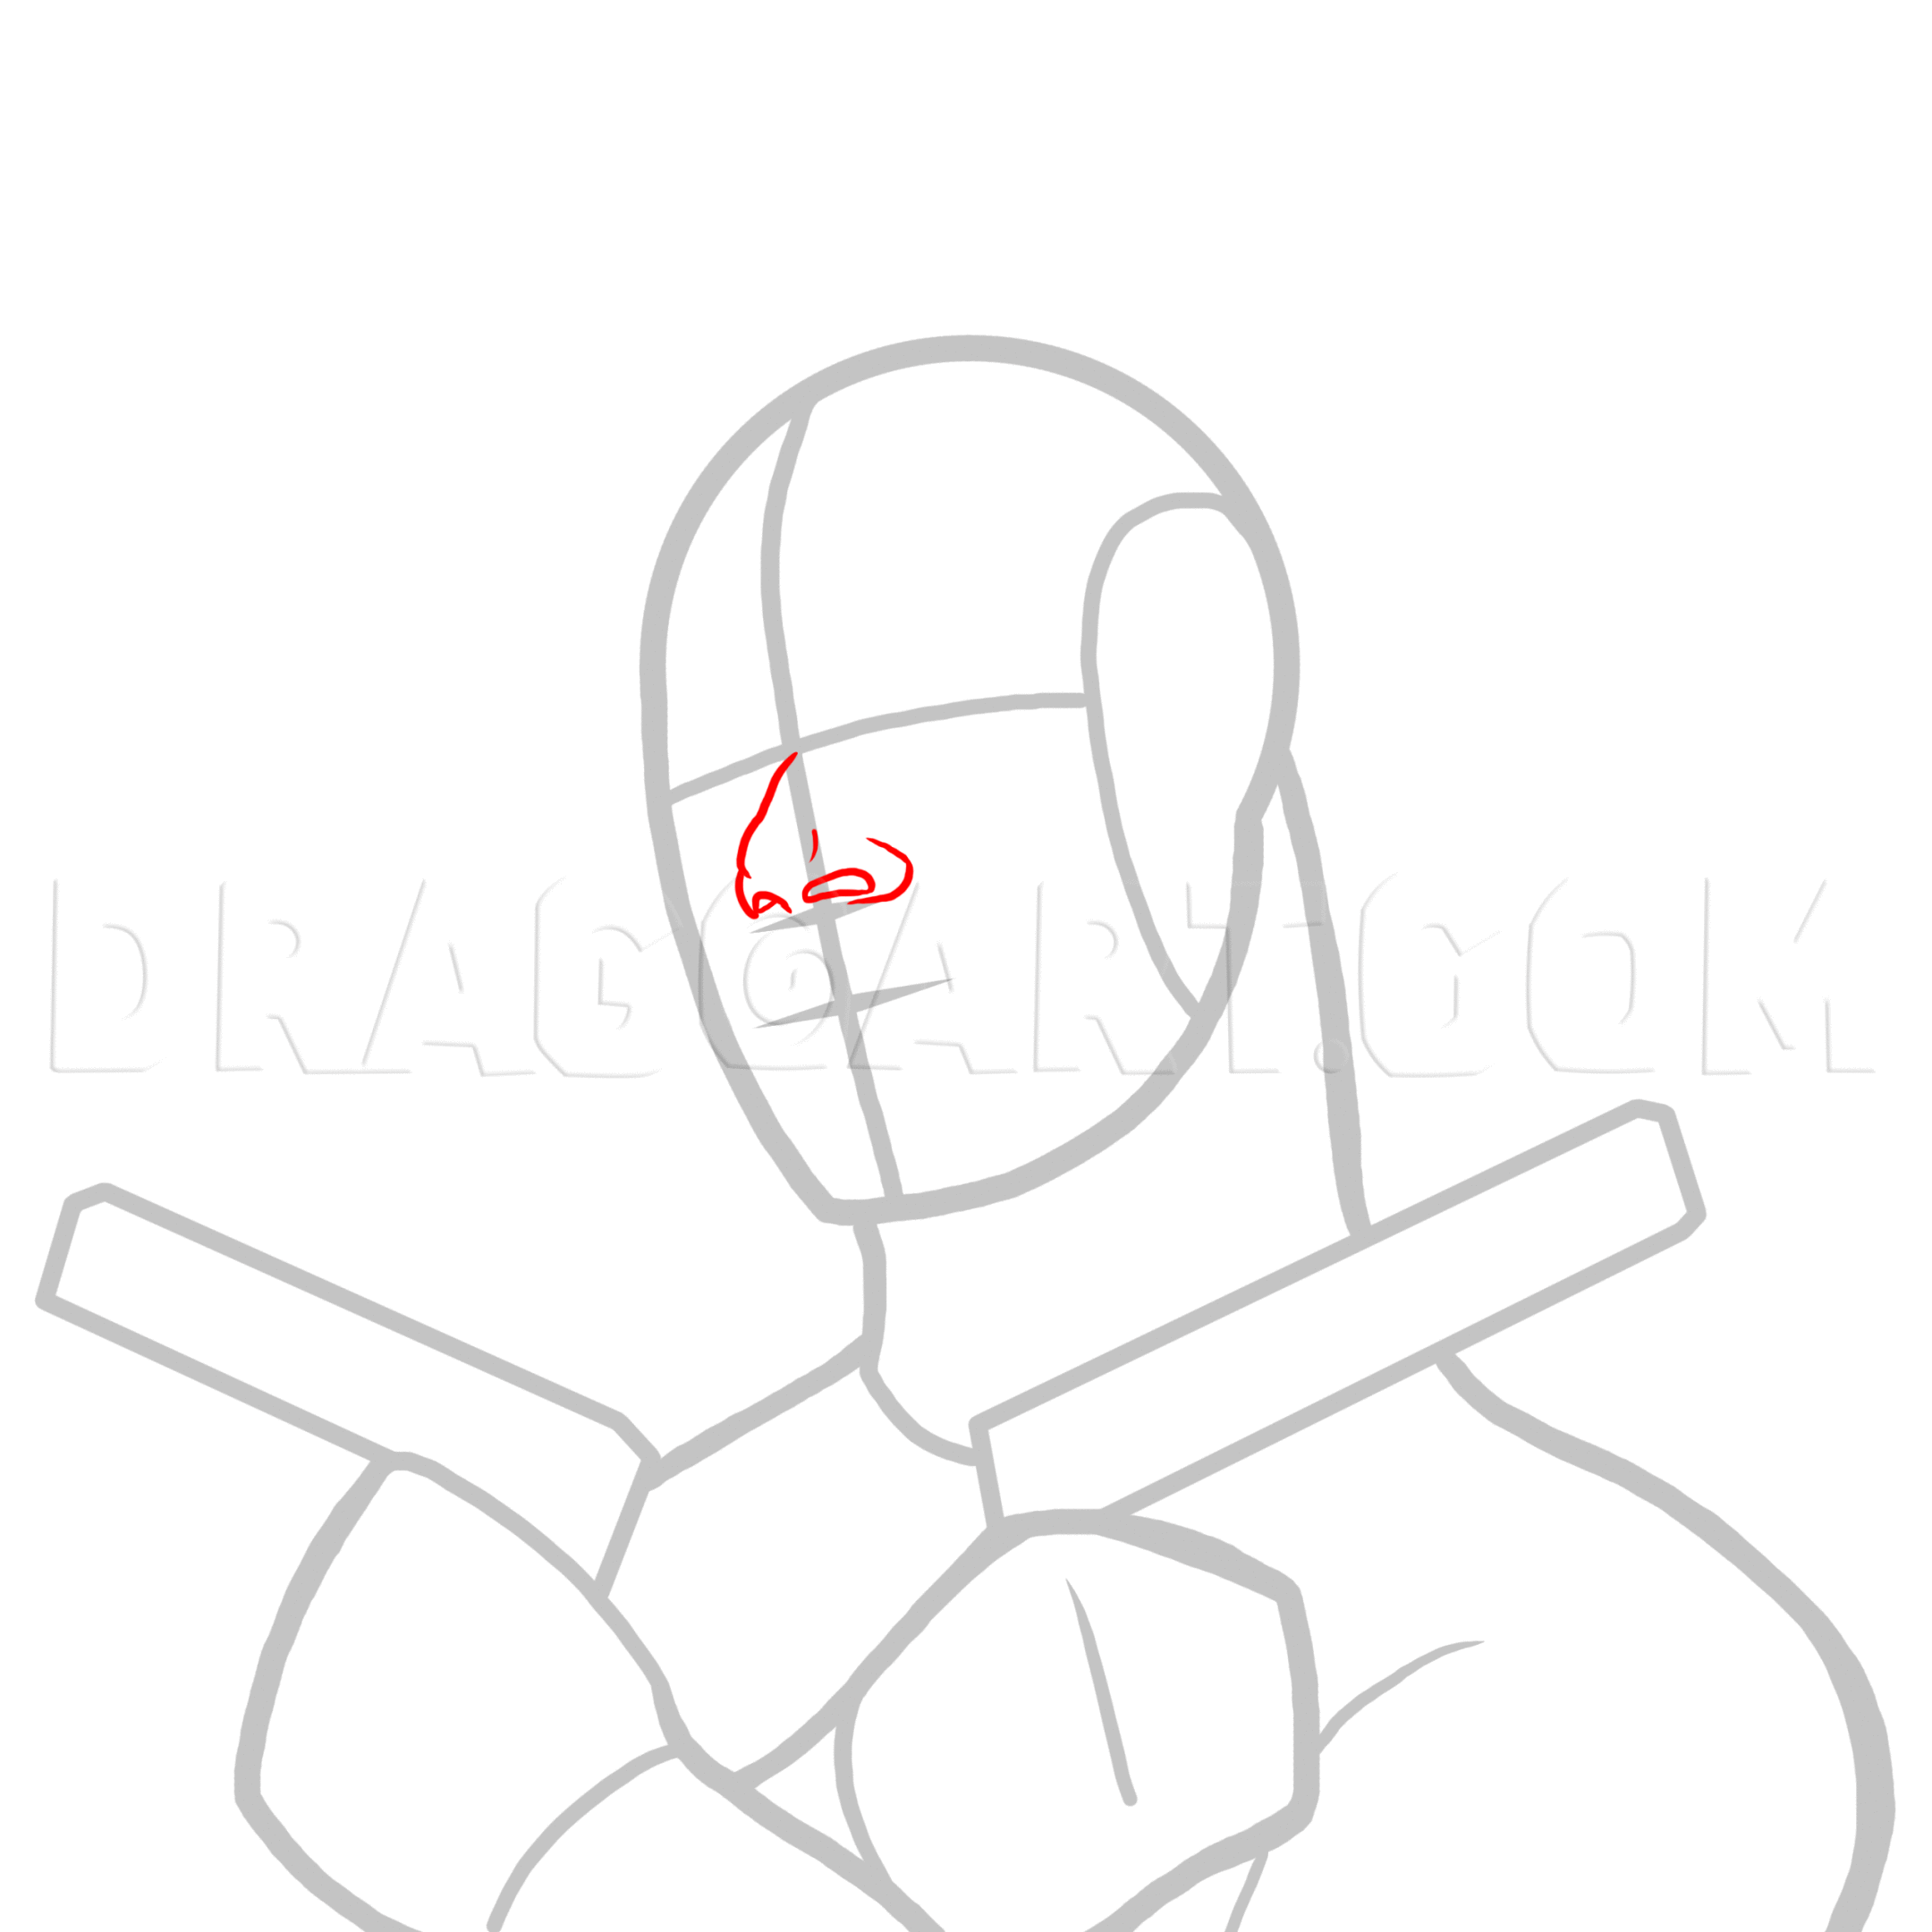
Ordinarily, I would recommend starting with the eyes first. But we're going to have him wearing sunglasses, so it's best to start with the nose. Using your center vertical construction line as a guide, draw the nose pointing upwards somewhat. He shou
3
Next, draw the lips directly in line with the nose. His upper and lower lip are about the same thickness as one another. Be sure to draw numerous tiny creases in the lips as well as the indentation above the upper lip, and the chin crease below the l
4
Now draw the contours of his face and jaw line. He has a very wide, yet rounded jaw line that curves upwards at the back.
5
Draw his left ear above the tip of the jaw line. At this angle, the bottom of the ear should be in line with the bottom of the nose. The top of the ear is above the construction line for the eyes.
6
Now let's draw the sunglasses! Be patient and make sure that both lenses are the same basic size and shape. Remember to draw the curved nose piece in the middle. The arm of the frames should point to the back of the head and rest atop the ear.
7
To make things more interesting, let's draw him with a Chicago White Sox baseball cap. We should be able to clearly see a large portion of the underside of the bill at this angle. The "Sox" logo should be written diagonally in Old English font. Also
8
His neck is fairly thick. The back of it starts behind his earlobe, the front of his neck starts in front of his chin.
9
Now draw his facial hair and his head hair. For his head hair, we should be able to see some hair on the side of his temples that peeks out from beneath the baseball cap. He should have long strands of hair falling behind his neck, the tips of which
10
Let's get to work on his arms prior to drawing his shirt. Draw the left arm first, which is bent so that the forearm is pointing upwards diagonally. The fingers should be clenched as he will be holding guns. Be sure to draw the knuckles.
11
Draw his right arm bent in the opposite direction, but underneath the left arm. At this angle, we should be able to see more of the fingers than we did on the other arm, especially the index finger which should be bent over the trigger. The other fin
12
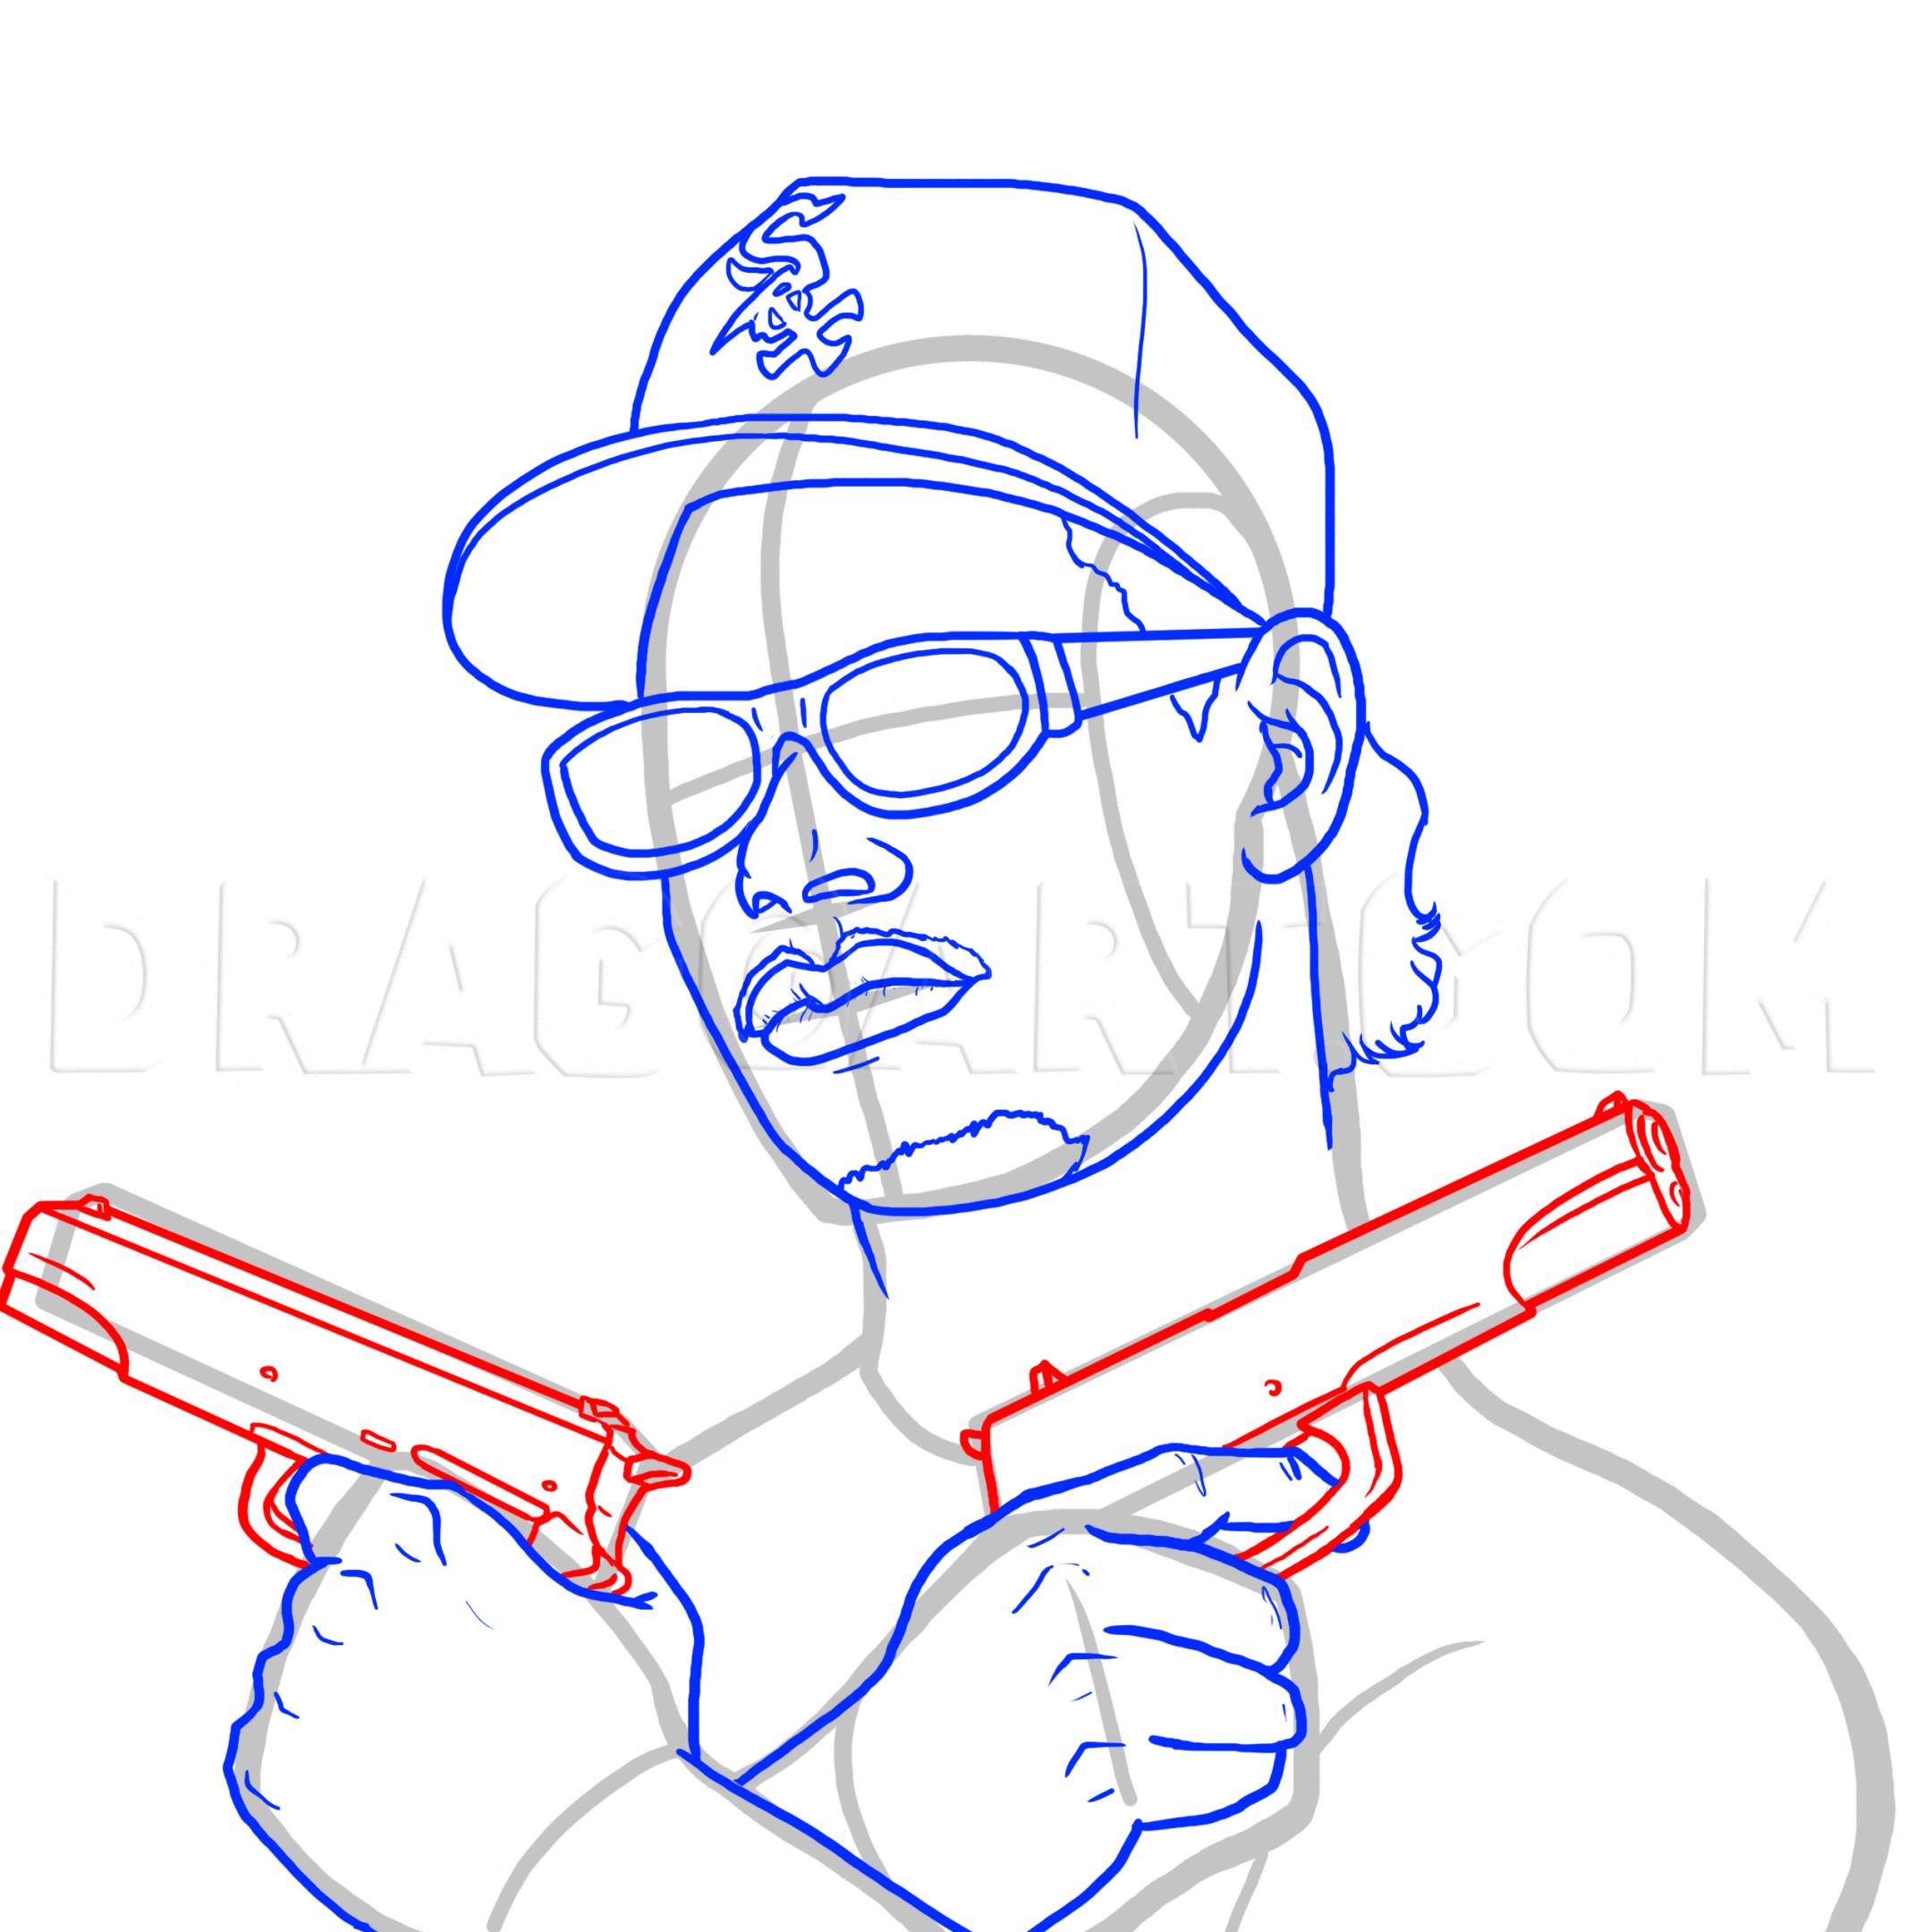
Now we can draw the guns! He should be holding identical pistols in each hand. Use a ruler to help you draw the straight lines. Imagine the pistols as elongated cube shapes with additional features such as the sights, hammer, and trigger guard.
13
We can finish our pencils by drawing his shirt. He can be wearing a buttoned up dress shirt with folded collar. There should be numerous folds and wrinkles on the shirt, all flowing in different direction since his arms are bent. Draw a couple of but
14
Now that we are done penciling the image we can ink it. Use either Micron markers, or a brush and India ink to do your inking. Carefully go over each line with patience and be sure not to ink any guide lines. It's a good idea to use Mircrons with the
15
You can add a greater sense of depth to the image by giving it shadow and blacking out certain areas. Use either a thick felt tip marker, or a brush and ink to do so. Establish your light source and black out the opposite side of the figure. Be sure
Comments 0
Details
January 6, 2017
Description: The godfather of gangsta rap! Learn how to draw Eazy-E in a comic book style.


