6
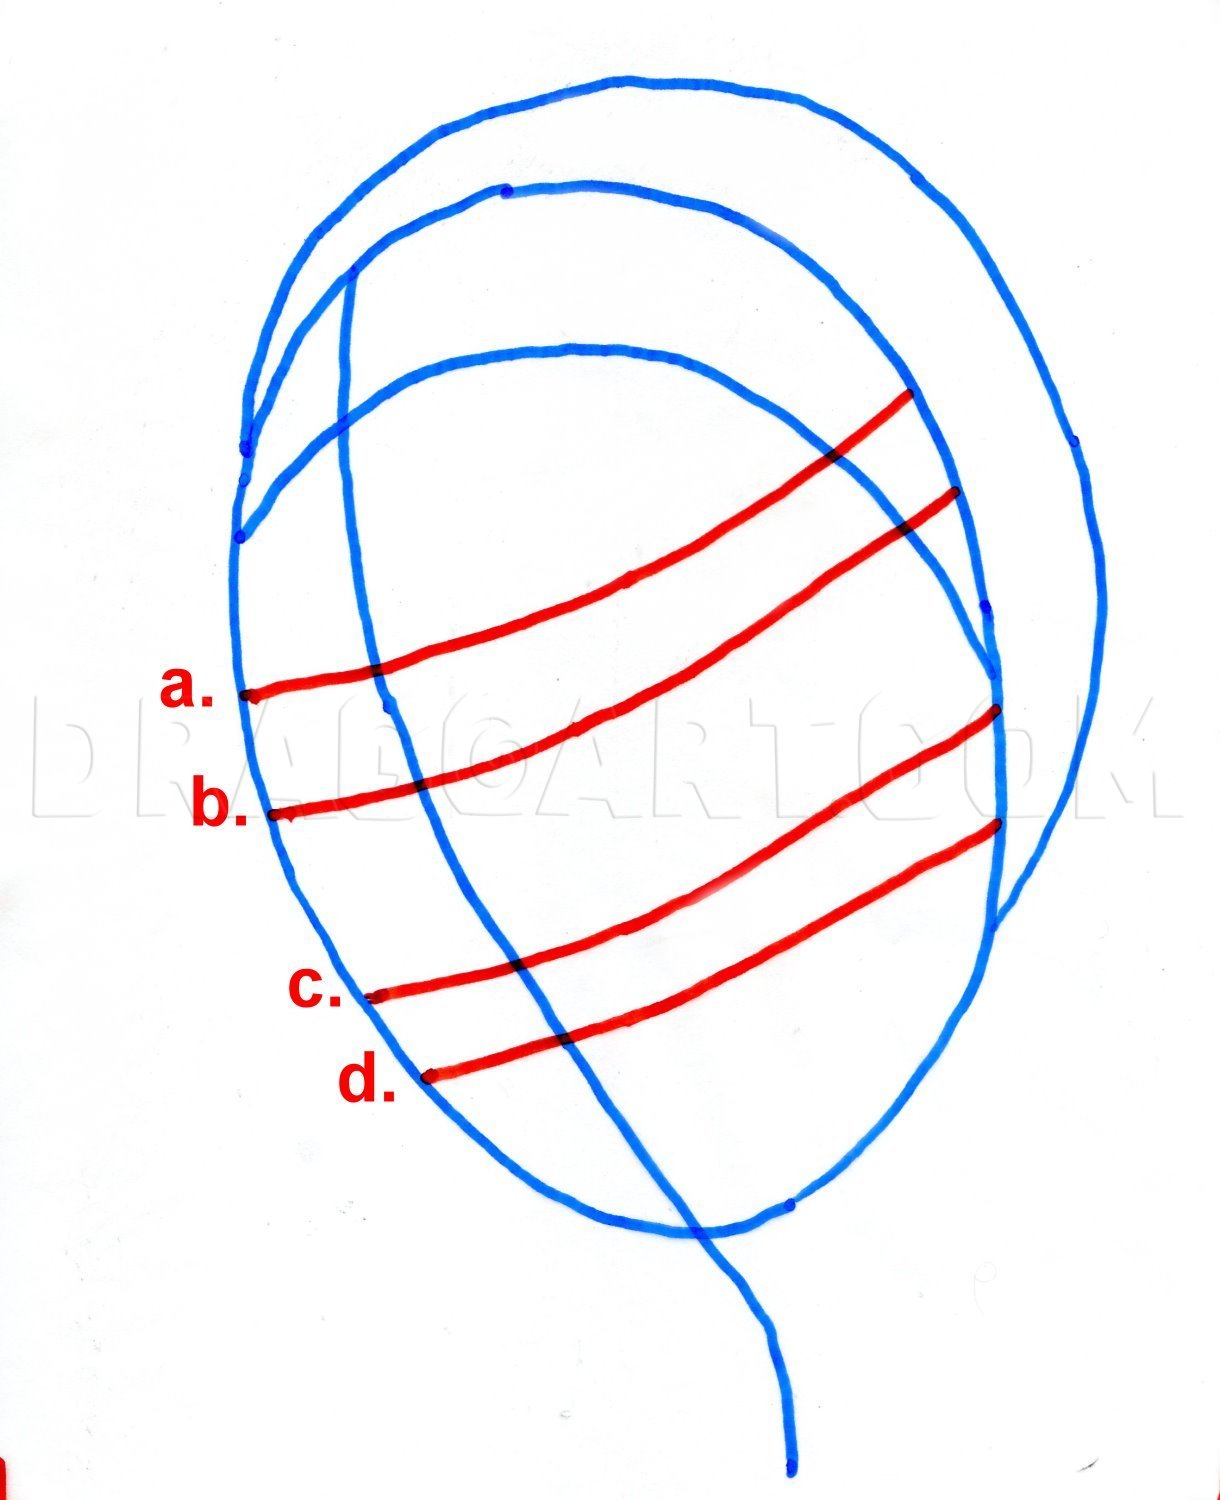
Examine the guidelines and notice how his cheek and jawline appear next to the left side of the guidelines. Also observe where his features appear in relation to the guidelines. Draw in his irises, pupils, nose, mouth, ear, and neck placement.
7
Now you can draw in his hairline and sideburns and shoulder. Make sure you draw in the short line strokes for his hair & sideburns. If not, his hair will look like a wig.
8
Now complete your drawing with his full hair. Try mimicking how the hair flows, including the featured look with that lock of hair drooping over the side of his face. Finish his bow, collar and jacket. Remember his neck placement over the collar...ad
9
I made this line drawing especially for you if you don't want to do the pencil shading and blending part. Those random very light lines are guidelines to shade different areas. You can add or ignore them.
10
Here is the outline done with a 0.7mm mechanical pencil. Look closely and see if your lines look something like this. You can erase if certain areas like the eyes or nose don't line up. Be patient with this, it's not as complicated as you may think.
11
You can shade with your pencil in straight lines or circles. I used only the 0.7mm mechanical pencil. If you only have the No. 2 pencil, continue to use it. You do need to apply more pressure at certain points for darker shading. At this point, light
12
I added depth to the sketch by using my 9B pencil. This is where you need to use more pressure with the No. 2 pencil.
13
Use a tissue because it lifts darker graphite and more evenly spreads across the picture. Make sure you do not rub over his main features, as you will lose the details. Just blend over major parts of his face and bow tie. Lightly blend with tissue ov
15
After doing all the detailed shading and blending, highlights with opaque white are the last thing I add on top of dark areas. It's easy and quick. I don't have to draw the highlight detail in by erasing or not drawing over. Those tiny hair wisps are
Comments 0
Details
September 2, 2011
Description: Dr. Who played by Matt Davis is the eleventh incarnation of this character. This popular British TV series is the longest airing science fiction series in television history. Please join me in "How to Draw Dr. Who." Do fav, comment, and vote, and I will certainly reply back. Hope you enjoy this one. Thank you, everybody.


