2
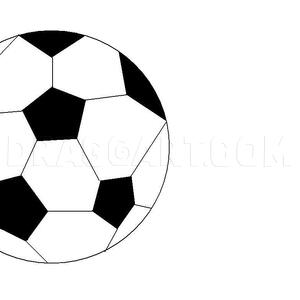
Now all you have to do is draw in the two arched lines on each side of the ball like you see here, and then move to step three. These lines are going to be the stitch lines.
3
Okay, for the last drawing step, all you need to do is draw in each stitch along the arched lines like so, and then you are all done. There is no guidelines or shapes to erase because what you drew is what you used for everything.
Comments 0
Details
April 18, 2011
Description: Okay guys, I told you I was going to make a lesson of a baseball to go with the other sports balls of the season. Here is my version of “how to draw baseballs", step by step. I do have another tutorial on just a baseball and in that design I included some really cool flames to pump up the picture. This lesson is just on a regular ball, and with the tutorial I will give you some interesting 411 on the make-up of the baseball. First of all some believe that the ball is a solid mass with a leather cover that is stitched together. The truth is that, inside of the ball is made up of nothing more than either a rubber, or a cork core. Wrapped around the core is a bunch of yarn that is tightly wound into a firm ball and then the cork and yarn ball is then covered, and stitched together with leather. When all is said and done the baseball is about nine to nine and a quarter inches in circumference. The ball has been used in games since the 18th century beginning in 1846, and the game is considered to be an American sport that is enjoyed by people, and fans around the world. I myself don’t care too much for baseball, but I’m sure there is a lot of people on Dragoart that love the game as well. I hope you have fun drawing baseballs, and as you can imagine there is going to be nothing to this lesson at all. Peace out peeps, and have fun.


