2
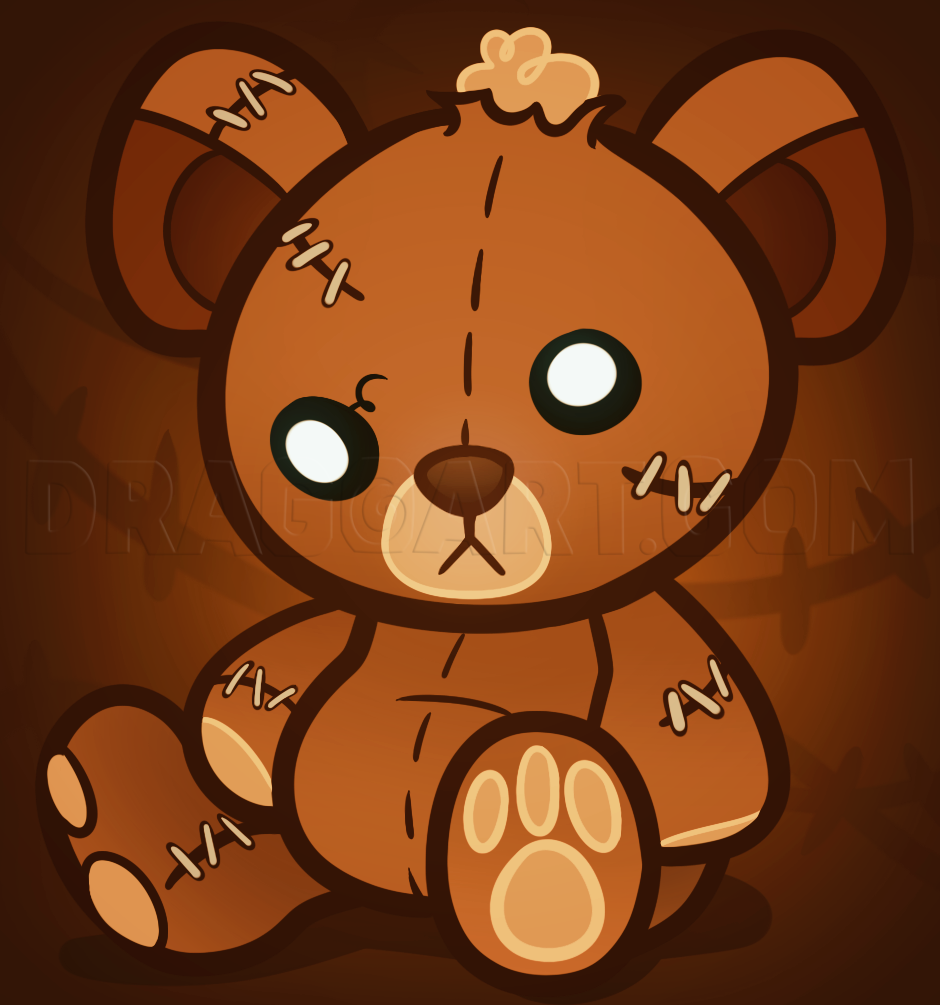
Next, draw in the ears, as well as the plastic eyes. Color in the eyes leaving a gloss effect. Draw in the nose, mouth, and the marking around the mouth. Notice how the left eye is hanging on by a thread.
3
Next, draw in the detailing on the ears as well as the cotton or polyester filling which is popping out at the top. Sketch in all the stitch lines as well as sewn up areas.
4
Now we will draw out the teddy bear's body. Start with the torso or belly like so, then draw in the arms and one leg for now.
5
For the last step all you have to do is draw in the bum, then the other leg and foot. Add the foot padding on the bottom of each foot, as well as the all the stitch repairs on the body. Erase the mistakes if you have made any along the way.
Comments 0
Details
July 14, 2012
Description: I don't know why I chose to do this tutorial on "how to draw a stitched teddy bear"? I guess I felt in the mood to draw a little cuteness with some flaws. Anyone who has owned a teddy bear and owned it for more than ten years knows they start to get tattered and worn. I personally never grew attached to stuffed animals when I was younger, but I know plenty of people who have. This bear is drawn for all you folks out there that has loved a teddy bear in your lifetime and may even still have it to this day. This bear has some visual repairs, but it has managed to keep it's adorable cuteness. I really enjoyed drawing this stitched teddy bear because it was fun thinking up what I imagine a child's teddy bear to look like. Adios people and enjoy!


