2
Now draw in the bisecting red line to balance his facial features. Also draw in the slanted curved line for his shoulders and the tipped over picnic table lines for his fingers.
3
Sketch lightly the crescent red lines for hair line and head mass. Also draw the two circles, the last one has a connecting line...draw that one too.
6
Observe where Santa's features appear in relation to the guidelines. Draw in the bags beneath his eyes, his nose, smile lines, and don't forget the shiny spot on his nose.
8
The crescent guidelines will help you place his hat on his head. Draw in the fur of his cap, holly, and jingle bell.
9
When you sketch his hair, add those straight lines and curls. Try staying close to the lines that represent the direction of his hair. This will help as you shade it in. Also draw in his ears, mustache, and lower lip. Don't forget the bottom fur of h
10
When you sketch his beard, hair, and sideburn, add those straight lines and curls. Try staying close to the lines that represent the direction of his hair. This will help as you shade it in.
12
The guidelines of his hand should make it easier to sketch in his fingers. If you haven't already, you can erase your guidelines.
13
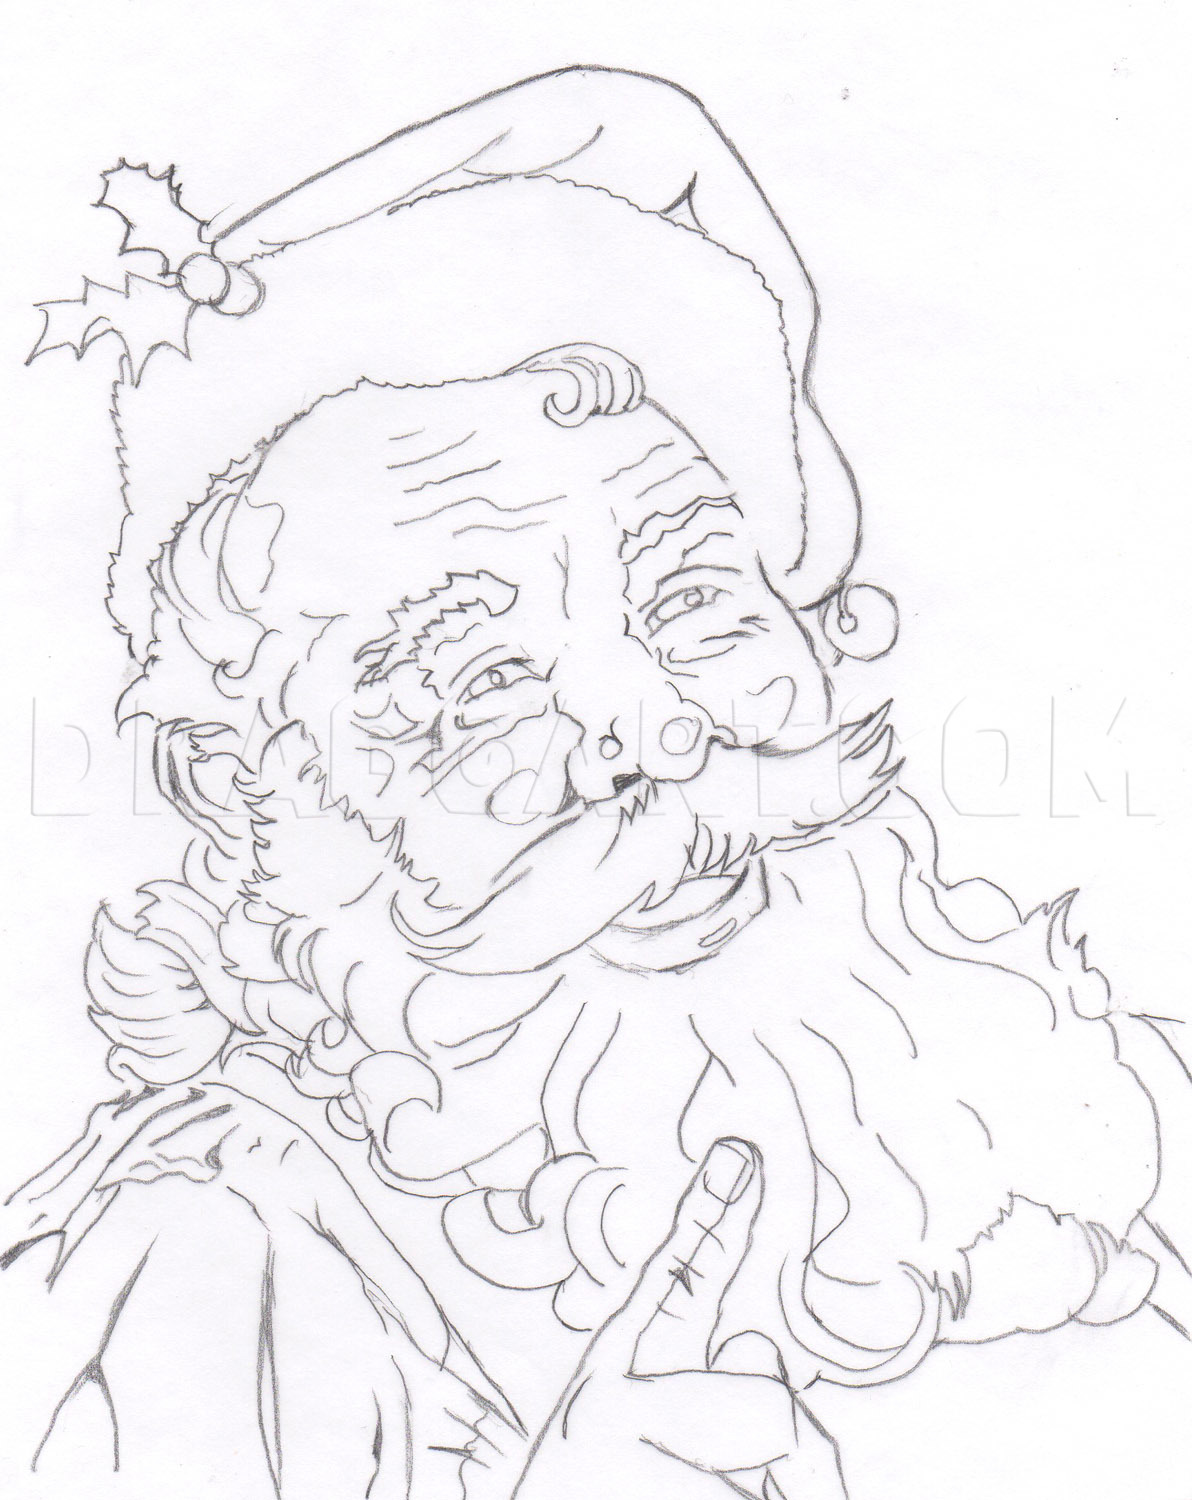
I made this line drawing especially for you if you don't want to do the pencil shading and blending part. You can also color this in with the medium of your choice (crayons, color pencils, etc.). Otherwise, let us continue to the pencil drawing part.
14
Here is the outline done with a 0.7mm mechanical pencil. Look closely and see if your lines look something like this. You can erase if certain areas like the eyes or nose don't line up. Take you kneaded eraser and dab off the shadow outlines or dark
15
The picture that goes with this step shows two different ways to hold your pencil to acquire certain effects. OVERHAND: Holding a sharpened pencil in normal writing form with fingers in the middle or near the lead gives you great control and thin/det
16
Best thing you can do when drawing hair is to establish the general shape then work in the main strands of hair by holding your pencil at a 45 degree angle for stroking and coverage. Then, as in the third picture, you can work in more details. But he
17
Start shading lightly with a pencil, even a No. 2 pencil will do well. Shade diagonally on the forehead, around the eyes, and his cheeks, leaving some white space for highlights.
18
Fill in the pupils, leaving some catch lights. Fill in the eyebrows with hair lines strokes...lightly. Also darken areas under his cheeks and in his mouth. Add a shadow below his cap on his forehead.
19
Now add more detailing on the side of his face (making more wrinkles), ear, and cheeks. Also add hair strand lines to his sideburns, mustache, hair, and beard.
21
Shade his trouser straps more darkly with your pencil. Lightly shade his hair (beard, mustache, hair) with the flat side of your pencil. Check out step 15 for more details on how to do this. Add more shading to his shirt and hand.
22
Your Santa is shaping up just fine. With the flat side of your pencil, stroke in short dabs the fur part of his hat. Shade normally the rest of the cap.
24
Blending with a tissue just on his skin area so you do not smudge your details saves messiness and time wasted redoing your details. Use a tortillon or blending stumps to smooth smaller areas. Of course your picture will look lighter. Using a soft ti
Comments 0
Details
December 26, 2014
Description: "Ho, Ho, Ho...Merry Christmas & Happy New Year!!!" For this seasonal treat, I have for you a Santa tutorial to draw. Hopefully, this jolly man will let some cheer back into your holidays. Please fav, show your love, and comment. Thank you all. Merry Christmas! Peace and love to you.


