1
Draw lightly with your No2 pencil. Start with two horizontal lines that are almost parallel. To your left draw the landmass that looks like a greater sign >. To your right draw the second landmass that looks like the lesser sign
2
The red 90-degree angle to the left of the river bank gives the height of the trees. The long 45-degree angle to the right of the river bank also represents the tree heights. The triangle in the center with a a small connecting line represents the tr
3
Are they marshmallows or cotton balls? A good way to capture the shape of the tree is using nature's shapes like cylinders, cones, spheres or cubes. Here I chose oval-looking spheres for the placement of leaves clusters and cylinders for lines for th
4
Here I left the background guidelines gray for your reference. See how the tree lines connect. Now draw the fluffy leaf clusters and tree trunks.
7
Here is a line drawing without full shading that is made up of simple lines and dots. This gives you a simple approach to the technique of filling in the trees and river. Notice the squiggly horizontal lines that represent the river's currents. That
8
This step and the following include techniques for detailed pencil drawing. You can use line strokes to fill in the trees and blur with a tissue. However, to get quicker results, I used firm pastel color sticks, ranging from light, medium, to dark gr
9
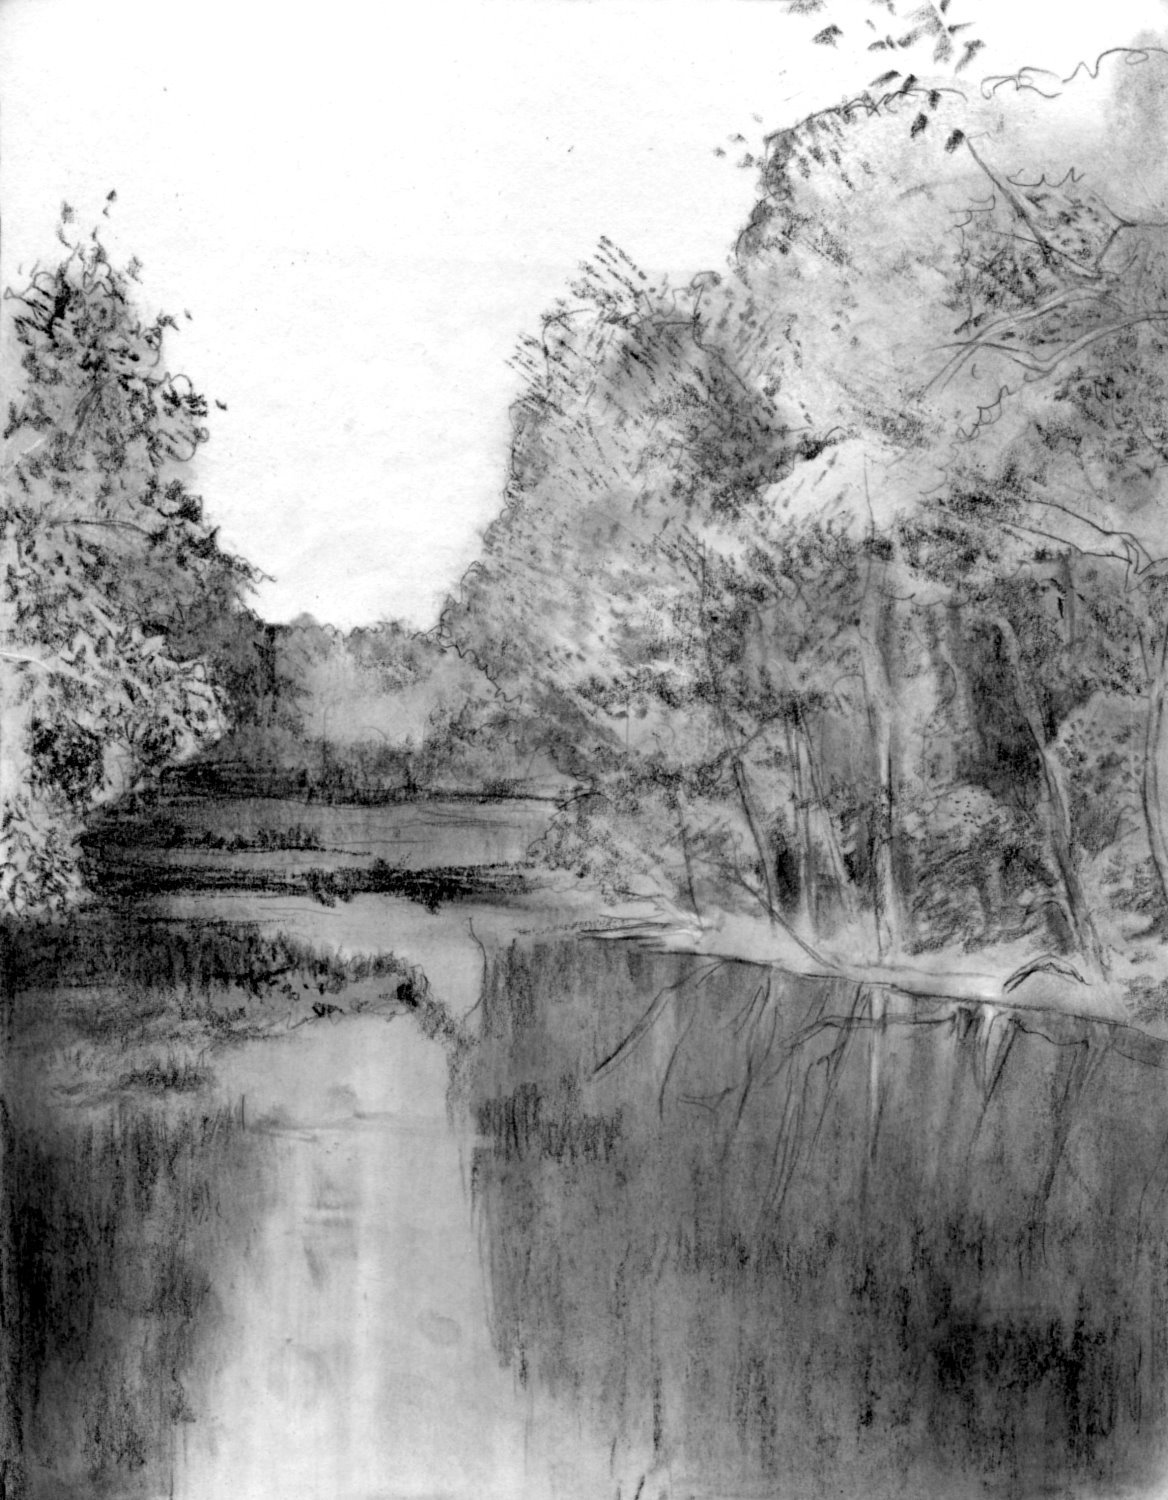
I had mentioned nature's shapes. They are represented in this picture. Notice how the shading follows the shape. Also when you do a realistic picture in pencil, tone, shading, shadow, and texture all breathe life into your picture.
10
Holding your pencil in writing position, drawing with the point gives details and nice lines. This technique is great for those thin current ripples in the lake and the detailed tree limbs. Getting that nice texture of thousands of leaves is by holdi
11
This is where you can practice your pencil strokes on the trees and river. Here is a tip for getting that nice realistic mirror look on your river. In the darker areas (mirrored trees), blend with a tissue downwards. Also stroke up and down in the de
12
Since my kneaded eraser did not work on this picture, I used opaque white watercolor to get the whiter highlights. Even the river has some of the highlights, which are those little horizontal lines near the left landmass.
Comments 0
Details
January 18, 2012
Description: Hi everyone! I'm finally back. Things are okay and I'm ready to share with you a new tutorial. It is called "How to Draw a River." I have always loved landscapes and waterways; a river is no different. Here you will learn how to add depth and the mirror effect. I hope you enjoy this tutorial. Make sure you comment, fav or vote. Thanks for stopping by.


