1
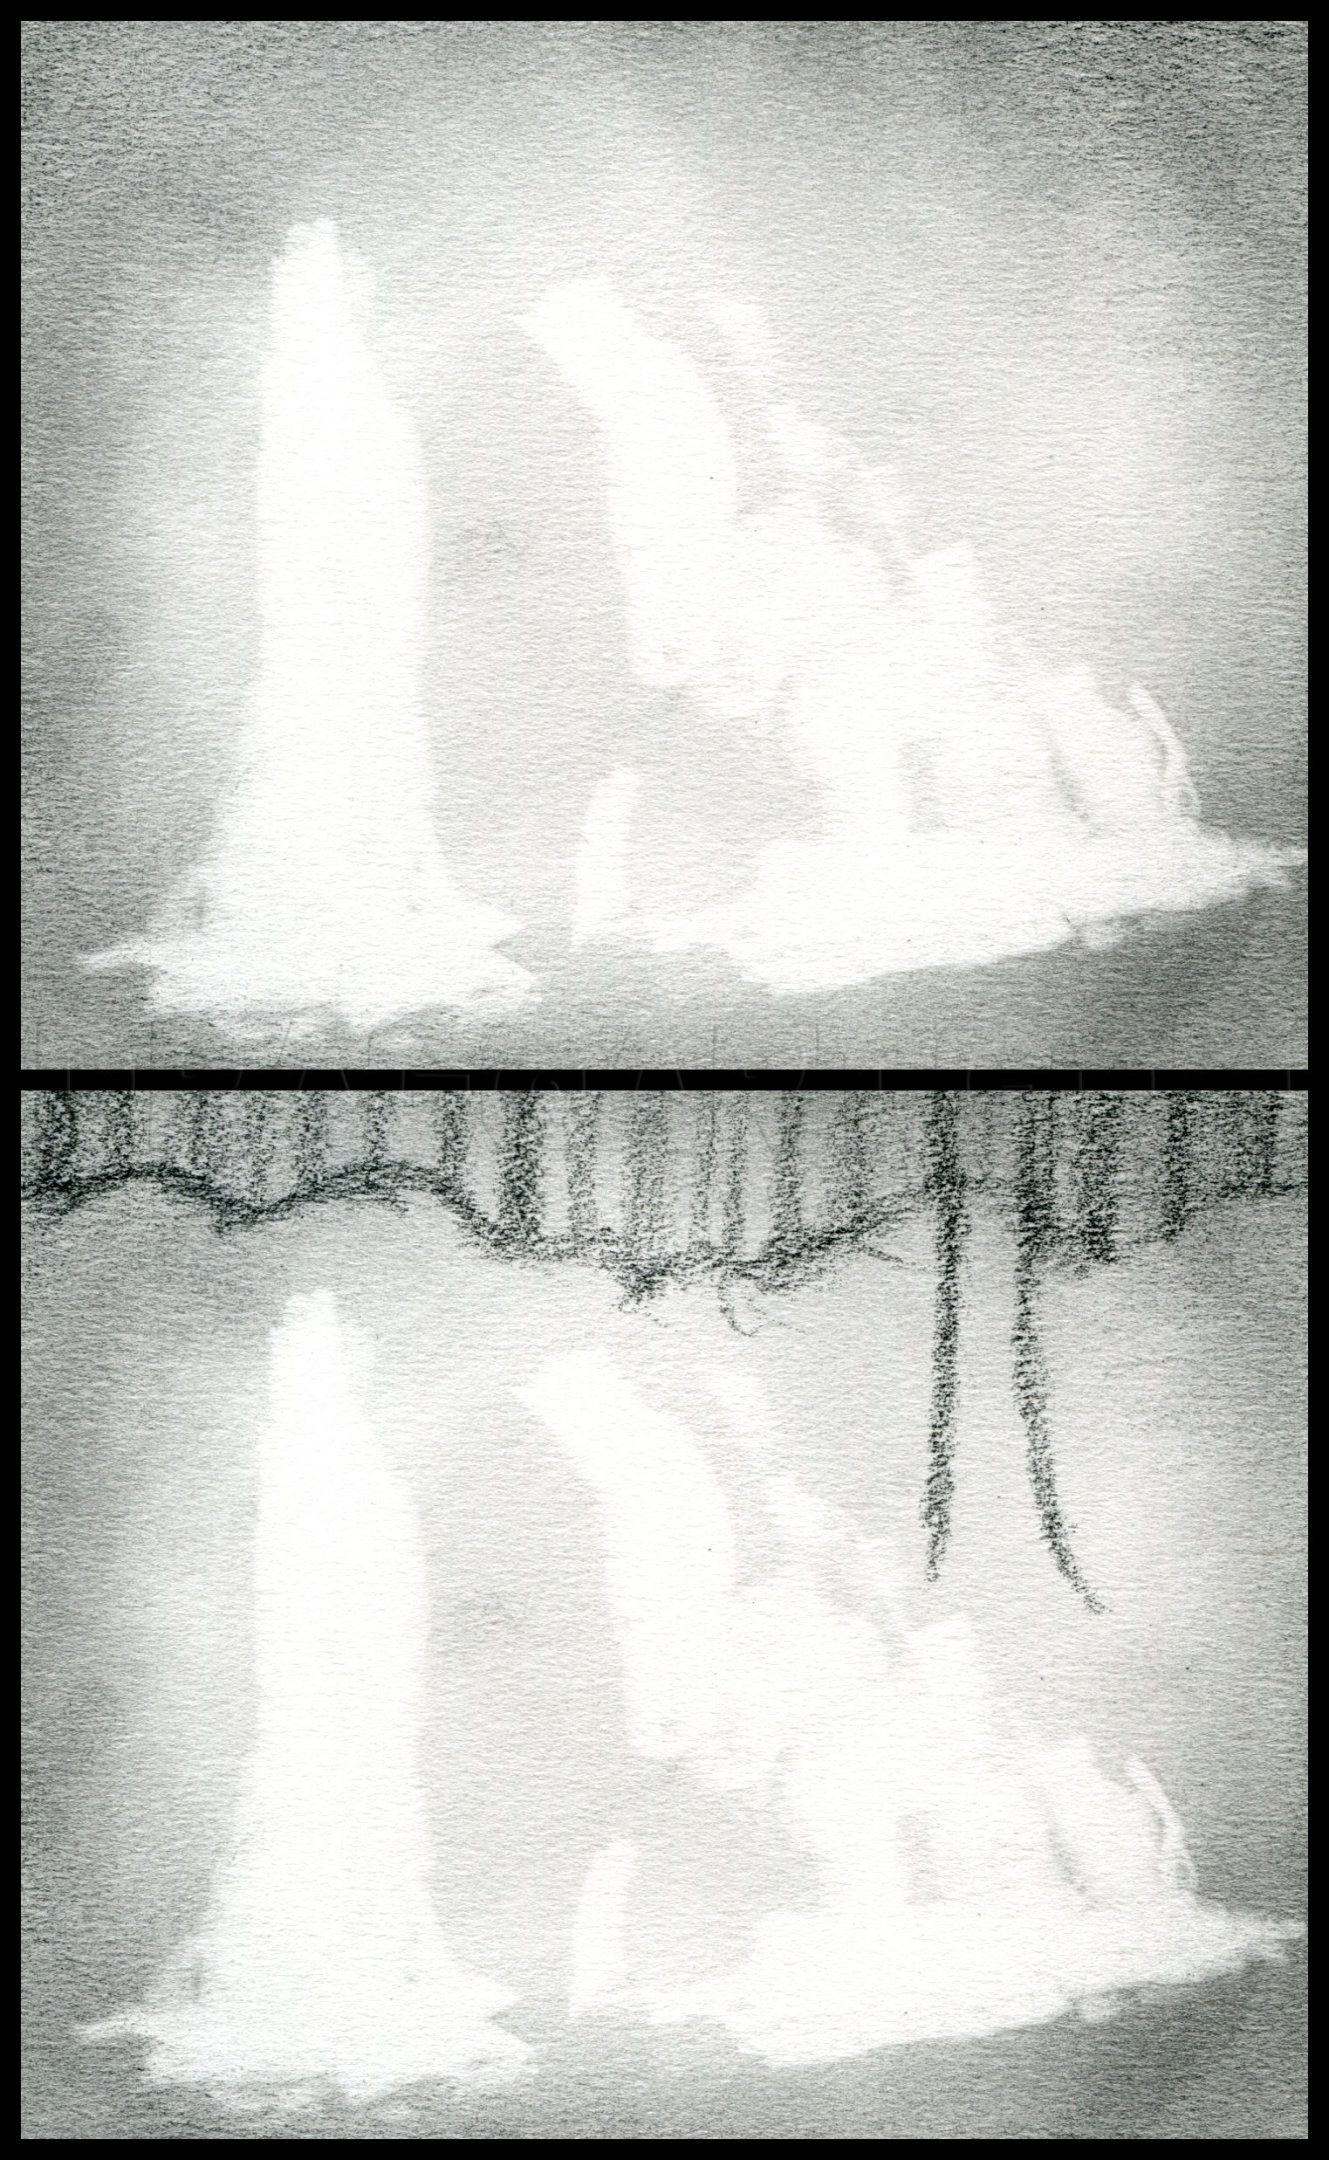
As with most of my nature tutorials I decided to do a bit of sketching before tackling the main drawing. This first sketch is charcoal on grey charcoal paper. I started by lightly sketching my scene using a soft charcoal stick. I then built up my ske
2
Continue defining the rocks and water using hard charcoal and white charcoal. Use a blending stump to smooth out your charcoal.
3
I finished up the sketch by using charcoal pencils in addition to charcoal stick to shade. I blended the white charcoal into the rocks to give them the smooth/wet look.
4
Here's my color sketch for this tutorial. I used a basic watercolor set, water, and a brush for this one. I started by sketching out the scene using watered down green paint. After that I sketched in some of the darker areas using watered down brown.
5
I developed my sketch by thickening my paint and adding more colors. I painted this using browns, blues, and greens.
6
I finished the shading by balancing out my colors. You can use white and watered down strokes of brown, gray, and blue to define the water a bit. Now, with the sketches out of the way we can move on to the actual drawing!
7
I started out by picking my pencils. I used an HB pencil for the lightest shading and finest details, 7B for dark lines and medium shading, and 9B for the darkest shading.
8
I started the drawing by roughly shading the background using all three pencils. the lightest shading is HB and the darkest 9B. I then used a paper towel to blend in my shading.
9
Erase the basic form of the water. A white eraser would work best for this. After that use a 7B pencil to start lightly shading in the forms starting at the top.
10
Blend in the shading at the top of the drawing and roughly erase in some leavers and foliage. After that use a 7B pencil to sketch in the rocks on the left side.
11
Sketch in the rest of the scene by moving from left to right. Don't worry too much about trying to copy everything as I have it. Just try to make it look natural.
12
Start adding detail from left to right top to bottom. Use an HB pencil for light shading and 7B and 9B for dark shading. Shading lightly with any of these pencils will give you a different kind of texture. Use this to your advantage when shading the
13
Shade in the foremost rocks and water on the left side. Try to shade in layers. Use a blending stump and an HB pencil to shade the water.
15
Build up your details from left to right again. Also work on the details of the pooling water below using mainly HB and 7B pencils.
Comments 0
Details
February 13, 2012
Description: I've finally gotten around to making another nature tutorial. This time I'll show you "<strong>how to draw waterfalls</strong>". There's also a bit of watercolor painting in this one. Enjoy!


