


1
Draw the three round shapes connected by two lines lightly with a No.2 or HB pencil. Make sure you draw it as seen in the picture.

2
Now draw in the two triangular shapes for wing mass.

3
Sketch lightly the red round shapes representing her shoulder and arm. Don't forget to draw the small line.

4
Draw in the lower part of her arm and hand. Include the leg shape and foot placeholder.

5
This is a tiny bit more challenging. Now draw her profile. Observe how the curved lines relate to the guidelines.

6
Take your time while drawing this picture because in this step you need to pay close attention to how the hair twists at the top then swoops in a slightly curved length. Also draw in her hands and knees.

7
Now draw in the top part and back part of her hair.

8
Sketch in lightly her arm, leg and feet. Pay close attention to where the lines relate to the guidelines.

9
At this point, you can draw in her dress and the shadow beneath.

10
Here is the fun part, her wings! Draw in the back wing and half of the one facing you. Try getting in those cute designs.

11
One more part is left, that is her lower wing. Draw it in. Notice how the guideline doesn't totally match all parts of the fairy. Yours doesn't have to match exactly either. Take your time to draw the design patterns. Then compare your drawing to the

12
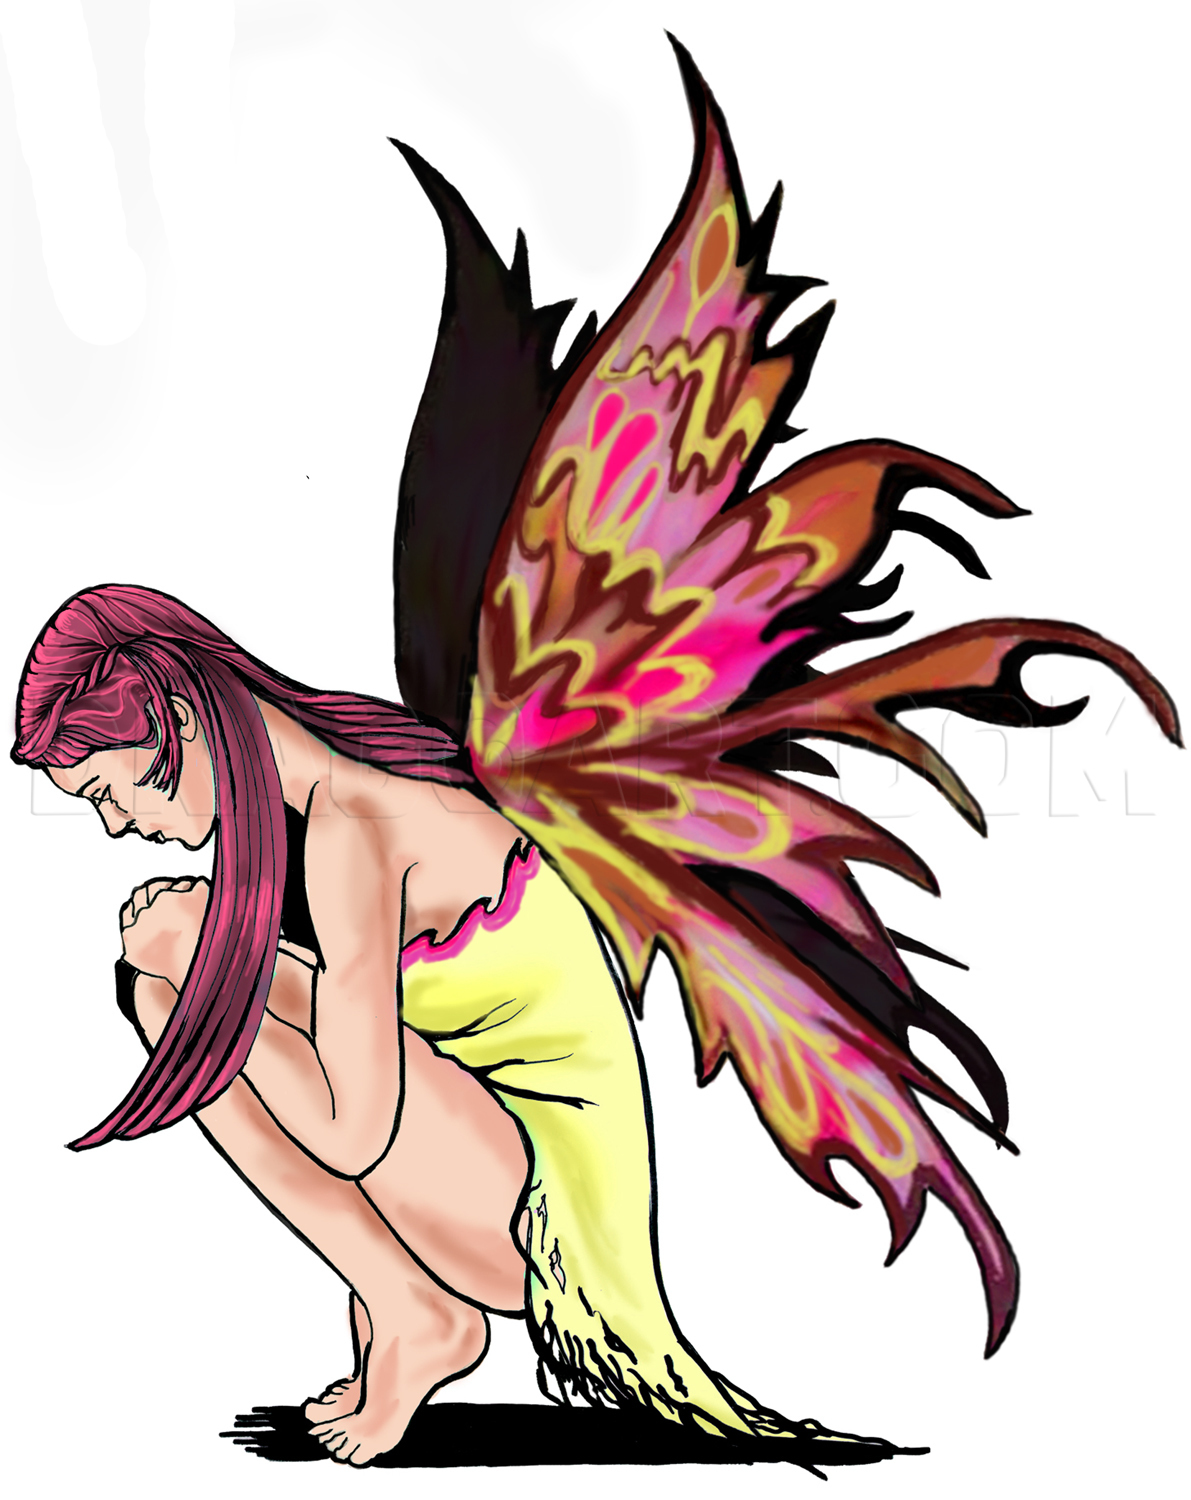
Your drawing may look like this or you might have your own version. At this point, you can color in your picture with a medium of your choice. In the following steps, I have other color combinations of the fairy that may give you some ideas.

13
Here is the fairy with Blonde hair.
14
Red hair or magenta!

15
Here is the fairy with blue hair. Aurora's beautiful watercolor background and some butterflies make this picture fun to look at!

16
Last but not least, here is the green-haired fairy with Aurora's brilliant watercolor background! Let me know what you think of this tutorial. I love hearing from you. Fav, comment, or click on "Love it," to show your support! Luv and hugs to you al
Comments 0
Details
November 28, 2012
Description: I am happy to do a fairy tattoo. The watercolor backgrounds are done brilliantly by Aurora at DeviantArt. Please visit this genius artist at her account page by this link: http://aurorawienhold.deviantart.com/ I hope you find this tutorial enjoyable (rhymes anyone?). Let me know what you think of this more simplified tut by commenting, faving or clicking on "Love It"! Peace n love to ya!


