1
Make the guides for a body structure which is the head, torso and hips. When that is done you will draw in the guidelines for the face and limbs.

2
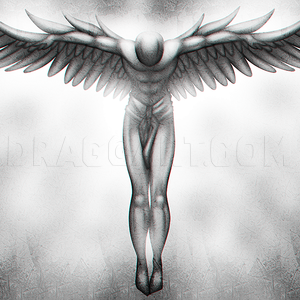
Using the guides you just made, draw in the shape of the face, then draw the shoulders, arms and hands. Notice the arms and hands are drawn in an upward pose. That is because the angel is trying to break free.

3
You can draw the outline for the rest of the angel's body. This is the torso, waist, hips and legs. Oh yeah, and the feet.

4
You will now draw the heart on the chest and then draw a piercing arrow in the middle of the heart. When that is done you can draw in the eyes and mouth.

5
Draw in the hairstyle which is a clump in floating style.

6
Lastly, draw the wings which are pretty jagged and spread out. Erase the mistakes if you made any and the guides.

7
For the line art, add the chains as they are strapped to the angel's wrists. Color in the drawing and you are finished.
Comments 0
Details
January 29, 2016
Description: I have another concept drawing that I do believe many will enjoy. Even though this drawing may seem harsh, the red heart in the center is supposed to be for Valentine's Day. We all know that you can draw a pretty picture for someone on a card and say "I love you" or "Be Mine". But how many times does someone draw an image that expresses how someone makes them feel in a bad way, but even tho they do, you still love them. To me this drawing says "Your love is torture, but I love you still". I had a lot of fun with this concept and it's called how to draw a chained angel, step by step. The chains are pulling on the angel's arms trying to bring them down to despair, but as you can see these chains can be broken with just the right amount of love. It's an easy concept to recreate so go ahead and have fun. I will be back so stay tuned in.