


1
It always helps to do some pre-sketches of your subject before moving on to a final drawing. I used a few different reference photos for this tutorial to cover just a few of the different terrains that the Grand Canyon has to offer. This first sketch

2
Next, I added some blue and white to the drawing. After that I started adding final layers of color from background (sky) to foreground. *TIP* do not use black to shade in your shadows. Try a combination of colors like violet and brown to get vibrant

3
Keep moving forward with your shading. Remember to work in layers. Also, don't worry too much about getting the drawing perfect, it's just a sketch after all.

4
Finish up your coloring once you have a decent idea of the scene. Now let's move on to the next sketch!

5
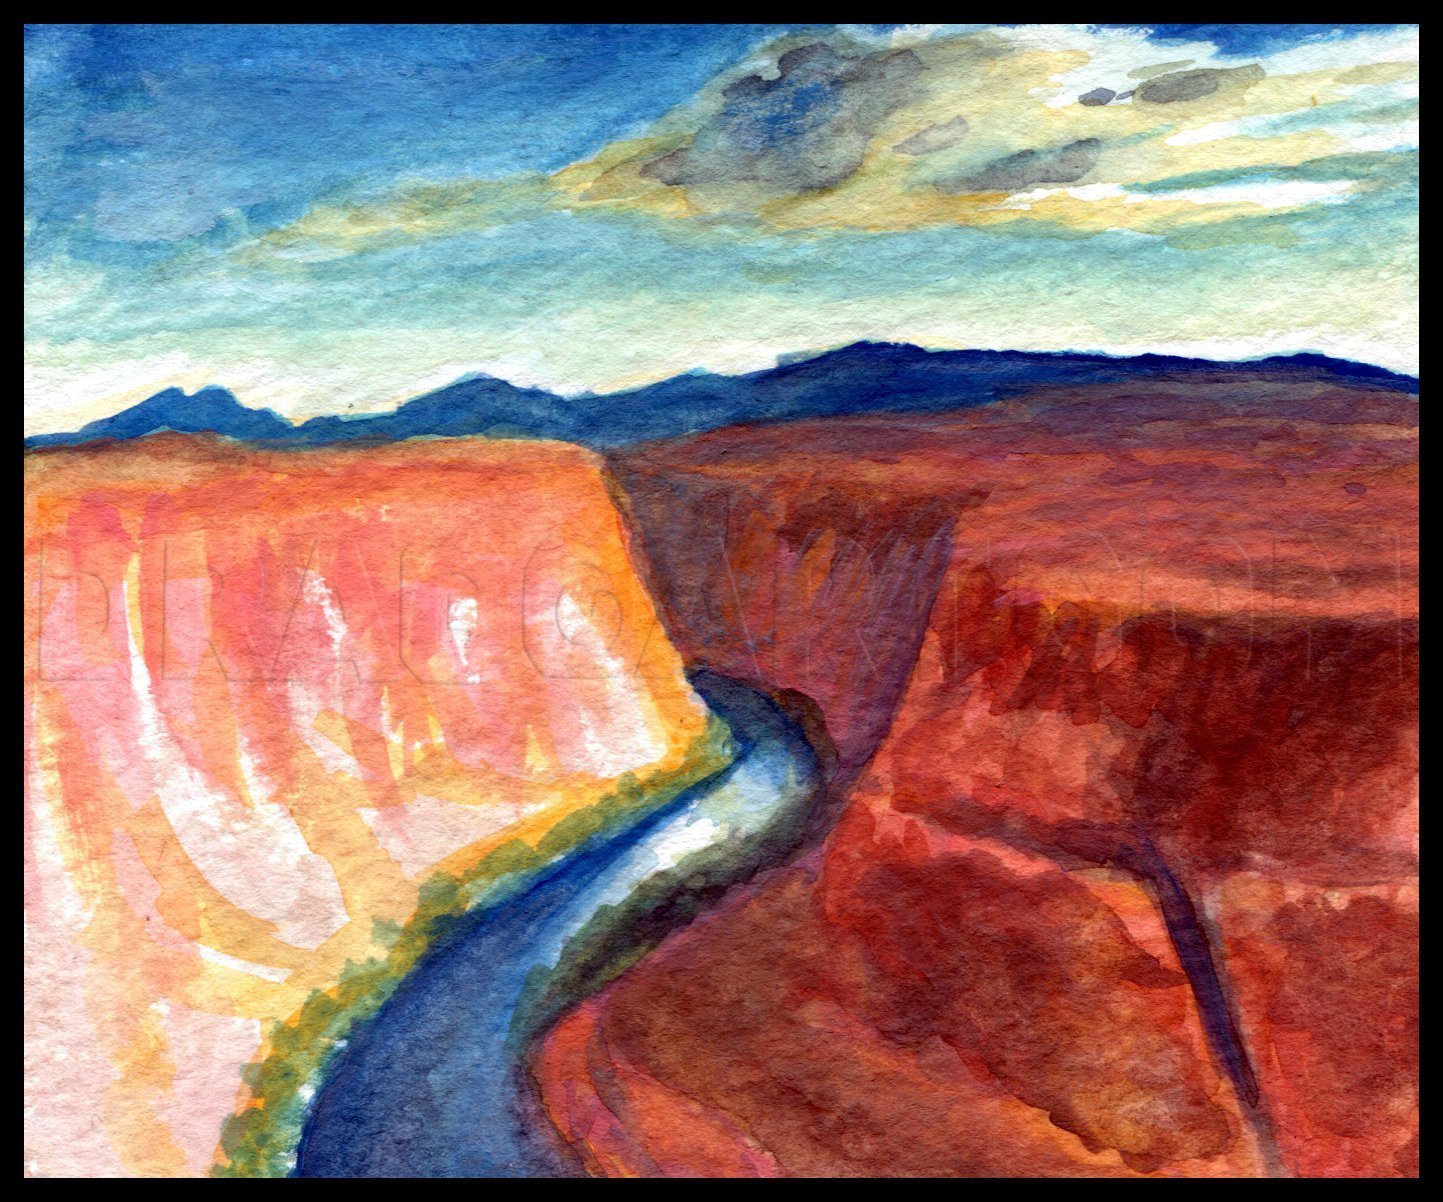
This next sketch was created using watercolor paint and a brush. I started out by sketching the landscape with watered down orange. I then sketched in the sky and horizon using blue paint.

6
Next up I refined my sky and clouds. I used grey, yellow, and blue for the clouds. I then started sketching in the rock formations and the river. Pink/peach, brown, and orange were used for the rocks.
7
I then layered on the colors from right to left. Your colors will come out more vibrant if you don't mix too much water into the paint.
8
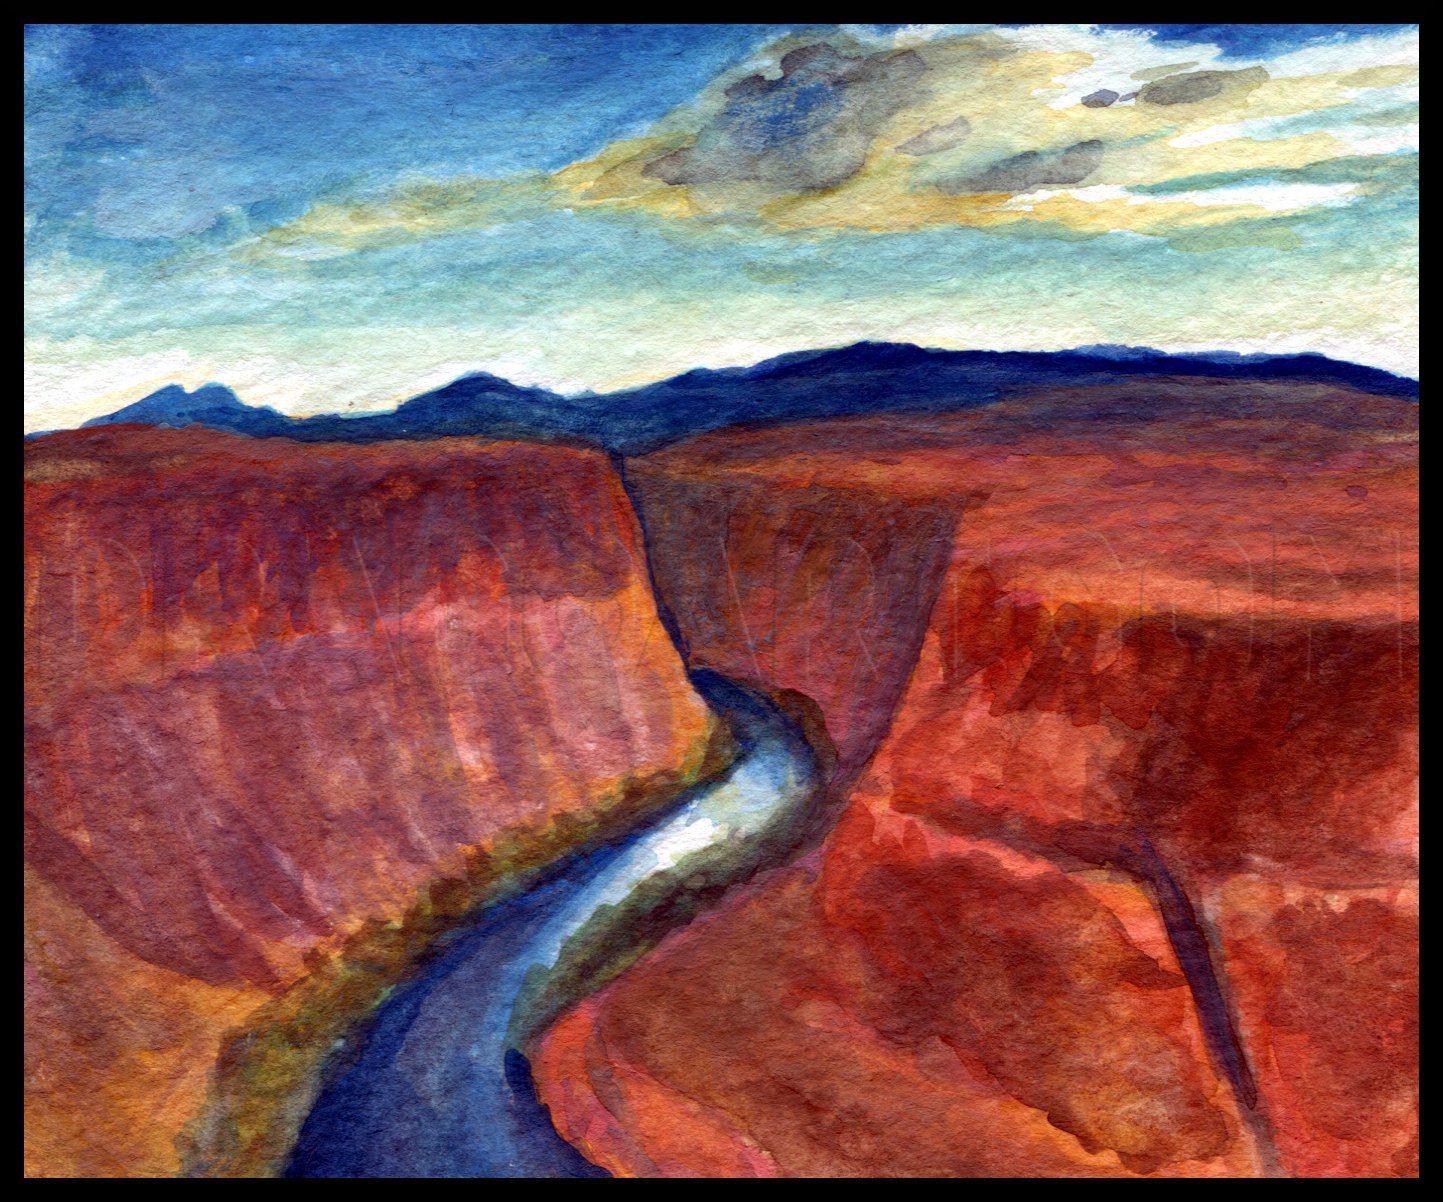
After finishing this sketch I decided that I was finally ready to start the final drawing. So, let's get to it!

9
Start out by picking your pencils. I used an HB pencil for general shading/lines, 2H/H pencils for light shading/lines, and B/2B pencils for dark shading/lines. I often find it easiest to use an HB pencil for sketching.

10
Start off by lightly and roughly shading in your background using 2B and HB pencils. Use a blending stump to smooth out your shading.

11
Sketch in the basic forms of the landscape using either an HB or a B pencil. Blend in your shading with a blending stump.

12
Define your sky by smoothing out the values then erasing in some simple cloud shapes. After that use an HB pencil to start further developing your lines. Work from background to foreground.

13
Lightly sketch in the rest of the forms.

14
Start shading in the the rock formations. Use H and 2H pencils to shade the forms furthest away.

15
Continue shading the background. As you move towards the foreground transition to using H and HB pencils to shade.

16
Continue moving forward with your shading. Making your shading a bit darker with the foremost rocks will help add depth to the drawing.

17
Continue developing your shading a bit at a time. Work from top to bottom.

18
After you have developed the background some more start developing the foreground a bit at a time. Erase the rock shapes and sketch in the dark lines and shading using a 2B pencil.

19
Sketch and erase your way up the foreground rocks. Don't worry about making everything look exactly the same as I have. Worry more about making everything look natural.

20
Now start adding final shading to the foreground rocks from bottom to top. Use 2B and B pencils to draw the dark lines and shade the shadows. Use HB and B pencils to shade in the shrubbery. Use a blending stump to shade to lightly shade over the ligh

21
Keep moving up section by section. Pay attention to how you draw the shadow lines since they determine most of the rock shapes. If you need lighter shading or more detail use an H pencil.

22
Finish up the drawing by shading in the rest of the foreground and cleaning up your shading. You can soften up the background by lightly blending over it using a paper towel in order to make the foreground pop out more. I hope you all enjoyed this on
Comments 0
Details
February 19, 2012
Description: It's time for another nature tutorial! This time I'll be showing you how to draw and sketch the Grand Canyon. This is a great tutorial for anyone who wants to work on pencil textures as well as developing a wide range of values with more than one pencil. Get your supplies and have at it!


