1
Drawing Scar may be difficult for some of you artists that attempt this lesson. Just keep an open mind and remember to take your time when approaching each step. To start, draw two shapes, one for the head, and another for the body. You will then add

2
All you will do here is draw out the limb guidelines for the front and back legs. Don't forget to draw the squiggle line for his tail too. Once that has been taken care of you can draw out the shapes for his feet and or paws.

3
Now begin sketching out the bridge of Scar's nose which starts off narrow at the top, and flares out toward the bottom. Now sketch out the rough shapes of Scar's eyes which almost look like horrible cut diamonds.

4
Now it's time to draw out the front parts of Scar's mouth, and his chin. You might want to use a sketching stroke because his face is full of hair or his mane. Once the framing of his face is drawn in, you can move to step five to see what you will h

5
Draw in the line that will define his nose tip like so, and then sketch in his long, hanging whiskers. Next, draw in the bottom lip or mouth line and add a few teeth. You will then draw the marking line around his snout, and then sketch out his eyeba

6
It's time to sketch out Scar's mane which should be big, puffy, and long. When that is done incorporate his shrugged shoulders which then turn into his back lining. Draw the chest, and then move to step seven.

7
It's time to draw out the front legs and big thick paws. Scar's legs should be sort of thick and long too. Next, draw out the toes, and then his round ears.

8
Now you can draw out his hind legs which are spread apart, and then draw out the feet, and thick long tail. Don't forget to sketch out the tip of the tail which is hairy.

9
The last part to drawing Scar can easily be done by sketching out the hair on the elbow, and then draw in the clawed nails which are retracted back instead of being exposed. Next, draw the inner belly lining and then begin erasing the lines and shape

10
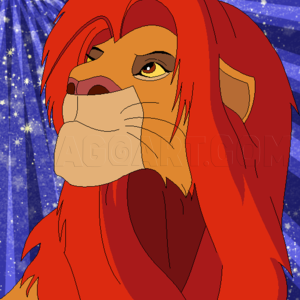
Now when you are all done, your drawing of Scar should come out looking like the one you see here. All you need to do now is color him in to finish him off.
Comments 0
Details
January 13, 2011
Description: In the past I submitted some lessons on all the main characters from The Lion King. Today I will be resubmitting another figure from Lion King, but instead of someone new, I will do a new tutorial on "how to draw Scar", step by step. Now because I already wrote all about this Disney character, there is no need for me to go crazy with a description. All I will say is Scar has played a role that is unforgettable, and irresistible. He set the trend for future Lion King movies, and his character is one of the few that has an everlasting impression on our minds. His sly domineer, and sinister personality is just some of the traits that Scar offered to his fans. The old lesson I have on Scar is really good, but just because I have one tutorial, it’s always nice learning "how to draw Scar" in a different pose that is seen in some of the movie scenes. This is going to probably be a bit easier to learn from because the drawing is done with his body in a sitting position which means less body to draw. Amway, have fun with drawing Scar and remember to try and upload your finished artwork to the site so everyone can see how you did. That just about does it for this lesson; stick around because there are two more characters coming up shortly. Adios mi amigos!