1
Let's start by mapping out a flame or a glowing light source. Use this as reference when shading. 1 is the brightest. hottest spot of the flame. 2 and 3 are the dimmer outer rings. 4 is the glow of the flame which penetrates into the background. 5 is
2
Now, let's talk about the importance of contrast. You can see from the images 1-4 that the background goes from white to just about black. The important thing to notice here is that as the background get darker, the flames appears brighter. This just
3
Now here's a simple process to sketch/develop flames. Start out with a basic sketch of the shape of your flame.
6
Then finally add the lighter shading to the flames themselves. This is just the basic idea behind creating flames. It'll probably make more sense once you see me utilize this technique when drawing the dragon.
7
Start out by picking your pencils. I chose a 2H for light shading, HB for sketching/shading, B for dark lines/shading, and 5B/7B for the darkest shading. Another important item to have is a kneadable eraser; this will come in super handy later on.
8
Start out by sketching the dragon with an HB. I won't go into too much detail regarding the dragon since this tutorial is mainly about the flames but you should be able to go off of these guidelines.
9
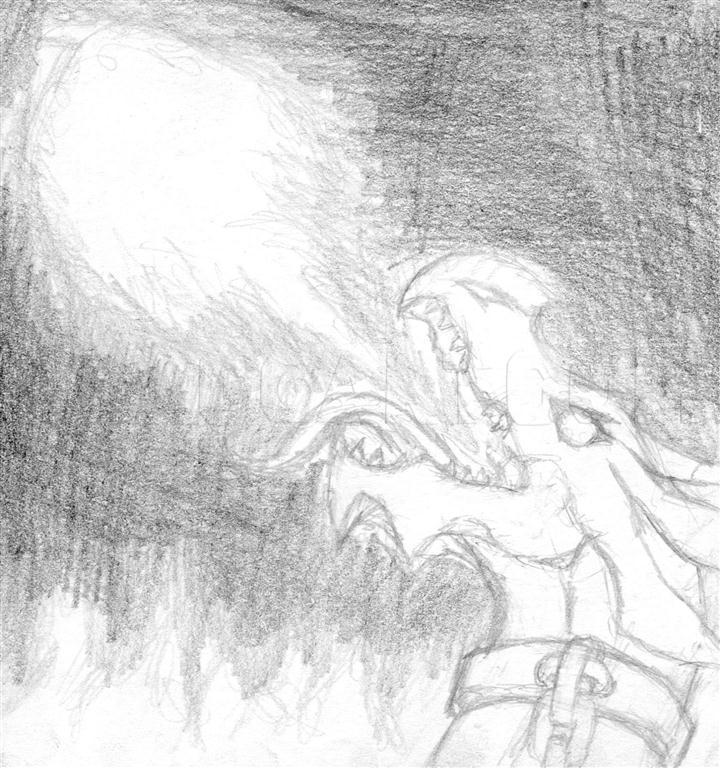
So once you have your dragon drawn, sketch in the forms of the flames. Rough sketches will do, just make sure that they are light enough to be erased/blended.
11
Now roughly shade in the background. You might have to use a one of the "B pencils" to get this slightly darker than the flame glow.
12
Now go ahead and use a tissue or blending stump to blend in your rough shading. We're still in the sketching phase so don't worry if to everything looks perfect yet.
15
Now before moving on make the darkest parts of the background much darker. I used a 5B pencil at this point. This basically makes all of the light places on the drawing appear brighter.
16
Now start shading in the dragon from bottom to top. You should only need the B and 5B/7B for this. you want the neck area up to about the throat to be as dark as you can make it. This will build more contrast between the dragon and the flames behind
17
Now shade the rest of the head. Notice how the shading gets lighter towards the mouth, the source of the flame. also notice the glow of the eyes and nostrils. For this part of the head rely mostly on the 2H, HB, and B pencils.
19
Now take an eraser, preferably a kneadable eraser, and erase out the streaking flames. If you want to make your flame look smoother just go over it with a paper towel or blending stump.
Comments 0
Details
September 4, 2011
Description: Hey everyone, here I am with a tutorial that's partly how to draw a dragon but mostly how to draw realistic flames. I thought throwing a dragon in there would illustrate the theme well. So get your drawing materials out and ready!


