


1
This tutorial is completely in PENCIL! Let's start with the tools. I'm in love with the Monolith 9B graphite pencil sticks. It's nice, black, smooth on the surface and makes such great dark lines. And a No.2 pencil isn't bad either--great for details

2
The picture that goes with this step shows two different ways to hold your pencil to acquire certain effects. OVERHAND: Holding a sharpened pencil in normal writing form with fingers in the middle or near the lead gives you great control and thin/det

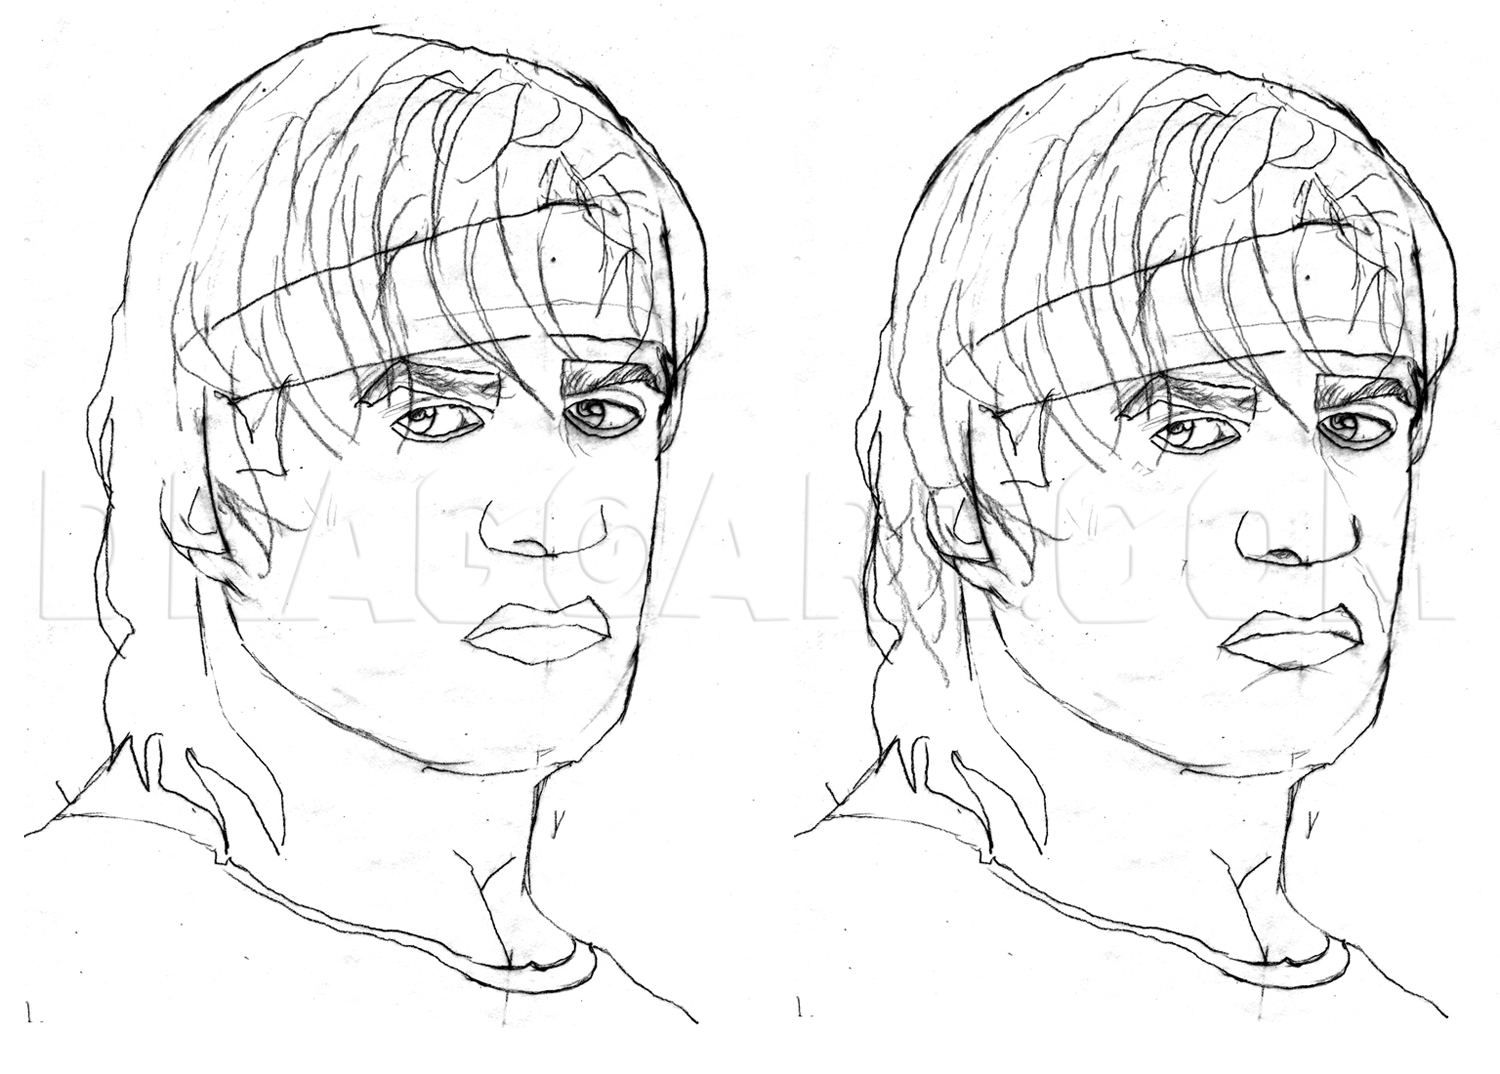
3
The strange crescent shape on the oval is just a reminder that his hair will be there. Also the red bisecting line and blue lines in the next picture are to help with eyebrows, eyes, nose and mouth placement. Right now, drawing in the general shape m

4
FIRST PICTURE: If you are doing a professional picture and need accuracy, this has helped me tremendously. This is MY TIP of the day and it is LONG! Skip it if you want to. Those crazy lines help with placement too. Don't get me wrong, I mess up majo

5
You've erased the guidelines and other distracting lines. Your picture won't look exactly like this, but remember my picture is only a guide... that's it. Now we are going to start with shading and building on the hair.
6
Again, in the 1st & 2nd picture you are still building on the hair, drawing in lines for hair strands. Do this with your No.2 pencil.

7
In this picture, sketch more details on his cheeks, chin, & folds in his neck (adam's apple).

8
Start shading with a pencil, even a No. 2 pencil will do well. Shade diagonally around the eyes. Also fill in the eyes, leaving some highlights. Fill in the eyebrows darkly with diagonal lines.

9
Now it is time to add details to Rambo's headband. Start with horizontal lines that follow the headband. Then make fingerprint-types of patterns. Try clicking on the picture to zoom in for line details.

10
You can see closely how the shading progresses. Note that the hair falling into his eyes is included. 1. Eyebrows & eyes. 2. Shading & shaping begins. 3. More lines and looking at the reference. 4. Darkening the eyebrows, eyes, & more shadows to matc

11
Click on the picture to see the headband patterns. Continue to shade on his face and nose.

12
Here you can more easily capture the shading progression of the nose. No. 3 is the blending, which slightly smudges details. No. 5 is darkening with No. 2 or 9B Graphite Pencil & bringing out the details.

13
Continue to shade on the side of his face and mouth.

14
Work your shading down to his neck and throat.

15
Here is the shading progression for the lips. In picture 2, you can use the 9B graphite pencil to add darkness to where the lips meet. Picture 5 is the end result of blend and highlight/darkening details.

16
Shade the side of his headband, darken his wet hair strands. Also add some dot-like texture to the side of his face.

17
When you start darkening the hair, you'll notice doing it in layers gives a realistic look. Darken as you go along, looking at your reference. Continue to shade in his face more.

18
Add more hair strands on the sides of his face. Continue to shade a bit darker adding more depth to cheeks, under his nose.

19
As you have darkened his hair, add mid gray to the white areas (do this lightly with your No. 2 or Fine pencil) on his face & neck. Also shade in his headband in the patterned areas.

20
HAIR & HEADBAND: Click on this pic to see how the headband & hair strands have progressed in drawing and shading. It is not as hard as it seems. It just takes a little more time for that extra "umph" to your picture. I carried the hair strands over t

21
When you follow the arrows as you fill in his hair, it adds realism. Why? A realistic texture is added to your hair using this technique. The hair shouldn't appear flat. Also knowing where your light source is helps with knowing where your highlights

22
The blending stump can work miracles for your picture. Use the skinny, tiny one for small areas, like around the eyes, in the nose and mouth. The larger stump can blend larger areas, even the cheek areas and skin tone area. Now if you want a really s

23
To add more depth & texture, take your eraser & add light hair strands (highlights). Also dot on his face & T-shirt to give that speckled look. For depth, shade more with your pencil to add darkness to his cheeks, also make dots to add that blood & m

24
You are always looking at your reference to get close as possible to the tones. Keep darkening his hair, headband, shadows in his face. If an area is too dark, lighten by dabbing with your kneaded eraser.

25
I've darkened of his face and hair more. Add the background darker near the edges. Take your kneaded eraser and make a round flat bottom to dab in those round headlights. It is easy & makes wonderful special effects. Notice how Rambo blends in with t
Comments 0
Details
January 2, 2014
Description: “Rambo” is an action film series based on the David Morrell novel First Blood and starring Sylvester Stallone as John Rambo, a troubled Vietnam War veteran and former Green Beret who is skilled in many aspects of survival, weaponry, hand to hand combat and guerrilla warfare. The series consists of the films First Blood (1982), Rambo: First Blood Part II (1985), Rambo III (1988), and Rambo (2008). This tutorial is strictly done in pencil with blending stumps and a kneaded eraser. I hope you enjoy this. And please fav, comment, or even click on Like. Thank you.


