2
You will now begin forming the odd shaped skull so that it looks like bone and pumpkin. Notice the strong chin and massive head. Add the roots on the sides of the head near the temples.
3
Here is where you will need to take your time because you have to sketch out the shapes of the skeletal eyes, then the nose and the shapes of the teeth. To define the eyes and to add texture, sketch in some creases, and surface imperfections on the r
4
Up next, draw in the teeth. When you do this each tooth should be pretty big and spaced apart. Add texture to the teeth as well.
5
Lastly, draw in the vines or roots sticking from the sides of the skull as well as from the tops. When that is done add the dimpling on the chin. Erase your mistakes and guides then you're done.
Comments 0
Details
September 25, 2015
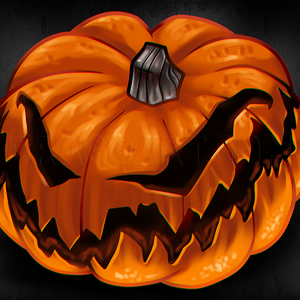
Description: How cool is this next lesson? Well, if you are looking at a creepy skull that looks like it just came from the ground, than you know it's wicked. Today I will be showing you how to draw a pumpkin skull, step by step. I wanted to do something different and something I have never done before. I wanted to make a skull that looks like a pumpkin, but also has a horrific skull appearance. You will notice that the vines are rooting out of the tops of the head and along the sides of the face. The teeth, eyes and nose are also very skull like. If you want to change something on this creation, go right ahead and do so. I will be back with some other cool tuts so be sure to stay seated.


