1
Start off by picking your pencils. I used an HB pencil for general shading and details and a 4B pencil for dark/rough shading. A 4B pencil will also work for this drawing.
2
Start off with some basic guidelines. A circle and some mid-lines will do. I used a 5B pencil for sketching but HB works just as well.
3
Sketch in the basic form of the head. I tried to base my dragon off of classic depictions that show dragons with antler's and dog/lion features.
4
Build up the dragon's head a bit more by adding some facial hair and a mane. Develop some of the facial features a bit as well.
5
Sketching in the dragon's neck and tail. The tail is completely optional but I liked the idea of having the tail framing the dragon's head.
6
Erase any unneeded guidelines and make your lines a bit bolder. If you are using an HB pencil to sketch then you'll want to switch over to a softer pencil for this step.
7
Use a cloth or a bit of paper towel to smooth over your drawing. This gives you a nice guideline layer that you can easily erase or build upon as you progress through your drawing.
8
Use a 5B pencil to start adding rough shading around the top half of the head. Don't for get to add one of the signature whiskers that Chinese dragons often have.
10
Use a 5B pencil to roughly shade the bottom half of the dragon's head. Keep in mind that I was making the drawing up as I went along so don't feel too obligated to make your drawing look just like mine. Just be creative and have fun with it!
11
Define the bottom half of the head with an HB pencil. You can use a 5B pencil as well just be sure to make it as sharp as possible.
12
For this step I used an eraser and a 5B pencil to rework the dragon's mane and antlers. You can see how easy it was for me to work over and erase the original sketch lines here.
13
Use an HB pencil to define the antlers and add some shading to the mane. There's no need to get into too much detail just yet. Just be sure to add a solid layer of shading for now.
15
The next couple of steps are optional. I found it much easier to add some scales to the tail after adding some basic guidelines.
19
Now it's time to start adding finishing details! I started with the head. You basically want to Use a 5B/4B pencil to redefine you dark shading and an HB pencil to clean up your lines.
20
Use an HB pencil to sketch in some scales over your guidelines. You can just copy the pattern of snake and lizard scales here.
21
Start shading in and defining the scales with an HB pencil. Get as detailed as you want to here. You'll notice that I didn't define the scales for the entire tail. I ended up fading out my details as I went further down the dragon's tail.
Comments 0
Details
January 26, 2018
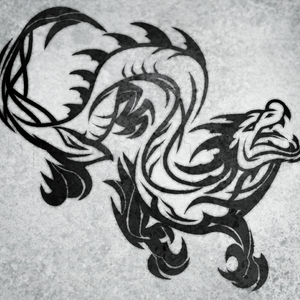
Description: Here's a fun tutorial for all of you dragoon fan's. I'll be showing you how to draw my depiction of a Chinese dragon. Have fun!


