1
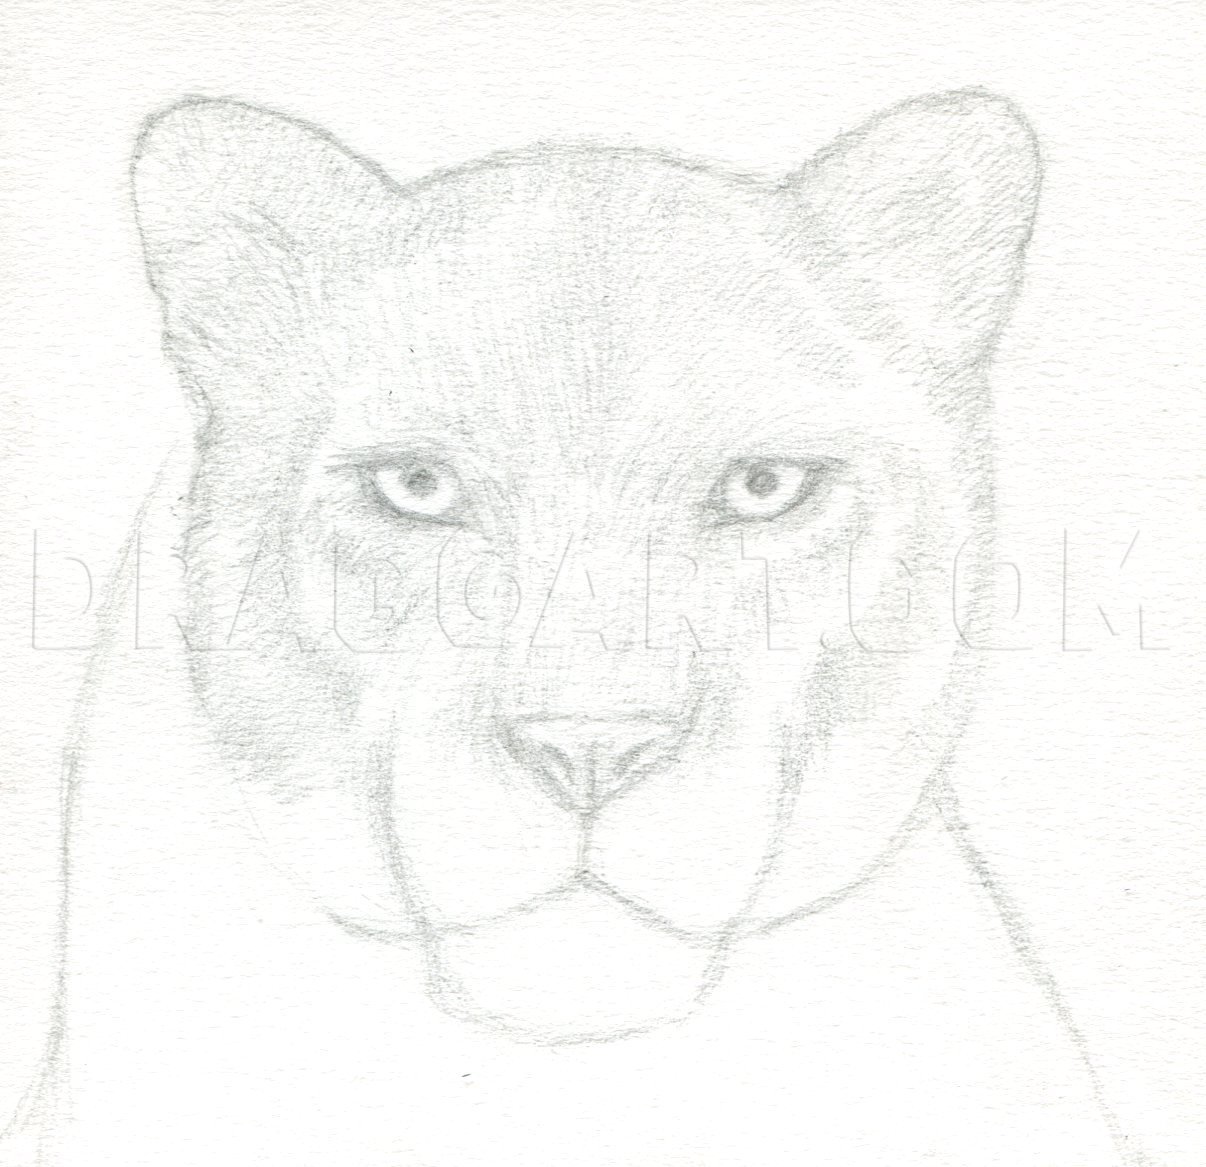
First thing's first. Go ahead and pick your pencils. I used an H pencil for sketching, a B pencil for shading/lines, and a 7B pencil for dark shading.
4
Start lightly adding more detail to your sketch using the same pencil (H for me). Start around the eyes.
12
Go over your shading using 7B and B pencils. Press lightly with the 7B pencil and press down hard with the B pencil. Remember the flow of the fur as you shade. After that roughly shade over the top half of the drawing with a 7B pencil.
13
Shade in the top half using B and 7B pencils again. After that go ahead and shade and blend over the next section of the head.
14
Shade down to the nose then roughly shade and blend over the rest of the face. Erase a few whiskers over the cheeks.
15
Develop your shading around the mouth a bit more. There's no need to go into too much details yet. After that use a 7B pencil to roughly shade over the body.
16
Now it's time to start cleaning up your shading and details. Start by smoothing out your background some more by adding some layers with a 7B pencil then smoothing them out with a blending stump or paper towel. After that start cleaning up the shadin
17
Make your way down the panthers head. Start detailing the individual whiskers. Outline them using a B pencil.
18
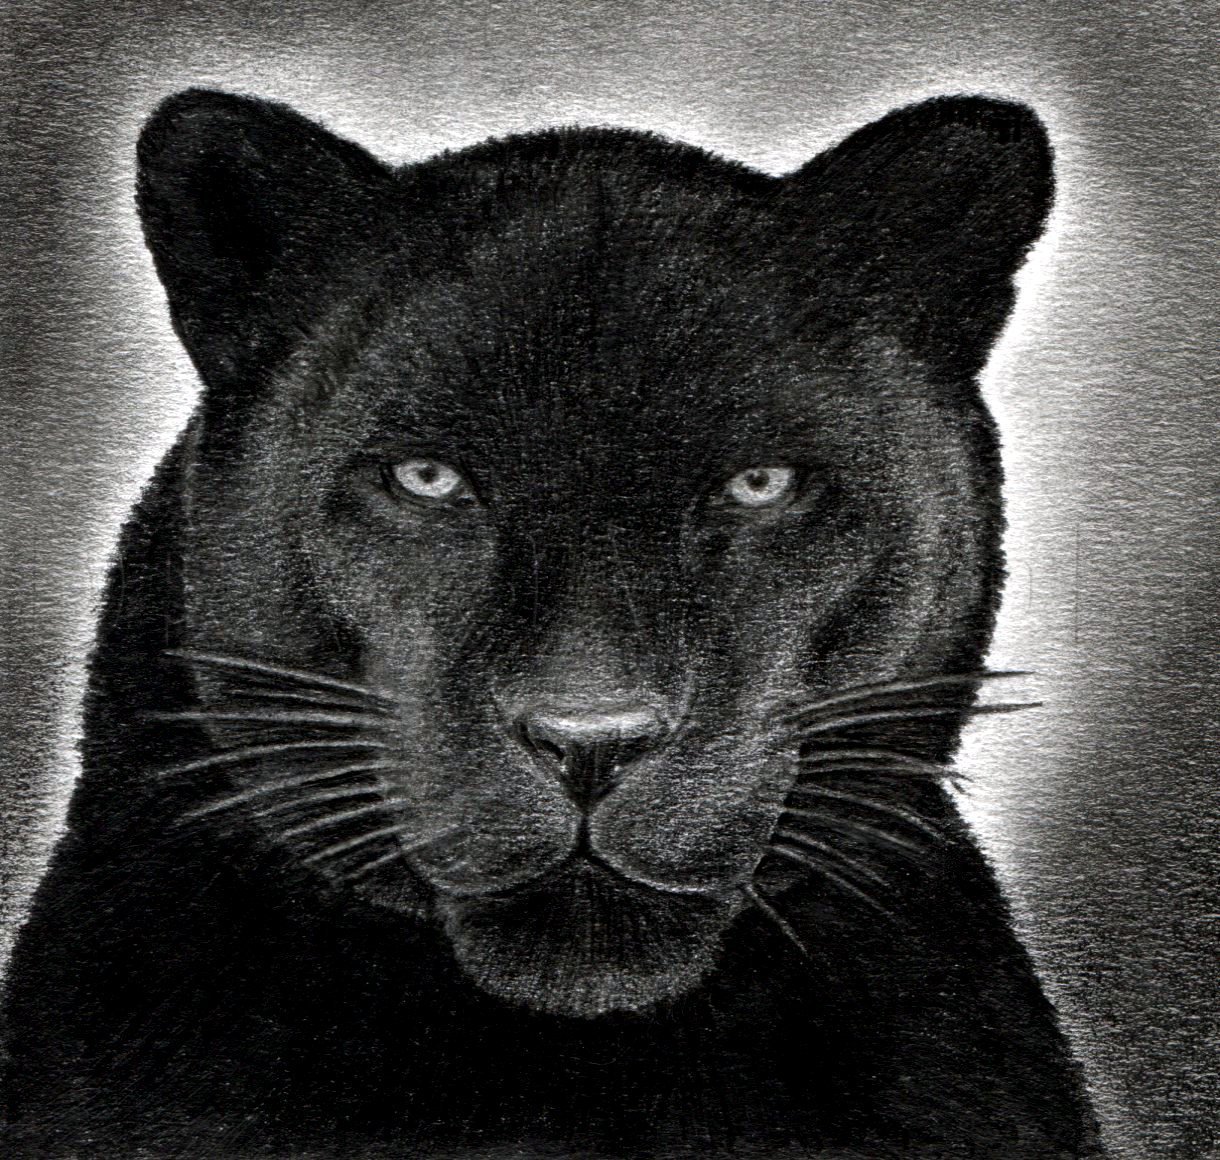
Go over the fur using a 7B pencil until it is smooth. Then use a B pencil to go over the shading again. Make sure to make your lines follow the flow of the fur that you originally sketched in.
Comments 0
Details
February 25, 2018
Description: Hey everyone, here's another tutorial to add to my list of big cat tutorials. I love black panthers for their intimidating look. Just imagine those eyes staring back at you from the shadows on a dark night!


