1
Start out by picking your pencils. I used a H pencil for sketching/shading, a B pencil for darker shading, and a 5B pencil for the darkest shading.
2
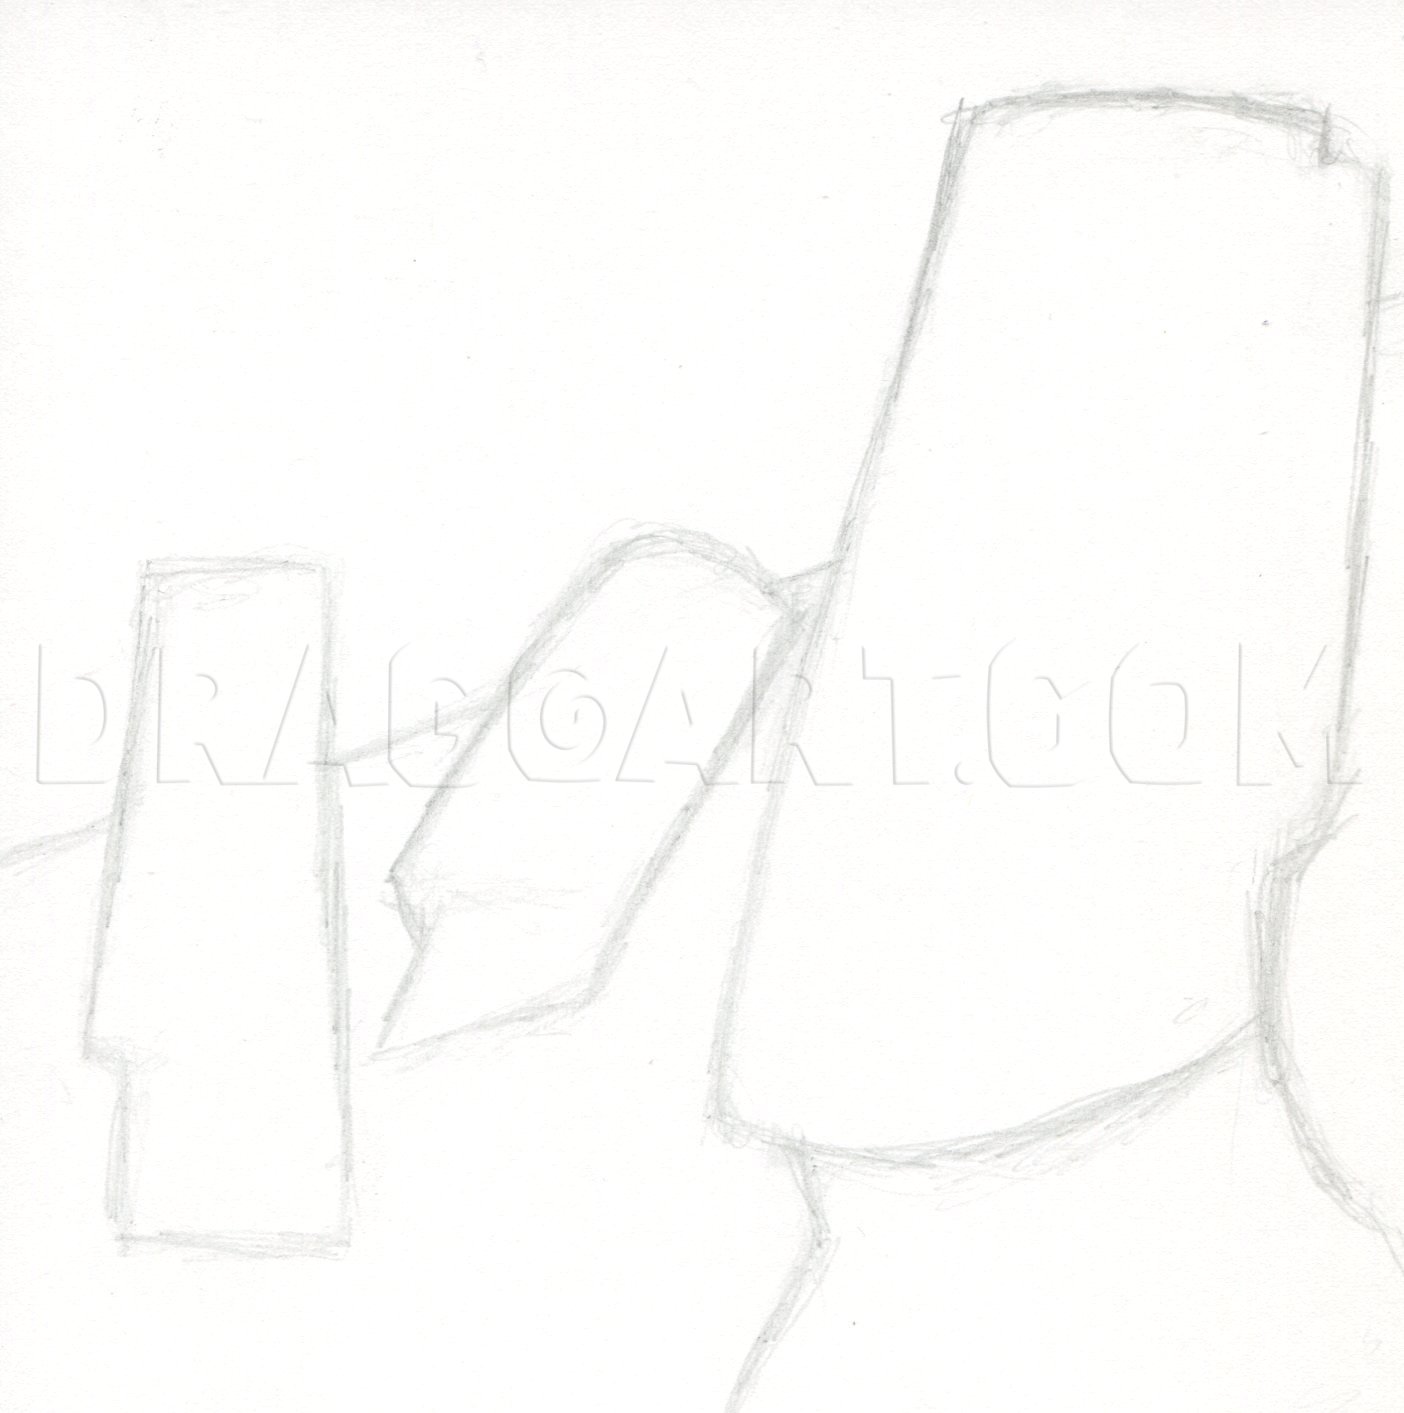
You want to start out with a basic sketch of your landscape and statues make it as basic as you can. You can use these guidelines if you need them.
3
Your sketch should look something like this. I used an H pencil. Make sure to erase any lines that you don't need.
5
Smooth out your shading using a paper towel or cloth. Try not to completely lose your sketch lines. Blend very lightly.
6
Erase the clouds into the background. No need for details yet. Use a white eraser if you have one.
10
Now use an H pencil to define your clouds/sky. Use a blending stump to smooth out your clouds and a kneadable eraser to dab out highlights. Use B and 5B pencils for the darker portions of the sky.
11
Now start adding final shading to the statues. Use a 5B pencil to roughly shade in another layer on the statue furthest back.
12
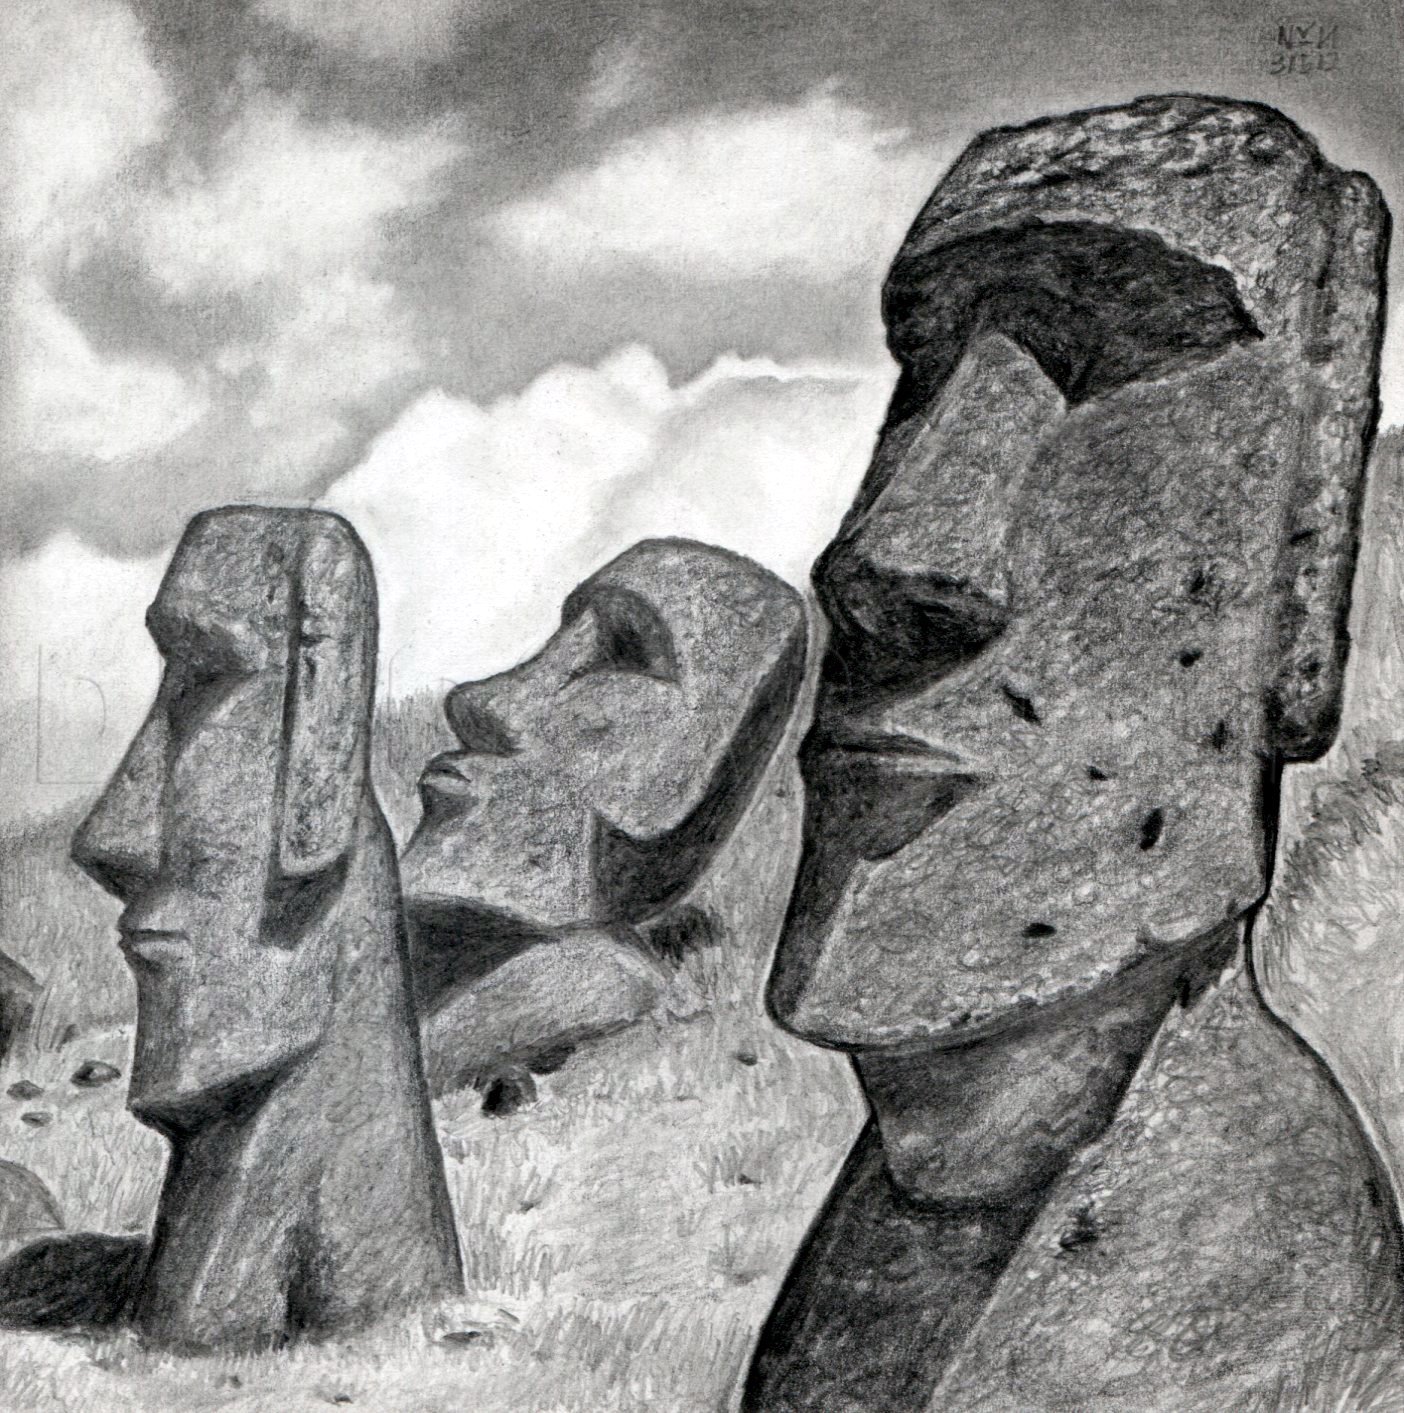
Add details and finalize the statue using an H pencil. Try to create texture by using rough shading and adding dots to the statue. How textured your statues look depends largely on what type of paper you use. Rough paper would work best but I used sm
16
This time instead of using an H pencil use a B pencil. This will make the foremost statue pop out more than the rest. Again do your best to add natural looking texture to make the head more realistic.
Comments 0
Details
March 15, 2012
Description: Hey everyone, here's a tutorial on how to draw some of those famous Easter Island statues. There are a lot of mysteries surrounding these statues but one of the coolest ones that I discovered today is that they actually aren't just "heads." They also have bodies buried deep in the soil! If you are as interested in ancient art as I am, do a search for "Moai statue bodies." But for now this tutorial will show you how to draw the heads.


