1
Let's start with a few basic graphite sketches. You can use whatever pencil you feel most comfortable with. I chose to use a 3B pencil.
2
Everything complex can be broken down into smaller simpler pieces. I decided to break down my rabbits into circles/ovals. You can lightly sketch these guidelines if you need to.
3
Now you can add on the basic features outlined here in orange. Remember that this is a sketch so there is no need to worry about perfection. As long as it resembles a rabbit, you're golden.
4
This is what my finished lineart looks like. Your sketches will look a lot cleaner if you make your outlines a bit thicker than the rest of your lines.
5
You can do basic shading in whatever manner works for you. Here I used a blending stump to add basic soft shading. The key to this technique is to get a good amount of graphite on the blending stump then use the stump like a large pencil. I used powd
6
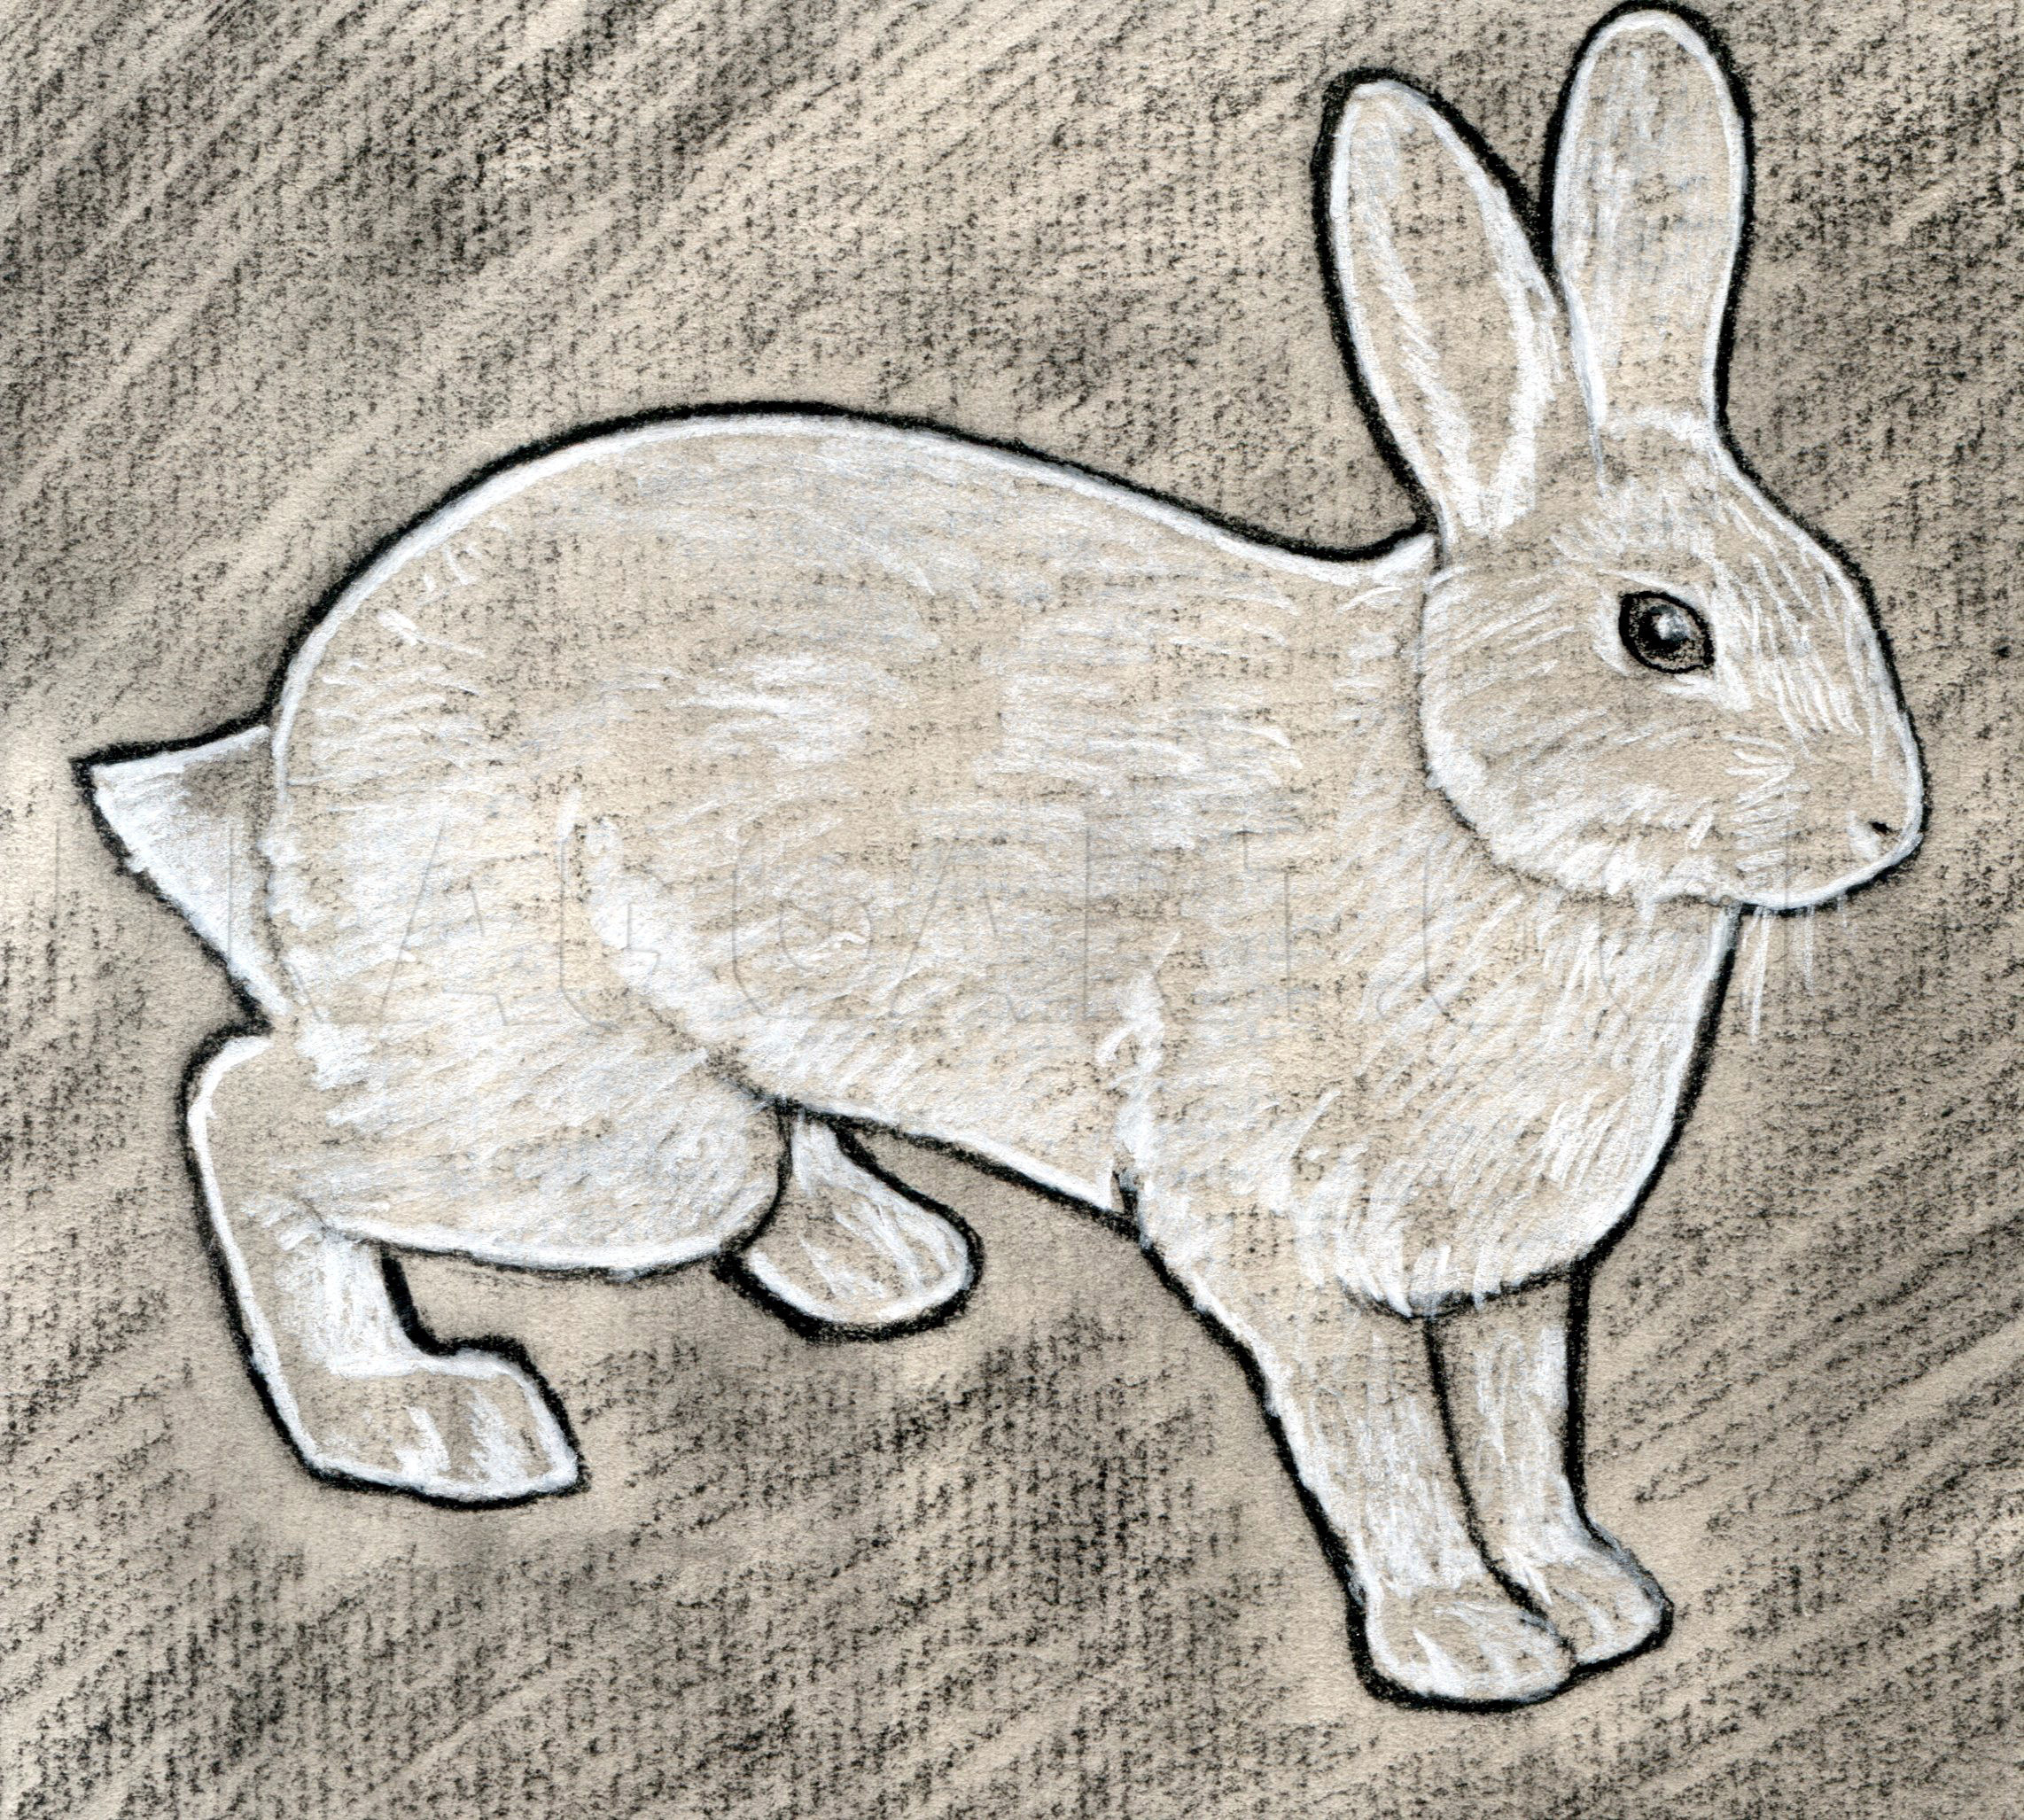
I used charcoal pencils for this next sketch. I used 4B and white charcoal. I also used sticks of 4B and white charcoal to shade over large areas.
7
Build the sketch in the same manner as the graphite sketches. Sketch out the blue guidelines first then add on the orange features.
9
Use a stick of 4B charcoal to roughly shade over the drawing. Make sure that you are shading as lightly as you can! Notice how the rabbit's lines are at a slightly different angle than the background's lines.
10
Use a soft cloth, paper towel, or soft brush to lightly smooth out your shading. I used an old paint brush for this step.
11
During this step I used a white charcoal pencil to add highlights and fur. I also used my 4B pencil to add lines or shading where needed.
12
Here I finished up my the rabbit with my white charcoal pencil. I didn't much like how rough the background looked at this stage so I moved on to the next step.
13
To finish up this sketch I used a stick of white charcoal to lightly shade over the background. I then used some paper towel to smooth out my shading. I went over some of my black lines with my 4B pencil as well.
14
This final sketch is of a bunny. I decided to use color on this one for the sake of variety. I used an HB pencil for the sketch and water-soluble colored pencils for coloring. Build this sketch like the others by breaking it down into basic shapes th
16
I only used blue, yellow, and red pencils when coloring so it helps to know how to blend colors. During this step I lightly sketched some yellow into the background then added a bit of blue. Remember that yellow + blue = green.
17
During this step I went over the bunny with some yellow and red as well as some blue in the darker areas and over the outline.
19
Here I used water and a brush on the bunny. Try to work you way from your brightest color to your dullest. In this case, start by brushing over the yellow areas before you move on to the red and blue areas.
20
For this step I mixed a brown color in a pallet. If you don't have a pallet you can use anything that's smooth to mix you colors on. Pour a bit of water then mix your red and yellow pencils until you have an ordinary orange color. Add some blue to or
Comments 0
Details
January 10, 2013
Description: Hey everyone, this is a tutorial that will show you how to sketch a rabbit using a few different methods.


