1
Let's start off with a few basic sketches of the snake. When doing quick sketches I usually use a pencil in the 2B to 2H range. For these sketches I used a B pencil. Start out by lightly sketching the basic shape of the snakes head and body. Then ske
2
0nce you have your lines defined you can call your sketch done or you could add some basic shading. I did my shading by getting graphite onto some paper towel and rubbing it lightly over my sketches. I then used a kneaded eraser to accentuate my high
3
For this main sketch I used three pencils: F for details and light shading, B for sketching and general shading, and 6B for dark shading.
4
I started out by sketching basic shapes and divisions with a B pencil. Remember to sketch lightly.
6
Now start using bold lines and adding in the scales. Remember that this is just a sketch so you can get as detailed and exact as you want to. I personally didn't reproduce every single detail from my reference photos. I improvised here and there.
8
Add in some guidelines the rest of the scales. This is the pattern that I say when I looked at the snake's scales. If you compare this step with the next one you'll be able to see how the scales are built around these guidelines.
9
There are the rest of the neck scales drawn in. For my final drawing, the current section is the most detailed, so it helped to make sure that my lines were fairly clean and that everything looked good enough. Don't be afraid to erase and redo if any
10
On this step you can see the basic pattern that I followed for the rest of the body's scales. I also defined the wood that the snake is resting on a bit.
11
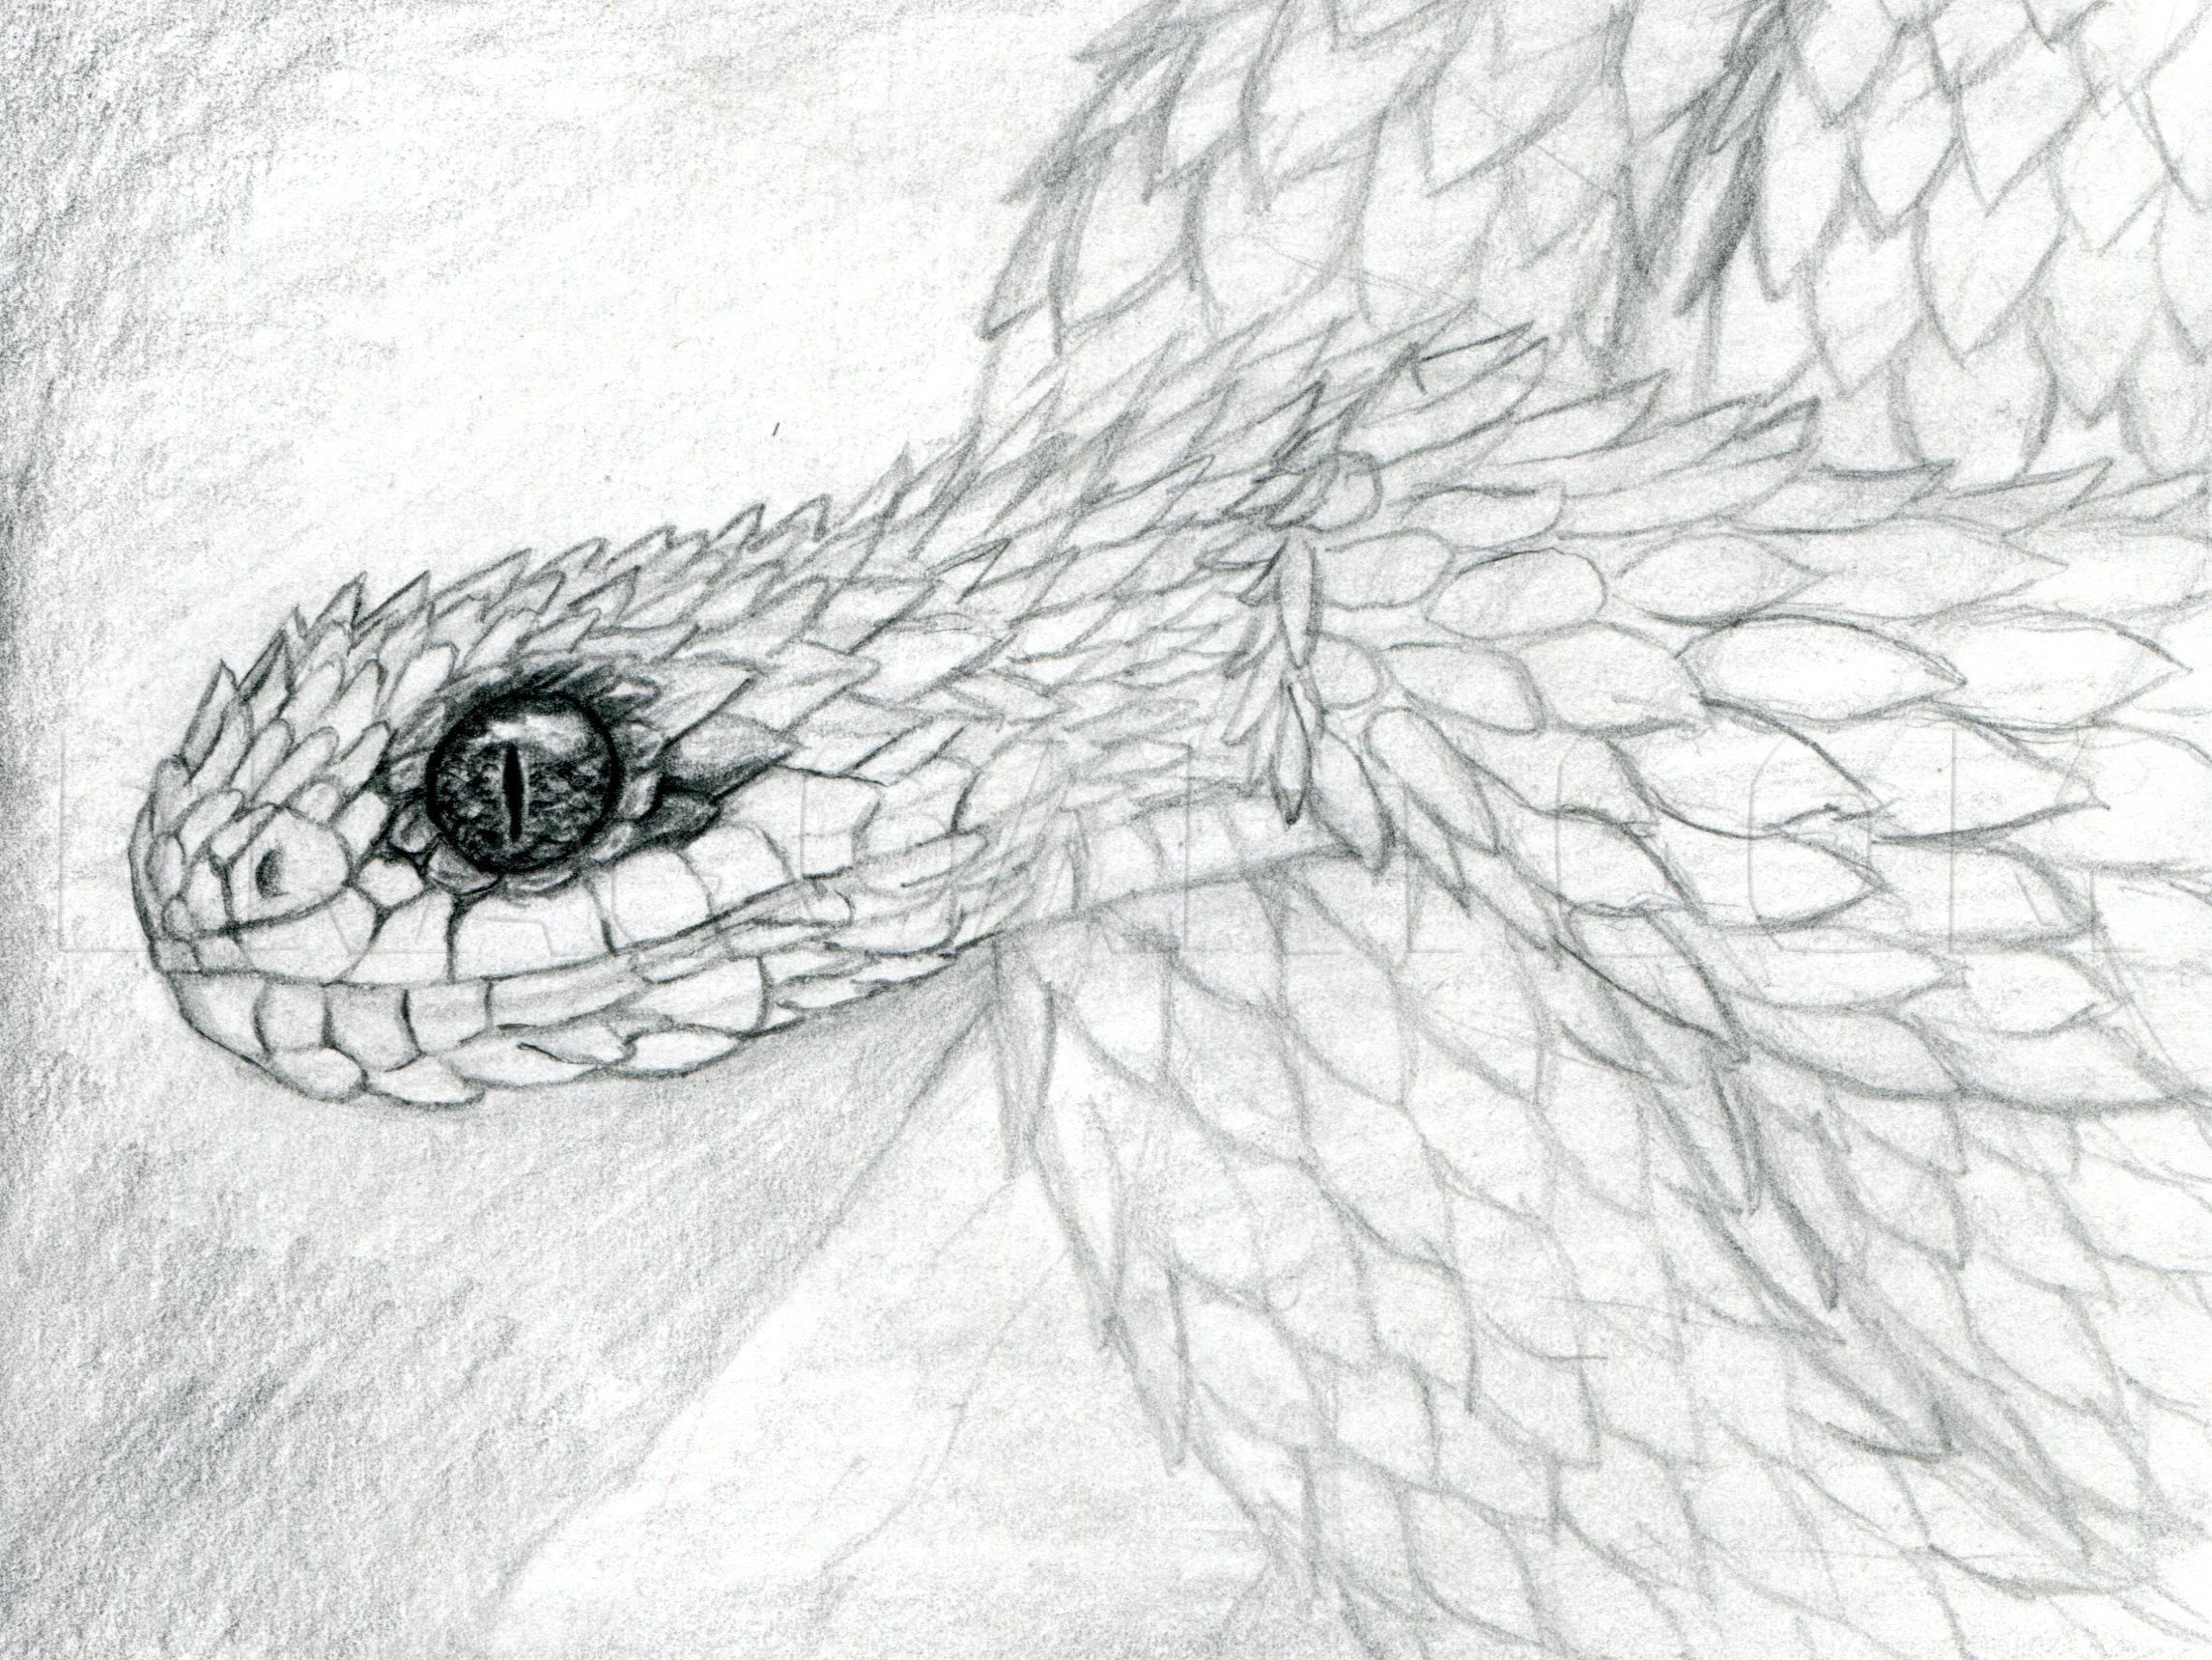
Here is the finished lineart of our snake. Don't worry too much about making it super clean. As long as your outlines are darker than your guidelines/rough lines you'll be fine.
13
Using a cloth or a paper towel, lightly smooth out your shading. If you don this lightly enough you shouldn't lose too much of your line work.
14
Now it's time to start adding some shading and details! Start by using a B pencil to roughly add in some shading around the eye.
15
Here I went over my shading with a sharpened B pencil. Always make sure that your pencil is sharpened when adding detailed lines. You can also start using the F pencil at this point to help you with your details.
16
I used an F pencil here to start finalizing the outlines of the snake scales. I also used a 6B pencil to add a bit of shading to the background.
17
I used an F pencil to build up my details on the snake here. You can use a B pencil if you find that more comfortable to sketch with. I also smoothed out the background shading with a paper towel.
18
For this step I used a B pencil to add some rough shading to the rest of the detailed portion of the snake.
19
Build up your details by working from the head backwards. Use an F pencil for most of your details. Use a B pencil when you need darker lines/shading.
20
Here are the rest of the snake details. If you've made it this far, congrats! You're done with the most detailed areas of this sketch.
21
I relied on a 6B pencil to shade in the rest of the drawing because of how smooth the shading produced by this pencil can be. Start off by roughly shading in the remaining top portion of the drawing.
22
I used some paper towel here to smooth out my shading. I purposely smoothed out my lines and details here and concentrated more on the shading.
Comments 0
Details
February 17, 2013
Description: Hey everyone, here's a tutorial on how to sketch a spiny bush viper, atheris hispada. I love this species of snake because they are so unique and are just gorgeous. Get your pencil and paper ready and have at it!


