1
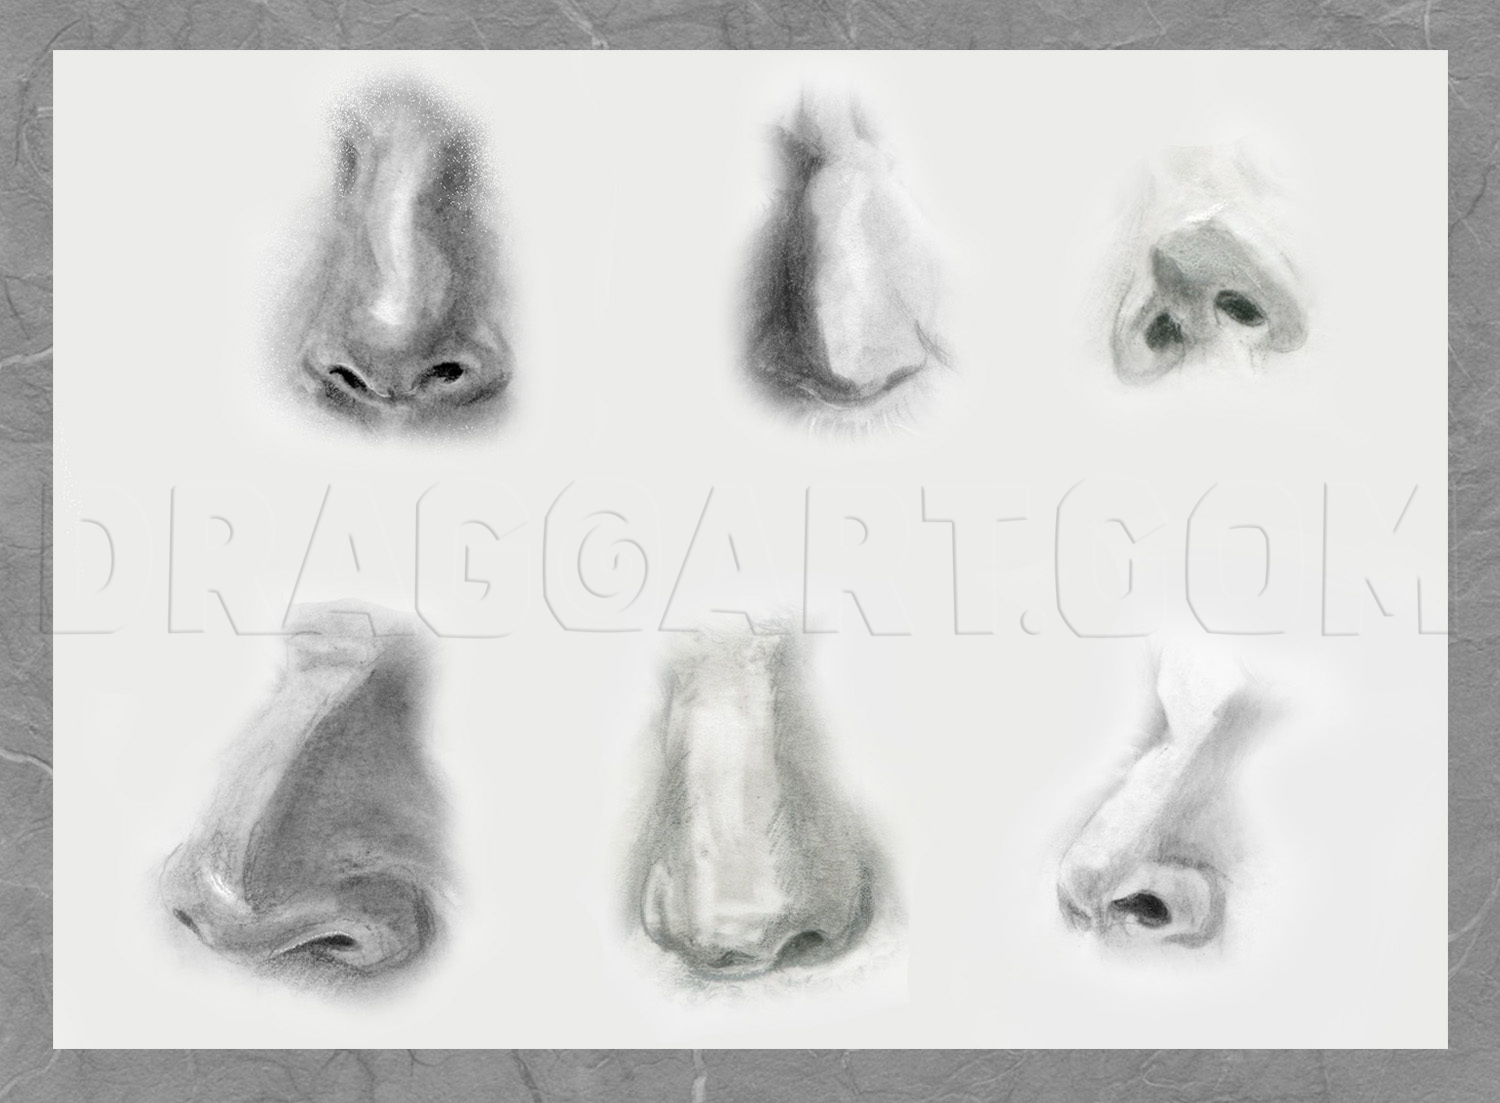
It is great to start out with this ladder-like guidelines. Try drawing these nose shapes within the ladder to practice creating or blocking in the nose before shading and softening your picture for completion. Notice the different types of noses disp
2
There are many different ways to start your sketching. Three different types of guidelines to start your drawing is offered in this tut. Try finding which one is the most comfortable to draw. (1) Start with the circles representing the tip of the nos
3
PROFILE NOSES (3) As you can see the three different noses developing. The type of shading I am using is called crosshatching. In this step, start with sharp diagonal lines going in one direction with your pencil. I used a 0.7mm Fine leaded mechanica
4
Lightly draw these guidelines with circle and curves. Follow them closely because they represent different viewpoints and noses.
6
We are starting with the crosshatching. Make sure only the areas around the nostrils are outline. Notice how the bridge, tip, and nostril are shaping with the subtle shading only. If your white area is not shaping like the picture, take an eraser (kn
7
Now draw the diagonal lines in the opposite direction. Take your time to develop the darker areas.
8
Here I have the bone and cartilage areas that make the shape of your nose. Click on the picture for the names.
9
What makes your nose move and even wrinkle when you are angry, sad, or smell something unpleasant? Click on this picture to see the muscles in the face that involves the nose.
10
It's true when you're angry you use more muscles than smiling. For instance,your eyebrows are pushed down in the middle, and pulled up at the sides. Your nose is pushed up (wrinkles) as your brows furrow. Your nostrils get wider and are pulled up (n
11
For a happy face, your forehead relaxes, bringing your eyebrows up a little. Your eyes smile - the outer corners of your eyes begin to wrinkle as muscles push them together. Only when you really smile! Even your lips smile - your lip corners are pull
12
Here we are starting with the introduction picture. Draw the cross lines of the six noses. Take careful consideration of their placement.
13
With a No. 2 pencil, lightly draw in the nostrils and portions of the bridge of the noses. The six different nose types represent the viewing from above, below, and at the front.
14
Draw in lightly the nostril and other nose details. Watch closely where they appear at the guidelines.
15
I made this line drawing especially for you if you don't want to do the pencil shading and blending part. Otherwise, let us continue to the pencil drawing part.
16
This time Acrylics has won! Sandpaper, the new kid on the block has to take a back seat to my wonderful Titanium White or Opaque White Watercolors for HIGHLIGHTS! Yaaaa! Try it, you'll like it!
17
The picture that goes with this step shows two different ways to hold your pencil to acquire certain effects. OVERHAND: Holding a sharpened pencil in normal writing form with fingers in the middle or near the lead gives you great control and thin/det
18
PENCIL STROKES & TONE, SHADING, TEXTURE -- For your convenience, I have inserted this step with different pencils, strokes to use. And you can study the shapes that make up this drawing universe, along with tone, shading, and texture.
19
The picture here is a great exercise for value shading. I've got a little secret tip for you to make things easier. You can download this to your desktop. First click on the picture to have access to full size. By right clicking on your mouse, you ca
20
This is where I start with the pastel application. If I were to do the whole picture in a pencil sketch,(sketching in small circles, lines or crosshatching to shade the areas, it would take hours upon hours to cover all that area with a pencil. I cho
21
Here I used my blending stump to "draw" in more lines, add more shading the noses. Added more dark gray and blended pencil strokes to define the shaded areas better. I needed to whiten areas like the highlights on the noses and reflective lights near
22
Basically, I added more highlights with Opaque Watercolor to the highlights and darkened shadowed areas.
23
Now, To help out with specific areas of highlights, tone, texture, etc., the next two following steps will show you.
Comments 0
Details
September 19, 2012
Description: We sniff, smell, breathe, and live with the nose. This tutorial has lots of drawings for you to choose from and it's very informative. As a drawing tool, I would suggest you to fav this tut. We have different noses, viewpoints, and expressions. The visible part of our noses is the protruding part that bears the nostrils. The shape of the nose is determined by the ethmoid bone an the nasal septum, which consists mostly of cartilage and separates the nostrils. Normally, the male nose is larger than the female. I hope you will enjoy "How to Draw Realistic Noses." Please fav, show your love, and comment. Thank you all. Peace and love to you until next time!


