1
Here's an important stage I cannot stress about enough. Lots of people ask me (and other awesome artists), how to make the hair seem it's not painted on the scalp or head. The secret is, you have to draw the hair a few inches away from the initial sk
2
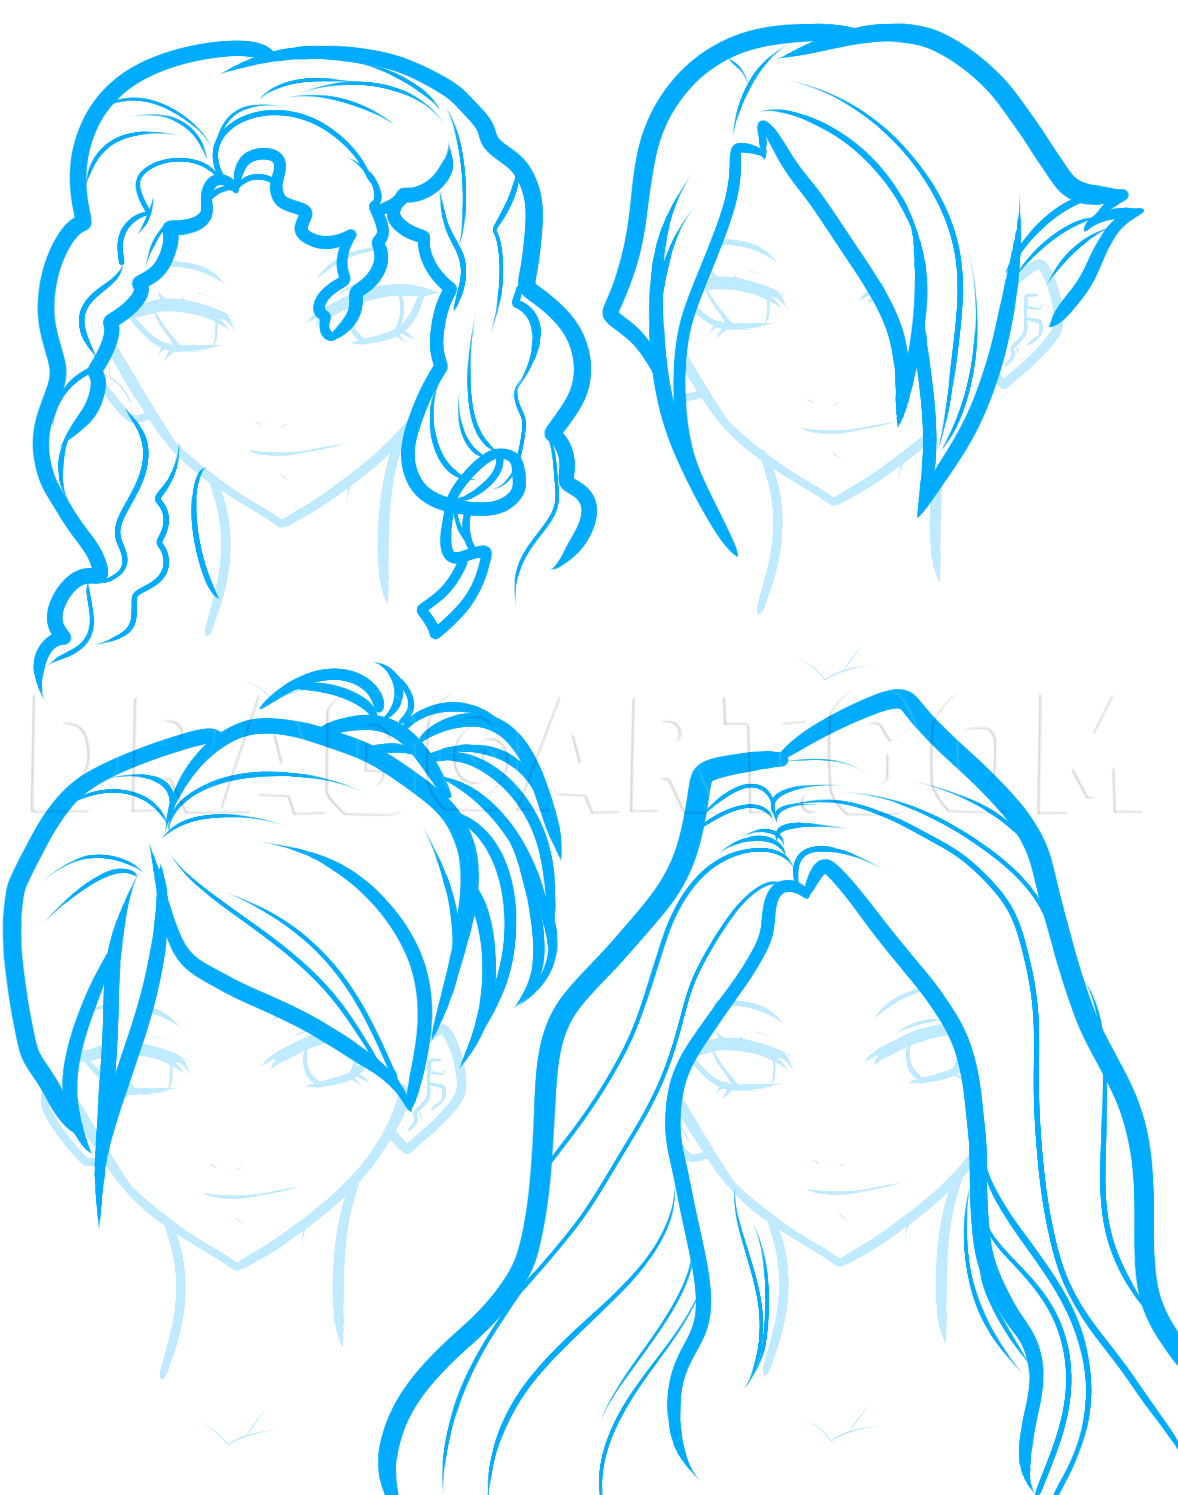
Here's a few basic hairstyles that you can reference from, though, I'd suggest hoarding hundreds of images from Google on various styles of hair to create a dynamic look for your characters. Notice how each style creates a diverse look for each anime
3
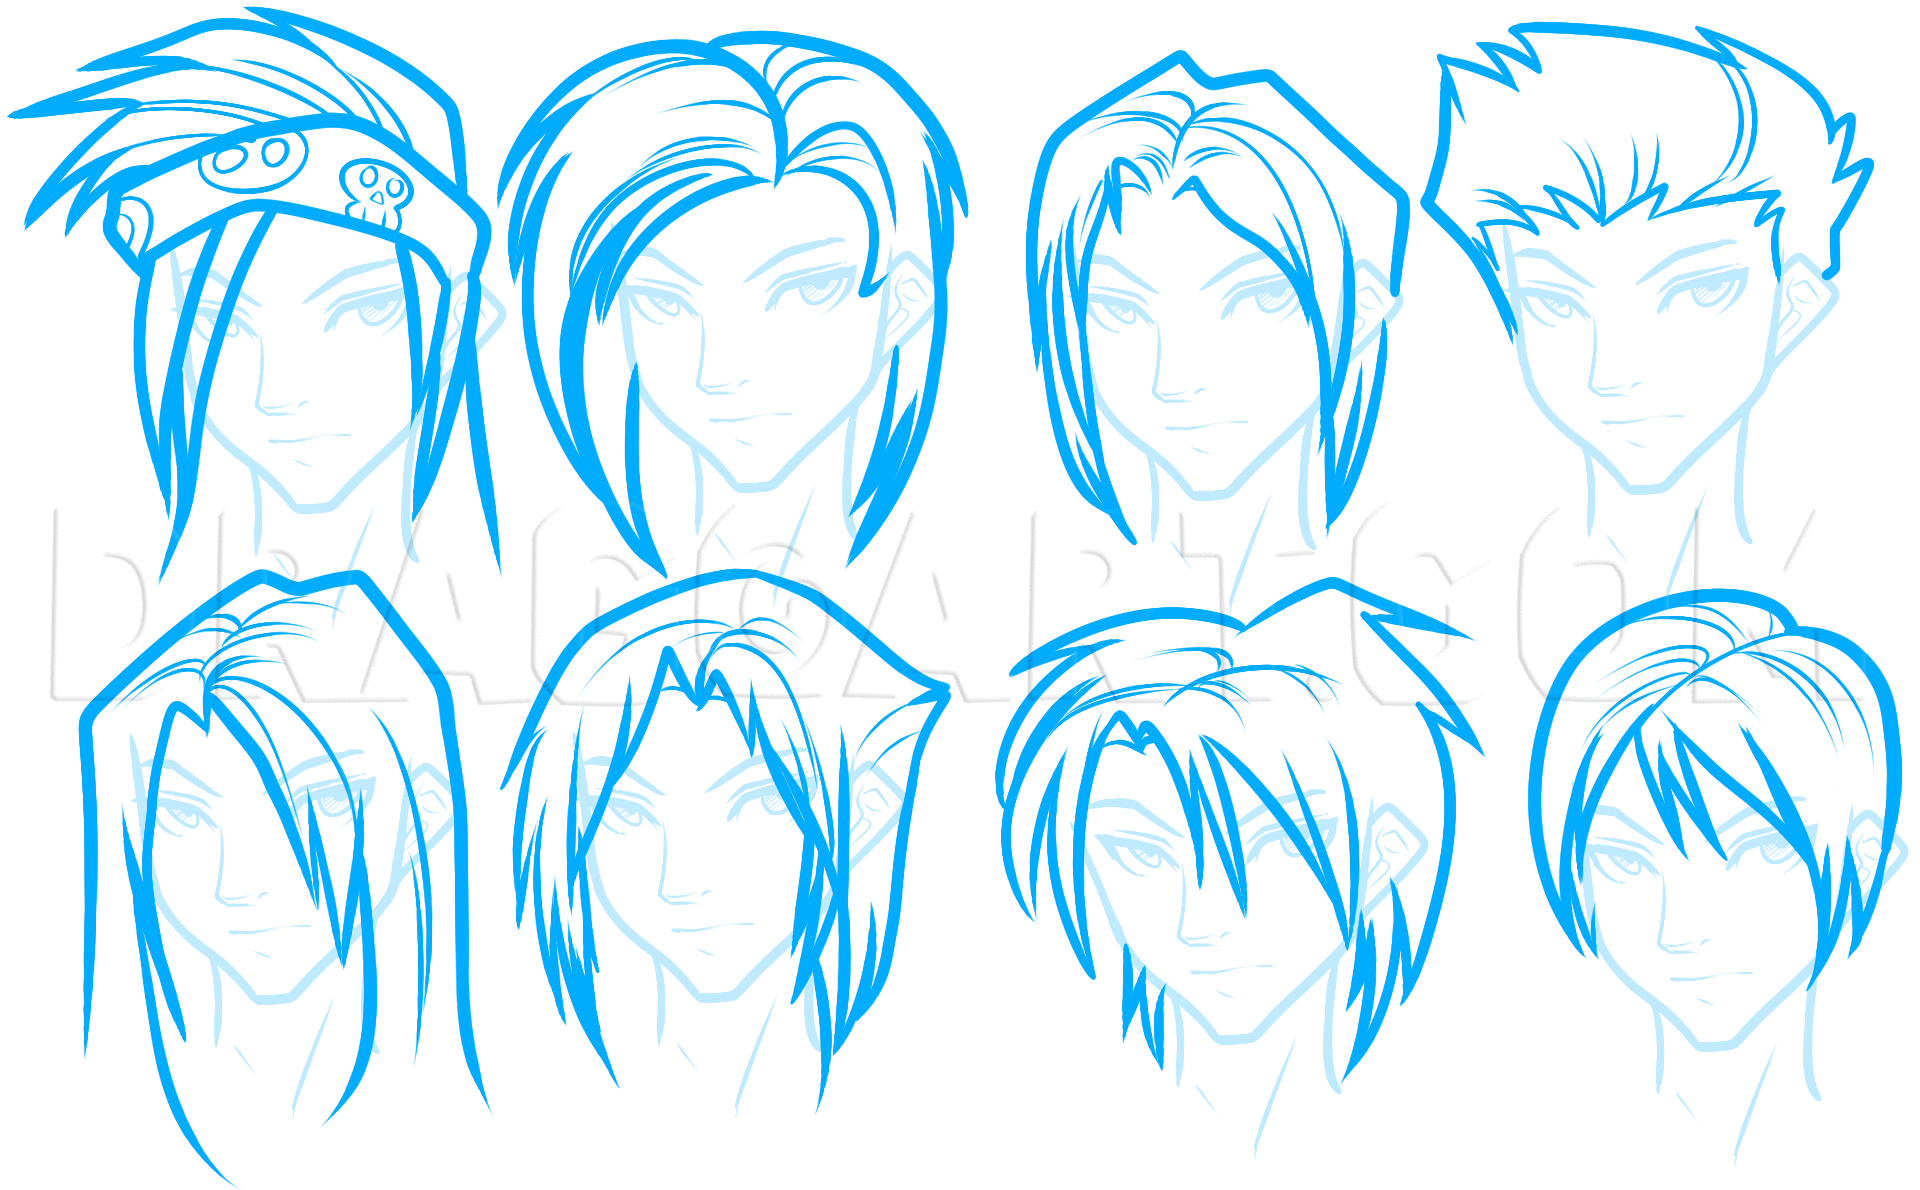
Here's a few others, but for men. Spiky hairstyles are used for spontaneous characters, while the long haired ones are used for villainous or mysterious folk.
4
We will start by drawing the structure of the models face shape like so. Be sure to include the ear shape even though there will be no face.
8
Create one last chunk of hair on the left side like so, then you can finish it all off in step nine.
9
Finish off your anime hair by adding all the hair strand detailing lines. Before you do that though, you have to erase any mistakes you might have made.
Comments 0
Details
January 29, 2017
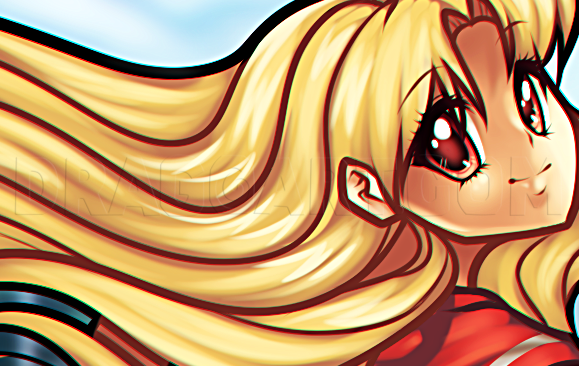
Description: I know the lessons I have been submitting for beginners is actually helping beginning artists out. That is why I decided to make two more tutorials starting with this one on how to draw anime hair for beginners, step by step. Hair has always been one of the more challenging parts to a human face to draw but not more than eyes or hands. The whole point of this tutorial is to showcase how you can create the look you want when drawing anime characters of your choice. The whole lesson is filled with tips to help you become better at drawing anime hair. I do hope you enjoy this lesson, I will be back with the second tut for beginners in just a moment.


