1
Let’s start doing the head and spine. Here I divided the spine in two segments, for the neck and back, and the tail. Between these segments is the hip bone. The ‘tail’ is a bit more than the half of the total lenght of the body, and the ‘ba
2
Draw an ellipse (or an open curve, if you want), that will shape the torso and more. It starts at the base of the neck and goes back to the base of the tail, passing the hips.
3
Sticks and circles for the legs. The first circle is the hip joint. The stick under the hip is the femur, the thigh bone. The following circle represents the knee joint, and the stick under the knee is the lower leg. The next circle is the ankle join
4
We have already defined the parts of the leg, now let’s add the muscles. See how the bulky thigh muscles are attached to the hip and around the knee. The lower leg is more bulky near the knee joint (specially behind it) than in its lower section du
5
For the rest of the body, follow the curve of the spine and torso, adding muscles around it. Pay attention to the skull, too. Rather triangular, with two crests resembling little horns over the eyes.
6
Now you have all the major muscular volumes chained, it is time to draw the outline. Just follow the shape of the muscles, softening the transitions.
9
Time to add some color! Here's a flat brownish base. I use to choose dull colors and camo-like patterns.
10
Volumes. The illusion of volume in 2D drawings is made with lights and shadows. Let’s suppose that the light comes from above (example: sun). Then the surfaces in direct contact with that light will be lighter (Use a lighter color paint, or erase s
Comments 0
Details
January 13, 2013
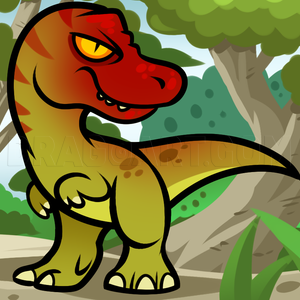
Description: In this tutorial you will learn how to draw an Allosaurus, the Jurassic superpredator. This is intended to teach you how to reconstruct the body rather to just copying. This means thas, having a skeleton as reference (google may help), you can try other poses!


