2
You will now draw out the snout or trunk of the mammoth like so, then draw out the mouth and tusks.
3
Next up, you will start sketching out the rest of the mammoth's face, as well as the puffy topped hairstyle. Draw in the hairy flopping ears like so, then proceed to step four.
4
Okay, all that is left to do on this mammoth is draw in the big friendly eyes. You will also need to add the etched in marks on the trunk, then add some detailing to the ears.
5
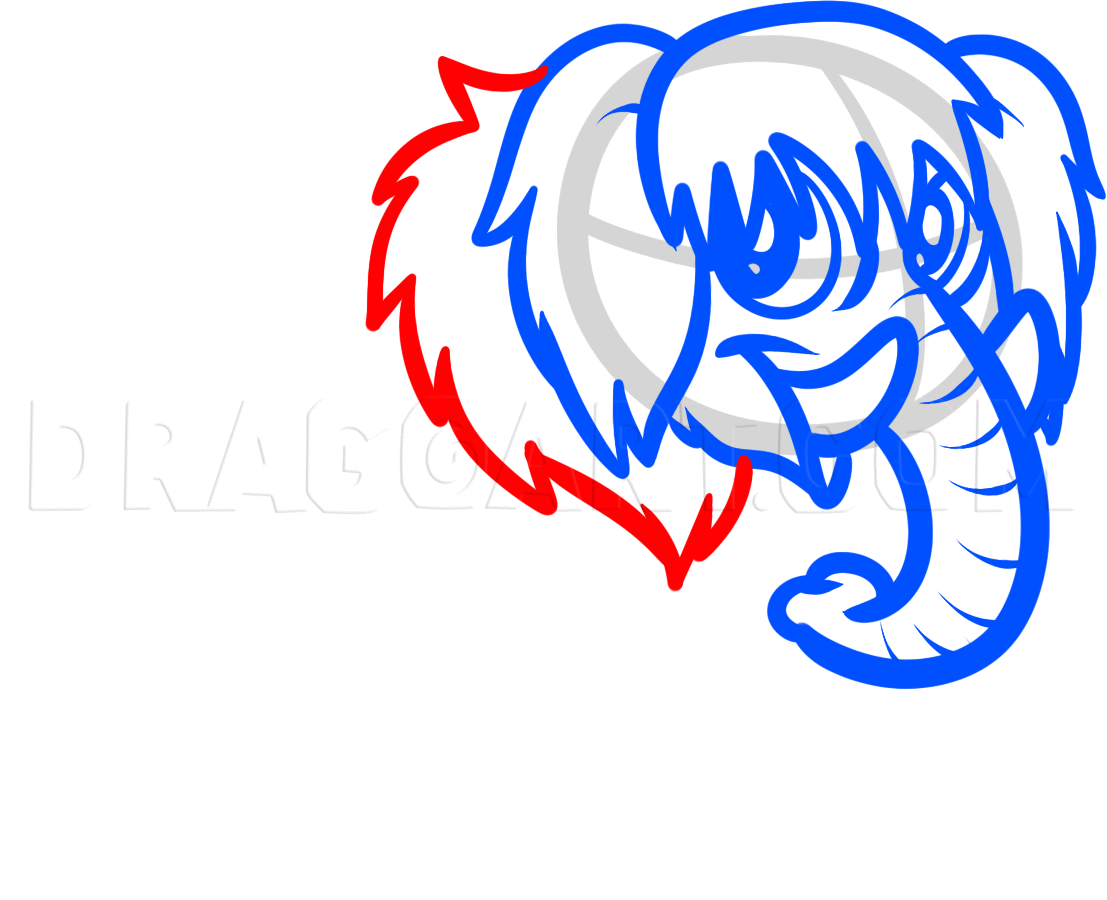
Draw in the fluffy hair collar around the rim of the mammoth's neck like so, then again, move along to the next step.
6
Almost done folks. Draw out the body starting with the lining of the back, then draw in the elephant shaped legs and flat feet.
7
Lastly, draw the tail as well as the tuft of hair on the tail, then draw in the swirls on each knee for additional detail. Sketch in the hairy belly then you can start erasing your mistakes.
Comments 0
Details
August 6, 2012
Description: I know I made a couple lessons in the past on the woolly mammoth, but I thought since a new Ice Age was released into theaters a while back, kids would enjoy a simplistic version on "how to draw a woolly mammoth", step by step. This came out looking very cute and incredibly vivid. The colors of brown and blue really makes this mammoth stand out. Even though I made a few of these animals in the past, it was still fun to make another. I don't know what else to day since I have already talked about the woolly mammoth before. I guess I will leave you folks to drawing this prehistoric elephant. Don't forget to show folks your artistic work when you're done. Adios peeps and enjoy!


