1
Begin like so. Two shapes for the head and body, then the limb guidelines. You will then draw in the facial guidelines as well.
3
To finish the hat you will need to draw the folded lid, then sketch out the shape of the head which is also the rest of the hat. Add the pompom ball as well.
5
Draw in Stan's face starting with the eyebrows. Then move along to the eyes, nose and mouth. Add an ear too.
6
Okay guys, sketch out Stan's skinny neck, then draw the puffy collar which is his jacket hood. The hood is resting on his back instead of on his head. Add the lining for his arm too.
7
Continue to work on Stan's torso by sketching out the chest, then his left or right arm. His left or right hand is inside of his jacket pocket as you can see. Add texture detailing to his coat before leaving step seven.
8
Cap off the end of the jacket and then draw the zipper line down the center. You will also need to draw Stan's back and a fold on the lower part of his coat.
11
Now all you have to do to finish him off is draw the pants or legs. Add seam lines, then a crotch line where the zipper goes. Erase the mistakes and guides.
Comments 0
Details
June 5, 2014
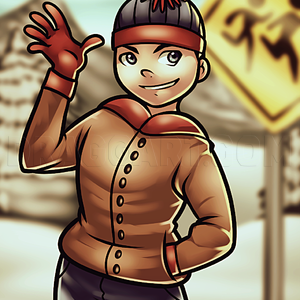
Description: If you guess the next character would be Kyle, you guessed wrong. Even though many of you will think that this is an awesome tut, I'm actually not happy with it at all. This lesson on "how to draw realistic Stan" should be pretty simple but in my opinion I could have done some things different. For one, I don't think I should have made Stan as slender as he is and his jacket is a little too form fitting. I don't know, maybe I'm wrong but I will do better next time because I plan on making two more realistic versions of some of my favorite South Park characters. I wonder who they will be? Enjoy this tut for now folks on drawing realistic Stan Marsh. I will be back shortly.


