


1
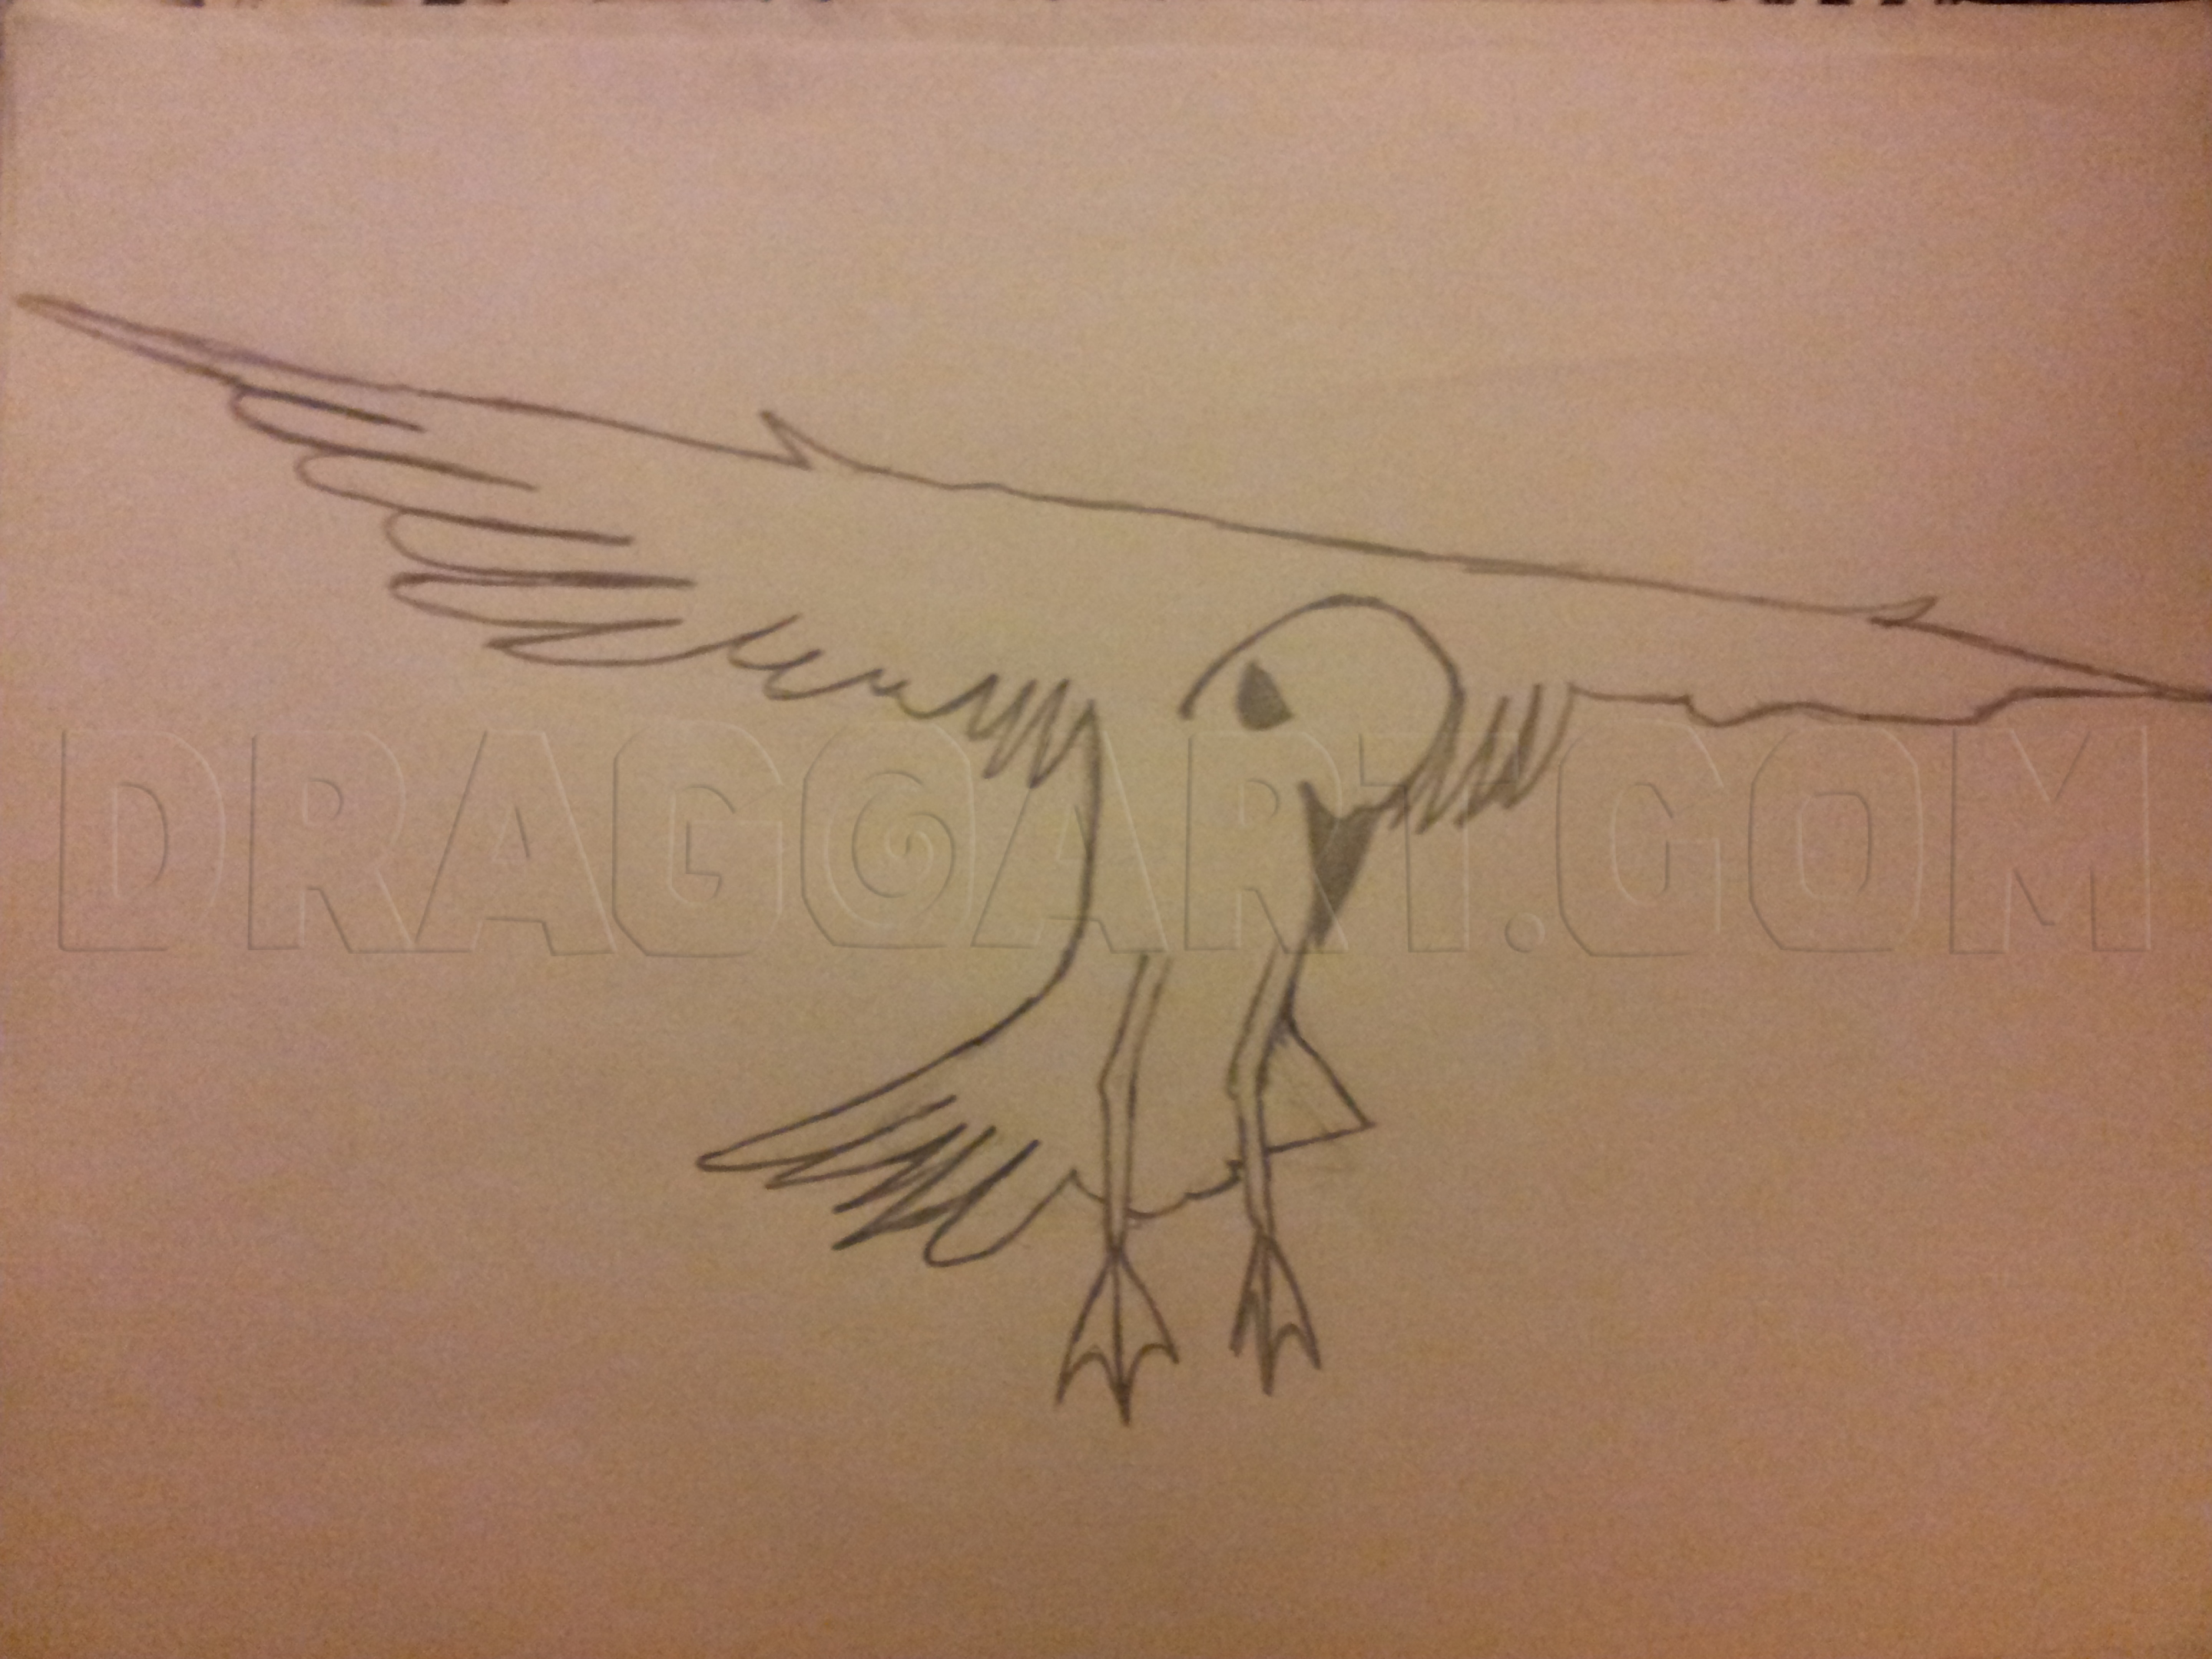
First, draw the outline of the seagull. This includes drawing the wings, head, tail and legs.

2
Then draw the right wing of the seagull. Draw from near the head to the edge of the right wing. Then draw from there the feathers of the right wing. Make sure as you draw the feathers that they progressively point downwards the closer you get to the

3
Then draw the left wing. This is a bit easier than the right wing because you don't have to draw as many feathers. Just make sure you make the feathers look clear near the body.

4
Now draw the head, the eye and the beak of the seagull. Give them a light shade as-well.

5
Now draw the legs. Make sure they are thin and make sure you show the knee bones of the legs. Then draw the webbed feet of the seagull.

6
Now draw the tail feathers.
7
Tidy it up a bit by pressing hard with your HB on everything but the outline. Then it will be easier to erase the outline you sketched in the first step. After you have done this, you have completed the flying seagull.

8
If you decide you want to shade, make sure you have something which you can use to shade like tissue paper (try not to use your hand).
Comments 0
Details
January 11, 2014
Description: This tutorial will help you draw a flying seagull. All you need is a HB pencil, some plain paper, a rubber and something to shade (I used tissue paper). You do not have to shade if you don't want to.


