1
Start off by drawing the head and body shapes like so. When that is done you can sketch out the facial guidelines as well as the guidelines for the legs and tail.
3
Up next, draw in the shapes of the tiger's eyes. Be sure to make the markings around the eyes and when you are done with that you can draw the nose, bottom jaw and then the mouth line and whiskers.
4
We can now work on the body. Start from the left ear and then draw a hump and let the lining flow down to the back. Draw in the first front leg and paw, then sketch in the toes and leg definition.
5
You will now draw in the rest of the limbs which are all three legs and paws. When that is done draw the long tiger tail. Add some fluff on the belly and behind the back leg.
6
For the final step you can draw in all the tiger stripes and then draw the rock that the tiger is standing on. You can also draw the Sakura trees in the background if you like, but do this after you erased the mistakes and guides.
Comments 0
Details
August 12, 2016
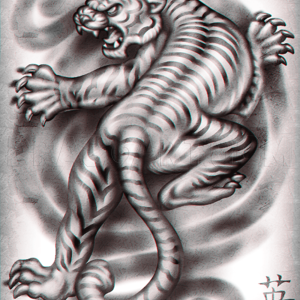
Description: Here is a drawing that took a while to complete. It's not because it was hard or anything, it's just that I wanted it to come out perfect. Here is my concept art on how to draw a Sakura tiger, step by step. When I say perfect, I mean I wanted the drawing to have a beautiful landscape and not just a tiger in the woods or forest somewhere. I surrounded the tiger with a bunch of Sakura trees and I also colored in some falling petals. Also, there is a small lake or brook that is between the trees. I think the setting came out amazing and I'm excited to be sharing this lesson with all of you today. Anyways, have fun and let me know if you like this art concept that I turned into a tutorial.


