1
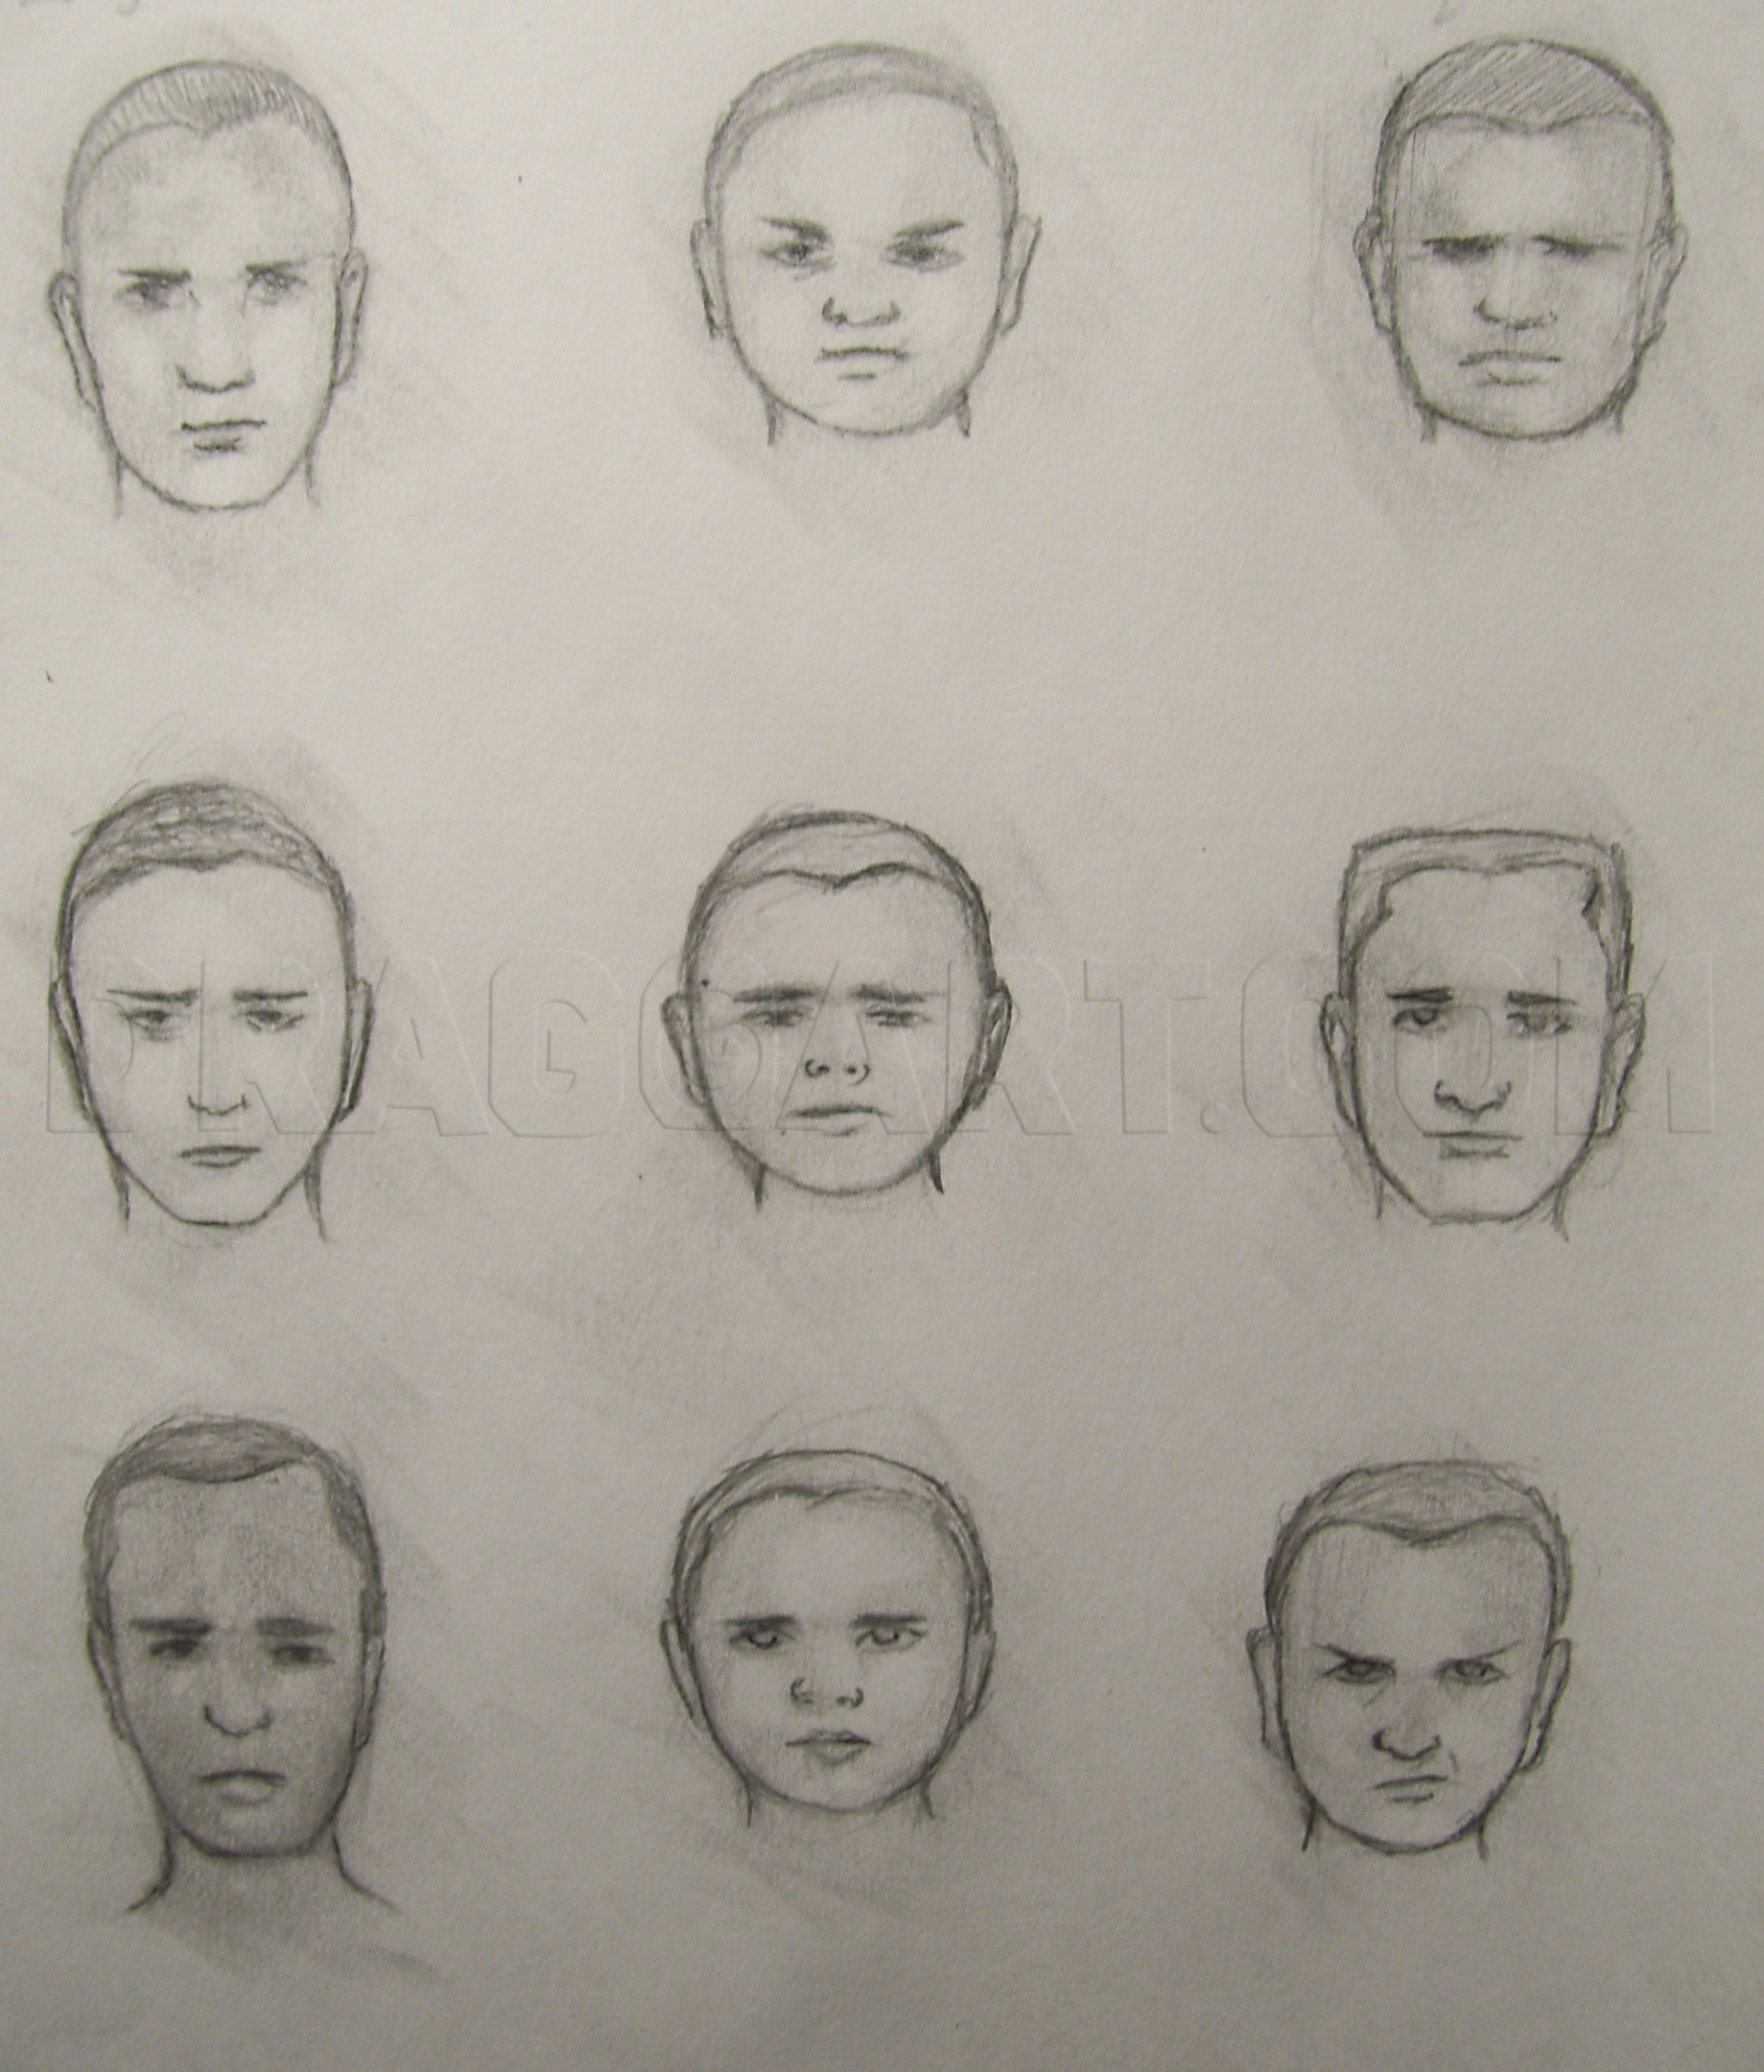
Alright, before you start worrying about features and details sketch out the basic shape of your head. Every head has some sort of resemblance to a shape (circles, ovals, squares, etc). Draw a line straight down the middle and another line at eye lev

2
Add in the eyes, eyebrows, ears, and develop the nose and mouth more. REMEMBER, you are just sketching. Don't get carried away with detail. As long as it looks like a face, it is good enough.

3
I prefer adding more value and shades to my sketches before I call them done. In this step I shaded in the heads then lightly blended over them with a tortillion (tissue or paper towel would work too).
4
Now I just finalize the sketches by erasing some shading here and there, to hint at lighting, then darkening the outlines.

5
Alright! Now we can move on to some "real sketching! Start out with the basic head shape and add your guidelines. I decided to add in the simple lips and the tip of the nose at this step.

6
Develop the face a bit more by adding the mustache and eyes and hinting at the eyebrows. Don't obsess with detail or likeness. As long as your sketch looks like a face in the end you're good!

7
With the basic face developed, you can then add the hair, beard, and accessories. You can call a sketch "done" whenever you feel like it so don't feel too guilty if you don't go past this step. Do whatever works for you.

8
This step involves darkening a few details. like the eyes and a few of the basic shadows.

9
This step takes the most guts. Shade in the head and blend using a tortillion or some sort of soft paper. Try not to blend too much! You still need to be able to see most of the lines when you are through.

10
Now you can use an eraser to add the highlights and bring some depth into your sketch. Pay attention to where your light source is when erasing; Light is on the left and shadows are on the right. You can also go in and darken the outlines of the feat

11
This step is just a slight development of the previous step. All I did was add a few more details and shading. This step could also be considered a "finished" sketch but I decided to take it further.

12
If the previous step was a bit too rough for you you can add some more darkness to the sketching and blend using a tortiliion. Again, it is up to you to define the word "sketch." This was just my attempt to show you how I sketch. I hoped everyone can
Comments 0
Details
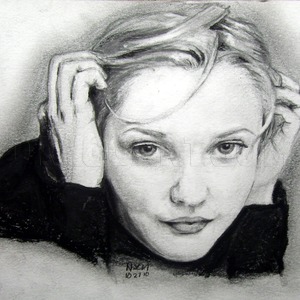
November 4, 2010
Description: Sketching, in my opinion is the most important skill that every artist possesses, it is also the most personal. Everyone has their own definition of sketching and has their own method as well. This is my personal approach to sketching faces. Hopefully, you can learn something to help you with your own sketching technique! Have fun with this lesson on "<em><strong>how to sketch faces</em></strong>"! I'll be back with more tutorials, shortly!