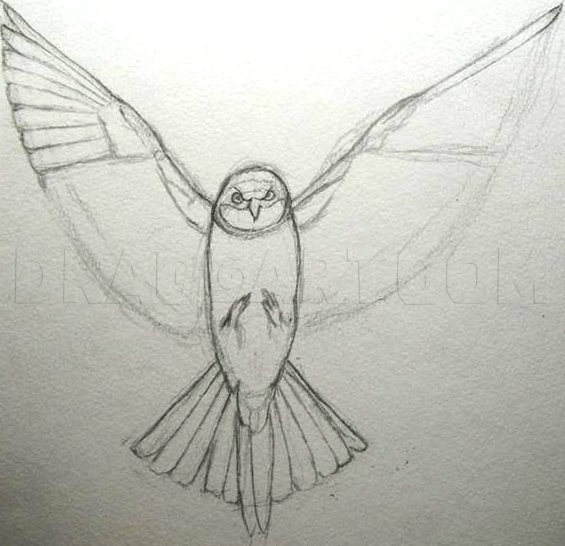
1
Alright, lets start off with some basic shapes. The body and can be seen as an elongated egg and the wings and tail feathers sort of like triangles.
2
Start adding detail to the head and body. Nothing too intensive just chart out where everything is.
3
Lets start working on those wings and feathers. Start by depicting the arm bones. It helps to know where these are before you start adding feathers. Also, draw in the tail feathers.
4
It's best to work at the feathers section by section. I chose to start with the top eight feathers because they sort of for a triangle.
5
Alright, now you can just repeat the previous step to the other wing and fill in the rest of the feathers. Add a dark outline to the bird afterwards.
6
I used a gray pastel during this step to darken the drawing a little bit. I blended it in lightly using some tissue paper.After everything was looking a little gray, I started working on adding dark values to the head. I basically worked dark to ligh
8
Now we can start working on the wings, starting with the arms not worrying too much about the feathers yet. The light is coming from the left so everything on the right of the birds body is either going to have a shadow cast on it or be a bit darker.
9
Moving on to the wings. Start the wings off by shading in dark splotches that correspond to the sectioning of each feather.
10
Repeat the previous step on the other wing. Instead of shading in the rest of each feather, use a tortillion to blend them from the dark splotches inward.
11
Now we can make our way down to the tail feathers. Don't forget the shadow that separates the body from the tail feathers!
Comments 0
Details
November 15, 2010
Description: Let's draw a chickadee! I love these birds and hope you all will too by the end of this tutorial!


