1
We'll start with some basic head shapes. I will be showing both perspectives for drawing so people can see how the hair would change from front to 3/4ths perspective.

2
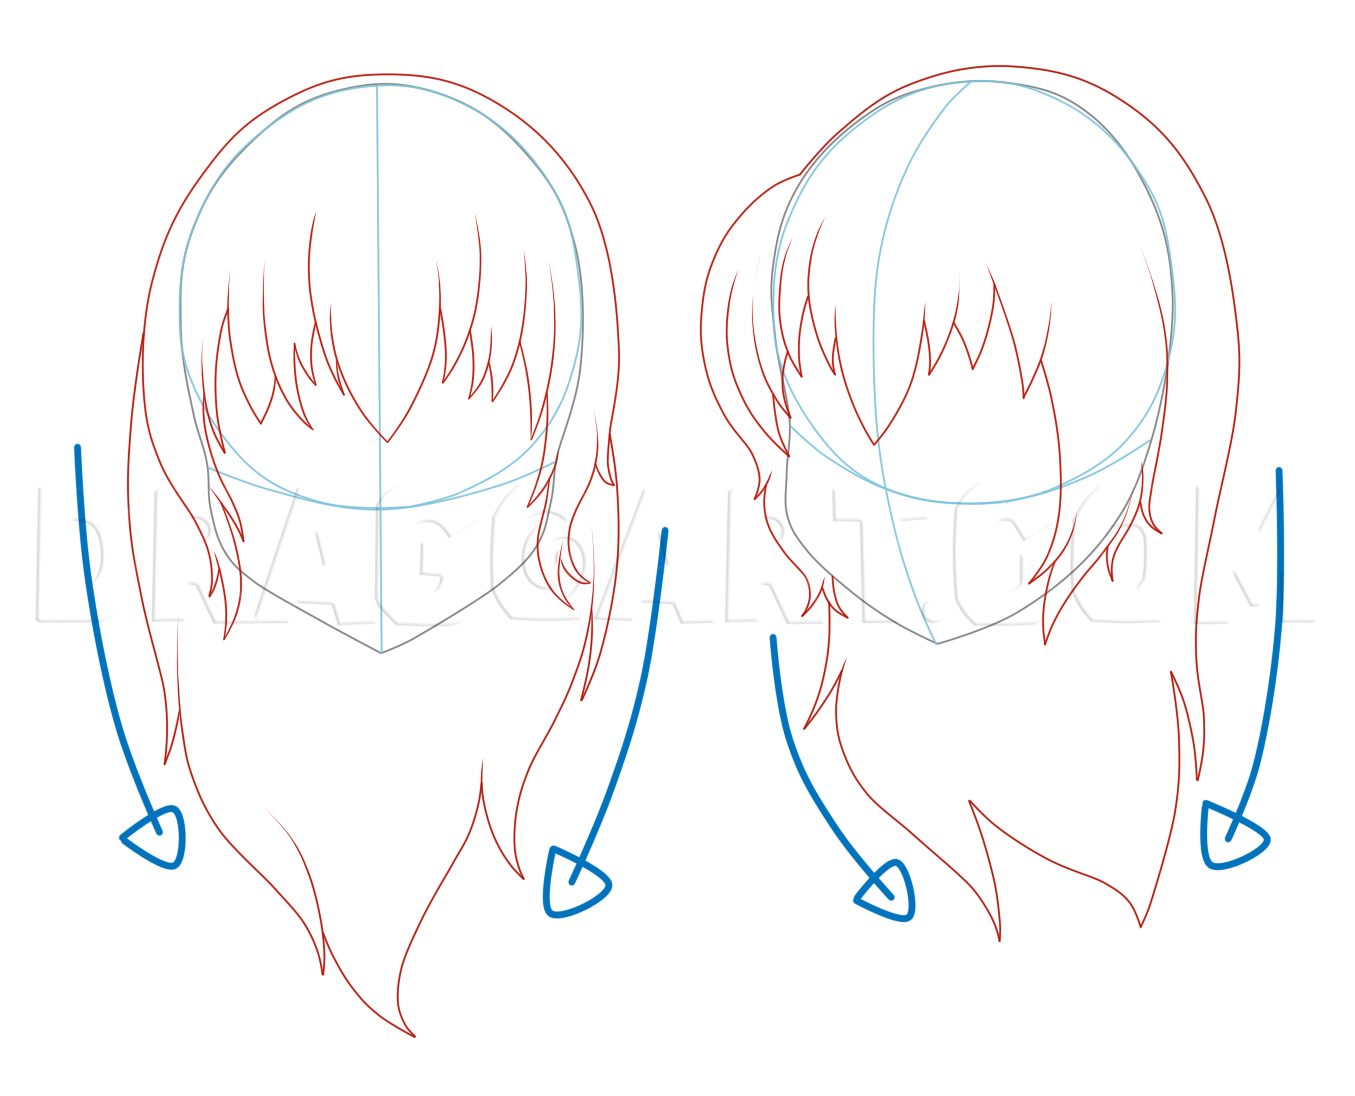
First I'm showing off some choppy bangs. Notice there are lots of individual strands for this bang and the bangs are shaped like an M. Now, the secret to these bangs so you don't get so overwhelmed is to start with the big bang piece in the center of

3
If you want your person to have choppy short hair, you just need to add choppy strands near the chin and neck area. This is extremely easy when doing it from the front point of view, the side view takes a little more work. Draw the hair puffing off

4
Pony tails can be really strange if you draw them too straight. Start them near the top of the head. At the very top of the head if you are head on. Then make sure your pony tail has a nice curve to it. This curve makes it look like it's actual h
5
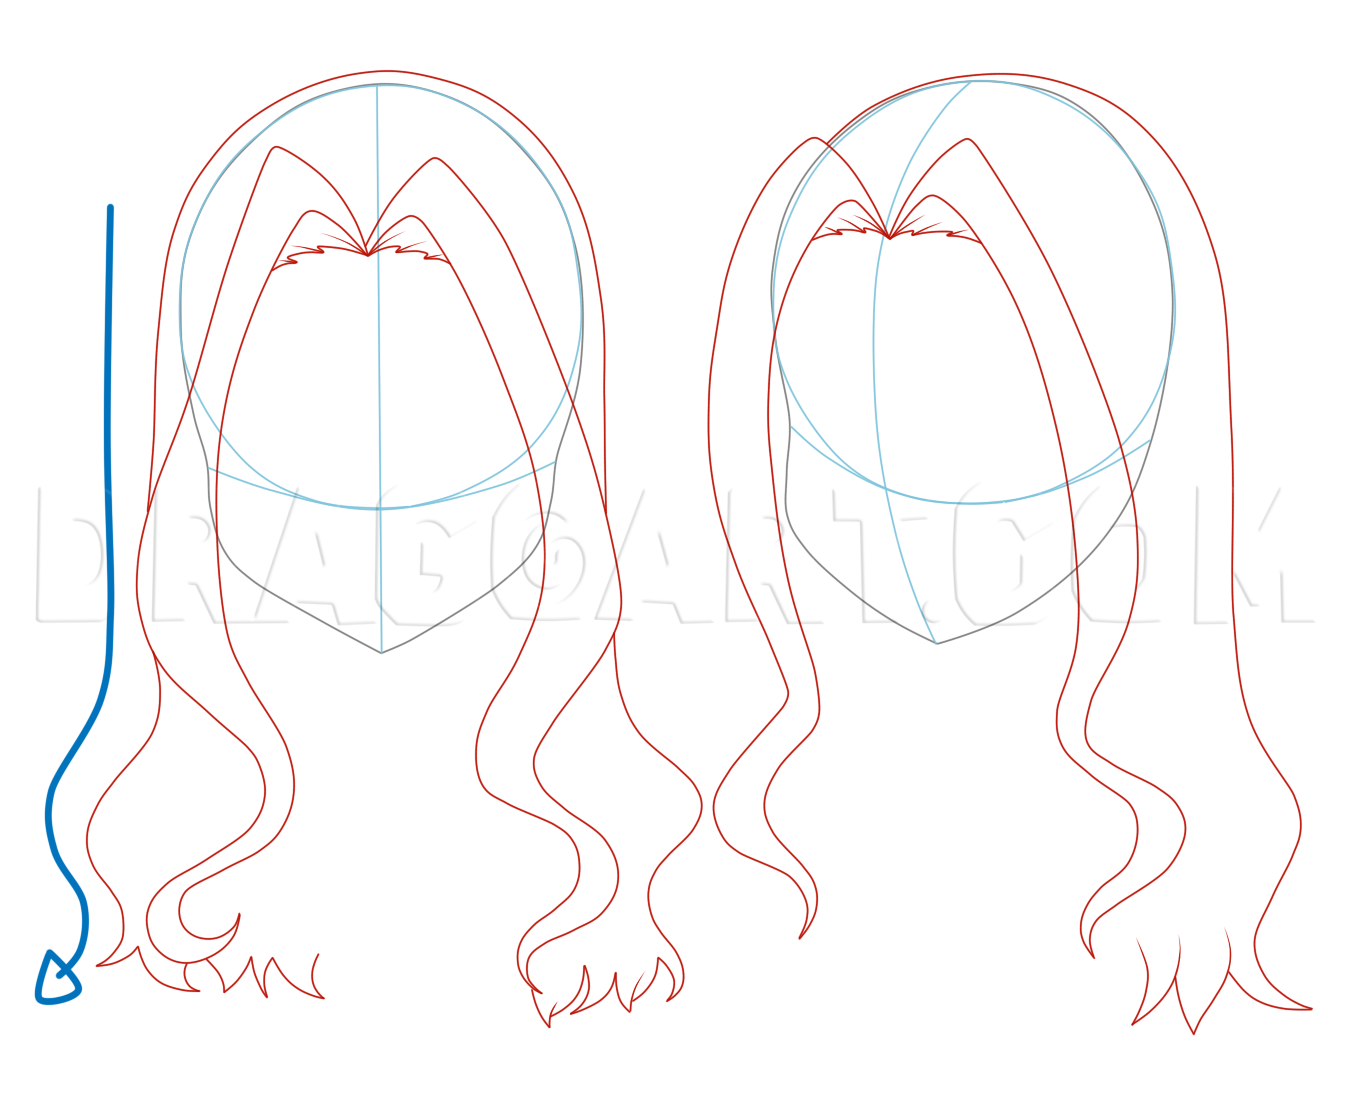
Choppy long hair can be odd sometimes. Keeping the hair coming down to a focal point is the easiest way to do choppy long hair. You can add flips and strands that will flair out but the hair needs to have some sort of direction and lead to a point.

6
When drawing medium length choppy hair, it is best to have a slight curve to the hair. Draw the ends flipping out and bring the strands into your focal point so your hair looks like it isn't just flat against the head. Even if your picture has no wi

7
Now for some nice neat bangs! Any of the above hair styles can be drawn in any of the bangs I show. Simply draw the bangs you want, and then draw the rest of the hair around it. These bangs are directional and are not very choppy. Try to keep the

8
When drawing square cut long neat hair, the bottom should not have a set point as the focus. Instead, there should be a waved flat line that the hair meets as it waves or flairs out on it's way down. It helps to make the hair look not so stiff if y

9
When drawing the medium version of the neat square cut hair, try fanning it out and making a long curved line as the base so it adds volume. It's harder to add volume to the shorter square cut hair because you don't have the length to work with so f
10
Wavy hair should start out flat against the head and then as you go down, waves and curves should show up. Look at the arrow how it starts out straight and then turns wiggly towards the end. All your hair should reflect this, bangs included!

11
This hair is more of a Lady Gaga cut, but I find it fun to do. This hair can seem complicated but it's just a line with triangles drawn into it. As you can see with the example in blue, I drew triangles in the line and erased the line from under th

12
Now, drawing a neat bun is super simple. Just make your hair as connected and neat as possible. Draw your bangs based on your part, again I did a side part for show. Then draw a partial oval on the back top of the head for front, and offset near t

13
Now, drawing wavy almost curly hair is just repetition with a certain shape. Notice I have a part and then I create a large circle around the head using this one wave pattern. Make sure the wave pattern isn't going all one way or it'll look odd. E

14
Lets try to draw a girl with some long hair! Start out with a large circle and the upper body skeletal guide lines.

15
Draw in the chin shape and the rest of her body around the guide lines. It is important to establish the body shape before adding hair so you know where it will fall.
16
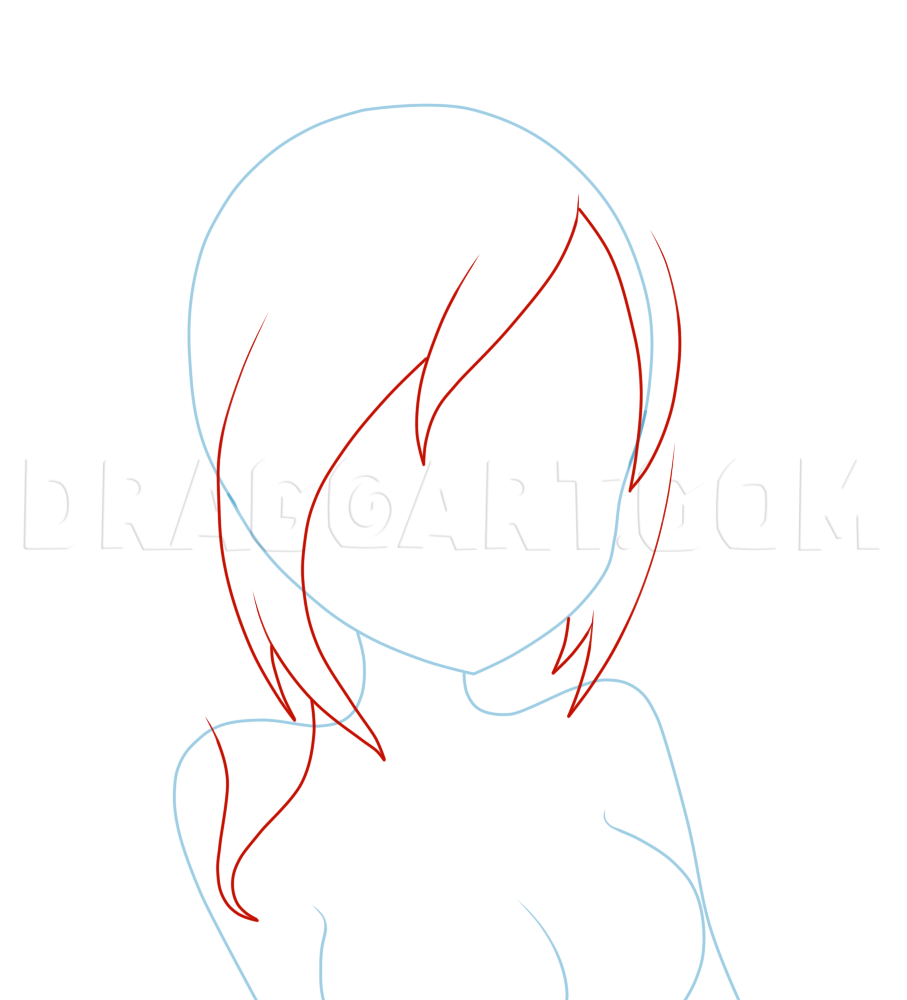
I'm doing a mix between choppy and neat bangs. I use larger pieces of hair, but I chop them up when the bangs reach the chin by turning the long pieces into smaller end pieces. Also, draw a piece of hair over her shoulder before we move on.

17
Now, my focal point for this hair is going to be the center of her back. Draw the hair off the top of the head to give it volume, and go ahead and add some flips and waves as we go down towards the middle of her back. Notice the hair funnels to beh

18
Now, you can draw in some soft guide lines for her face and go ahead and draw in her facial features and only one eye. Draw in her nose, mouth, lower lip line, eye brow, eyelid line and eyes with eye lashes.

19
Now you can draw in her cute eye patch. Draw the strap in underneath her eyebrow and draw in some defining lines that trace the square shape of the patch. Draw in a cute heart or whatever shape you prefer in the middle.

20
Now draw in her outfit. Draw in the shirt that covers her chest first, then draw in the straps that lead up and around her neck afterwards. Be sure to cover her chest.

21
Now add some finish touches like collar bone lines and stretch wrinkles to the middle of her shirt as it stretches over her chest.

22
And you're finished! I hope you all enjoy! Happy coloring!
Comments 0
Details
February 15, 2011
Description: Hi ya'll! I believe someone mentioned that they were having a hard time with hair in a request so here's a hair tutorial! This shows you all different types and styles of hair with my secrets for each and every one of them! I hope everyone enjoys!