2
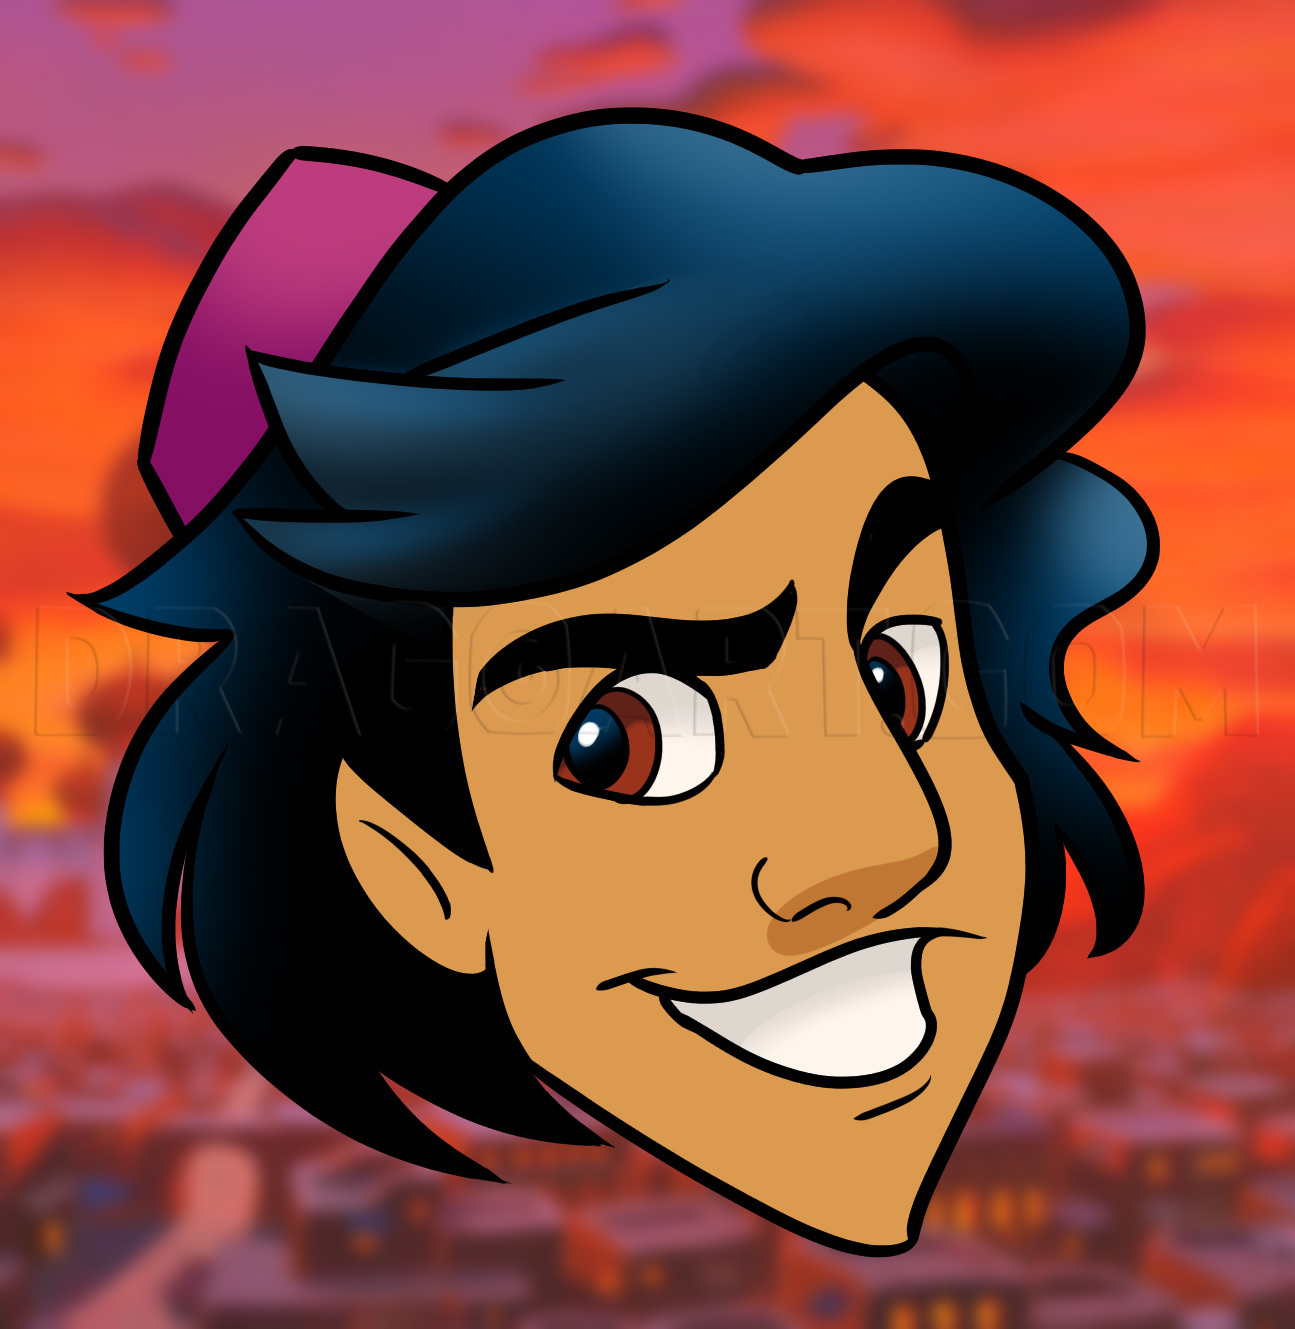
Next, you will use those guides to draw out the actual shape and structure for Aladdin's face shape. Be sure to include the shape of the left ear as well.
4
Finish the hairstyle by completing the head shape which is done with the hairstyle. Aladdin's hair is considered to be shaggy and wavy.
5
Up next, draw the small cap that Aladdin wears on the back part of his head. When that is done you can draw and color in the thick eyebrows. The eyebrows are what also creates the expression on his face. Up next draw the shapes of the eyes and then h
6
For the last drawing step, all you have to do is draw in Aladdin's sly smile and don't forget the dimple on the bottom lip and on the corners of the mouth. Erase the mistakes and guides and then you're done.
Comments 0
Details
April 26, 2019
Description: Hello one and all. Welcome back to another lesson here on Dragoart.com. Today I have a special treat, but before I get to that I wanted upload some character tutorials starting with this one on how to draw Aladdin easy, step by step. I know everyone knows who Aladdin is, I just wanted to make sure that there was a nice drawing lesson on creating the main character from the Disney cartoon, Aladdin. Oh yeah, don't forget that the new real life movie is coming out this year. There are so many cool movies coming out, I don't know how I'm ever going to get all the lessons done. Anyways, I do hope you enjoy drawing Aladdin easy. I will be back with other fun tuts in just a few. For now, you can start with this "street rat".


