Art
Battles
Live
News
Contest
Contact Us
Join
Login
Battles
Tutorials
Art
News
Live
Contest
Contact Us
Privacy Policy
Login
Join
Welcome to DragoArt 💖🔑
Login
or
Join
How to Draw a Great Horned Owl
Artist:
finalprodigy
/ February 8, 2012
Step 1.
Start out by picking your pencils. I used a 5H pencil for light shading/lines, an F pencil for sketching/details, a 2B pencil for dark lines, and a 4B pencil for dark shading.
Step 2.
Start out with a very basic sketch. I used an F pencil to sketch and then went over my lines with a blending stump.
Step 3.
Your sketch should look something like this. Don't worry too much about proportions and getting things perfect right now. Just get a simple representation down.
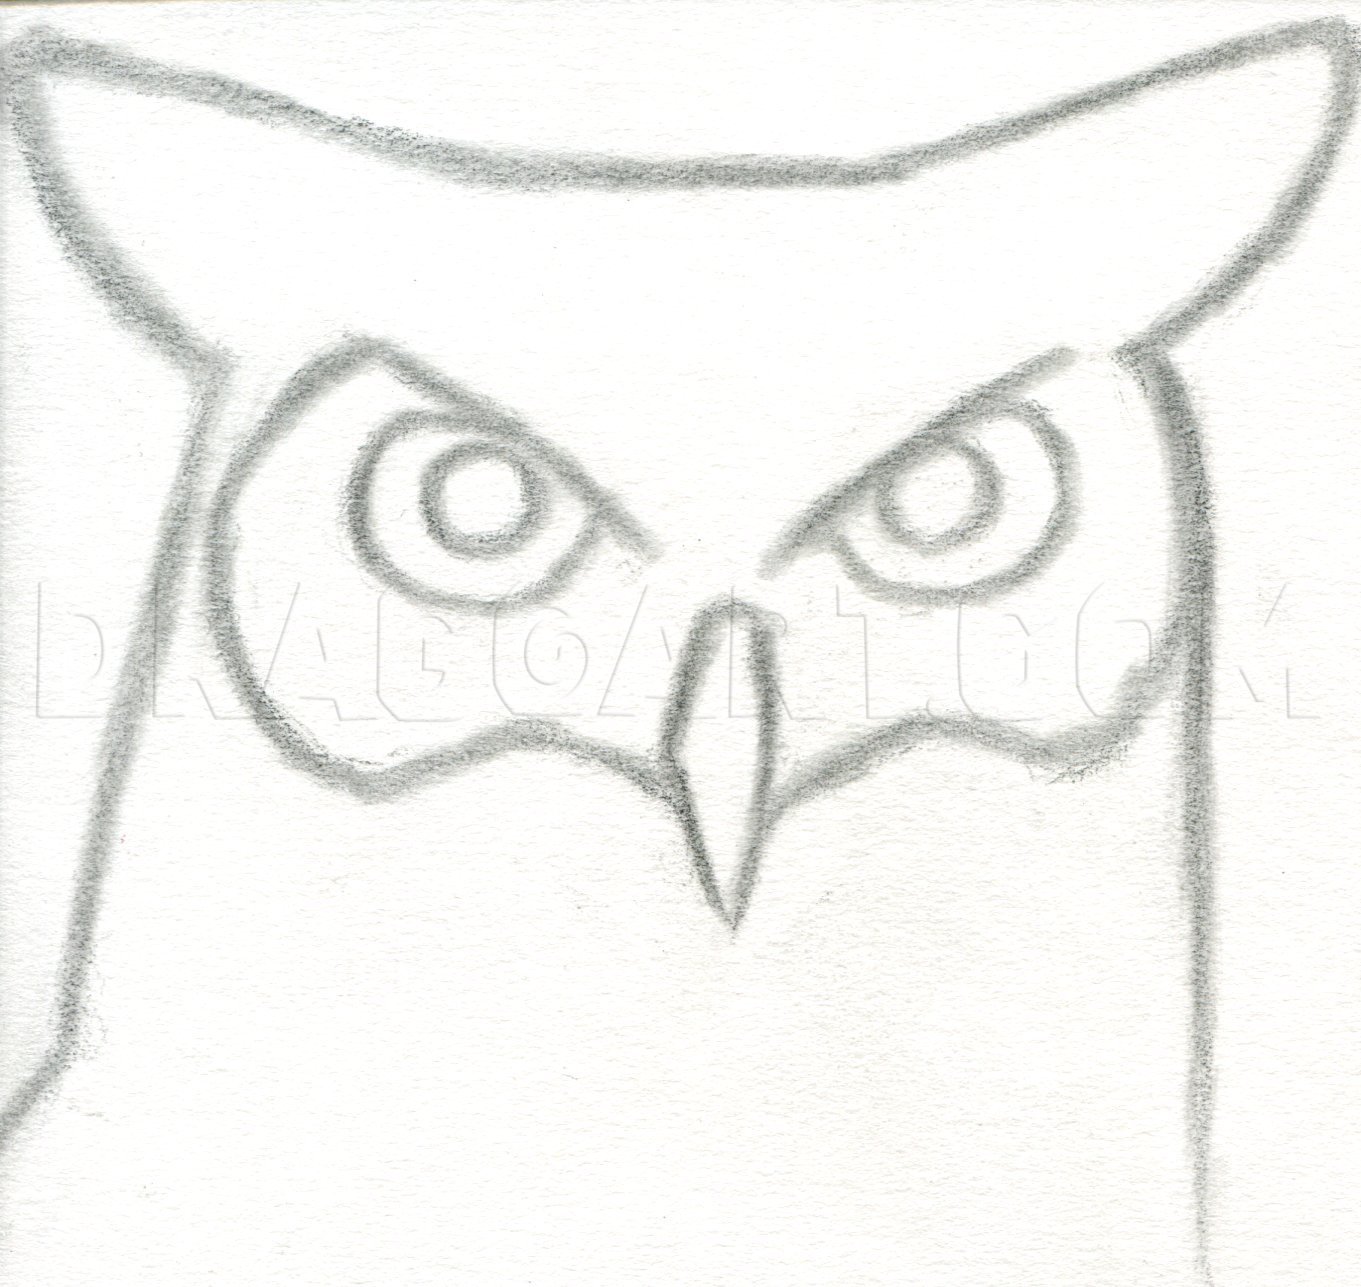
Step 4.
Now using the same sketching pencil start defining your sketch starting at and around the eyes. Pay attention to the direction of the feathers around the eyes.
Step 5.
now sketch in the top half of the head. Again, pay attention to feather direction.
Step 6.
Now sketch in the rest of the rest of the owl.
Step 7.
Roughly shade in the background with a 4 B pencil then smooth out your shading with a blending stump.
Step 8.
Now, start your details at the eyes. Use a 2B pencil for dark lines and a 4B pencil for the darkest shading, like in the pupils. Use a 5H pencil for the light parts of the eyes and the feather details. Use an F pencil for general shading and details.
Step 9.
After you finish up the eye area move up to the forehead. I went ahead and blended in my shading with a blending stump then erased in some spots for the light feathers. After that start shading in the areas above the eyes. Us 2B and F pencils for the
dark feathers and 5H and F for the light ones. Only use a 4B pencil for the darkest values. You can also start building up your background with a 4B pencil.
more
After you finish up the eye area move up to the forehead. I went ahead and blended in my shading with a blending stump then erased in some spots for the light feathers. After that start shading in the areas above the eyes. Us 2B and F pencils for the dark feathers and 5H and F for the light ones. Only use a 4B pencil for the darkest values. You can also start building up your background with a 4B pencil.
Step 10.
Finish shading the top half of the head then move on to the beak. Start by blending in your shading. If the beak seems too large or too small fix it during this step before you start final details.
Step 11.
Develop the beak and the feathers around it. Use a blending stump to smooth it out. Use mainly 5H and F pencils for the feathers around the beak.
Step 12.
Now, take either a 2B or 4B pencil and roughly shade in the body feathers. After that smooth over your shading with a blending stump.
Step 13.
Now start detailing the feathers from the neck downwards. Use mainly 2B and F pencils. Use a 5H pencil for the light feather and a 4B pencil for the darkest areas.
Step 14.
Finish up the drawing by shading in the rest of the feathers, cleaning up your details, and smoothing out your background. I hope you all enjoy this one. Leave any comments or questions below!
Comments (0)
More From
finalprodigy
Mature Content
Mature Content
Mature Content
Mature Content
Mature Content
Mature Content
Mature Content
Mature Content
Mature Content
Mature Content
Mature Content
Mature Content
Related
Mature Content
Mature Content
Mature Content
Mature Content
Mature Content
Mature Content
Mature Content
Mature Content
Mature Content
Mature Content
Mature Content
Mature Content
Details
Artist:
finalprodigy
Date Added:
February 8, 2012
Steps:
14
Favorited:
2
(view)
Views:
0 in last hour, 16 in last day, 55 in last week, 102471 total
Comments:
0
Tags:
how to draw owls
Description:
I'm going to try and knock out all of my bird tutorial requests this month starting with this tutorial. I originally drew a flying great horned owl a while ago but someone requested a portrait of one. So, since I've improved since the last time I drew this majestic bird I decided to give it a shot! Enjoy!
X
Login
Username
Password
Remember Me
I forgot my password
X
Leaving Dragoart for External Site
We temporarily stopped you from leaving Dragoart so you could confirm
The site above is not affiliated with Dragoart in any way. Please continue at your own risk. Don't enter any passwords or personal information from a site claiming to be Dragoart or its affiliates.
X
Flag Content
Report
sexual
violence
copyright
spam
Details (Optional)
X
Flagged Content
Loading...
X
Members that favorited
Loading...
X
Contest Submission Form
Loading...
X
Battle Challenge
Loading...
X
Battle Challenge Details
Loading...