1
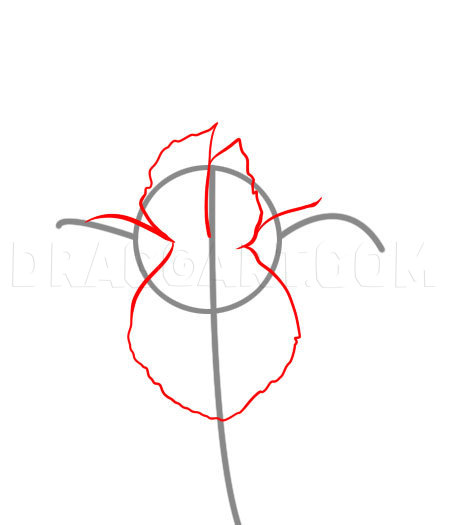
Draw a simple circle, and draw a connecting line that flows through the shape. Lastly, draw the two arm like lines as well.
2
Begin sketching out the iris petal like you see here. It sort of looks like the outline of a mans tie.
3
The last thing you need to do to finish off this lesson, is draw out the remaining petals and then the stem. The edges of the iris petals should be a bit rigid like you see here. Erase the lines and shapes that you drew in step one.
Comments 0
Details
October 13, 2010
Description: What do you say we switch up things a bit and learn about something totally new? Yesterday I opened up my e-mail and I saw that there was more than one request for a certain flower lesson that I haven’t done yet. So today I will be teaching you guys "how to draw an iris", step by step. Now the flower species name may sound familiar, and you might even think you know what type of blooming plant it is. For those of you that are unsure what exactly an iris is, I will fill you in on the 411 right now. The flower got it’s name from the Greek Goddess of love, Iris. The very word means rainbow, and by looking at one of these stunning flowers, you automatically know why they are called iris. These plants come in a variety of fabulous colors including blue and purple, brown and red, black, white and yellow, and pink and orange. Did you know that these garden plants grown in a bunch of different places like deserts, swamps, and even in the coldest of climates. In fact, two of the more popular species of irises are the bearded and Siberian iris. The vibrant color that you can shade these flowers in almost makes them impossible to resist, and draw. I think you’ll have fun learning "how to draw an iris", step by step because this is a very pretty plant to sketch. I guess that does it for me, and for today’s lessons. I had another to upload but I have to tweak the drawing a bit before it goes up. See ya later peeps, and have fun with the rest of your drawing day!


