1
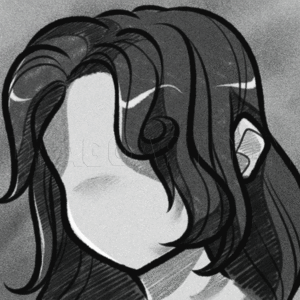
For this step you will need mixed media paper and one or two markers. I used four to add more color and layers and such, but one or two should be fine.
2
Take your lightest color, and start coloring up near the part of the hair. This will be the darkest area in your color. I used the wide end for this because you'll need to cover more.
4
Take your lightest marker and start going over the areas in the hair which should be darker. Areas like this will be near the part, individual sections of hair, and areas where the hair curves a little bit. (The next step will clarify this a little b
5
Repeat step four until the hair looks like this. The darker areas are where you would need to go over. You can stop coloring here, or go to the next step.
6
Take your second lightest marker and start going over some of the other areas. Again this would be the part, and the areas where the hair is sectioned off.
8
Take your second darkest color and start to go over the part, and the sections. You should use use less of this marker than the second lightest marker.
9
Take your second lightest color, and go over some of the areas again to blend it in a little better.
10
Take your darkest color next (in this case black) and go over the part like and a few of the darkest sections
Comments 0
Details
January 5, 2018
Description: So I get a lot of compliments on how I draw and color hair so I figured why not do a tutorial? I used four different copic markers for this but you can use one marker, and you don't have to use copic, any brush too marker will be fine. I also recommend using mixed media paper and you can find that a lot of places. If you like this tutorial please comment on if you want more or what I can do to improve.


